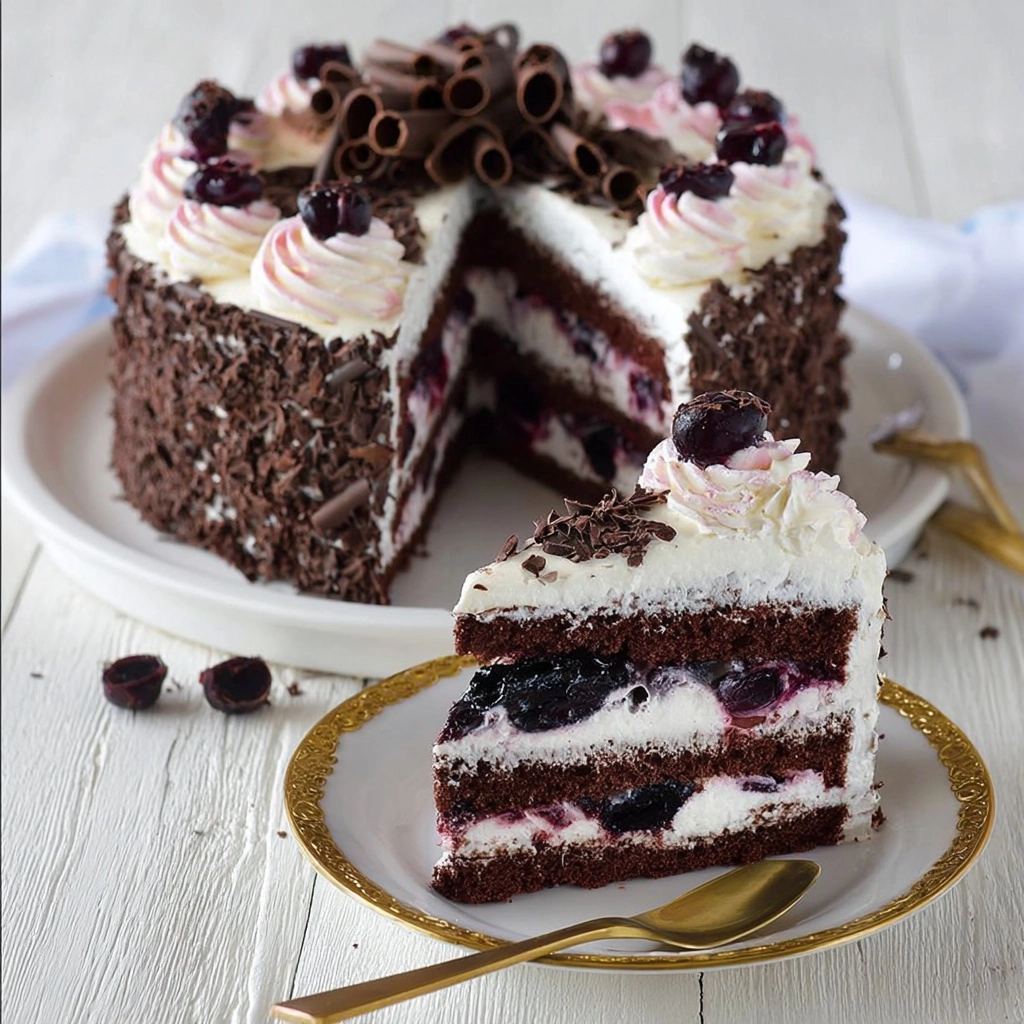
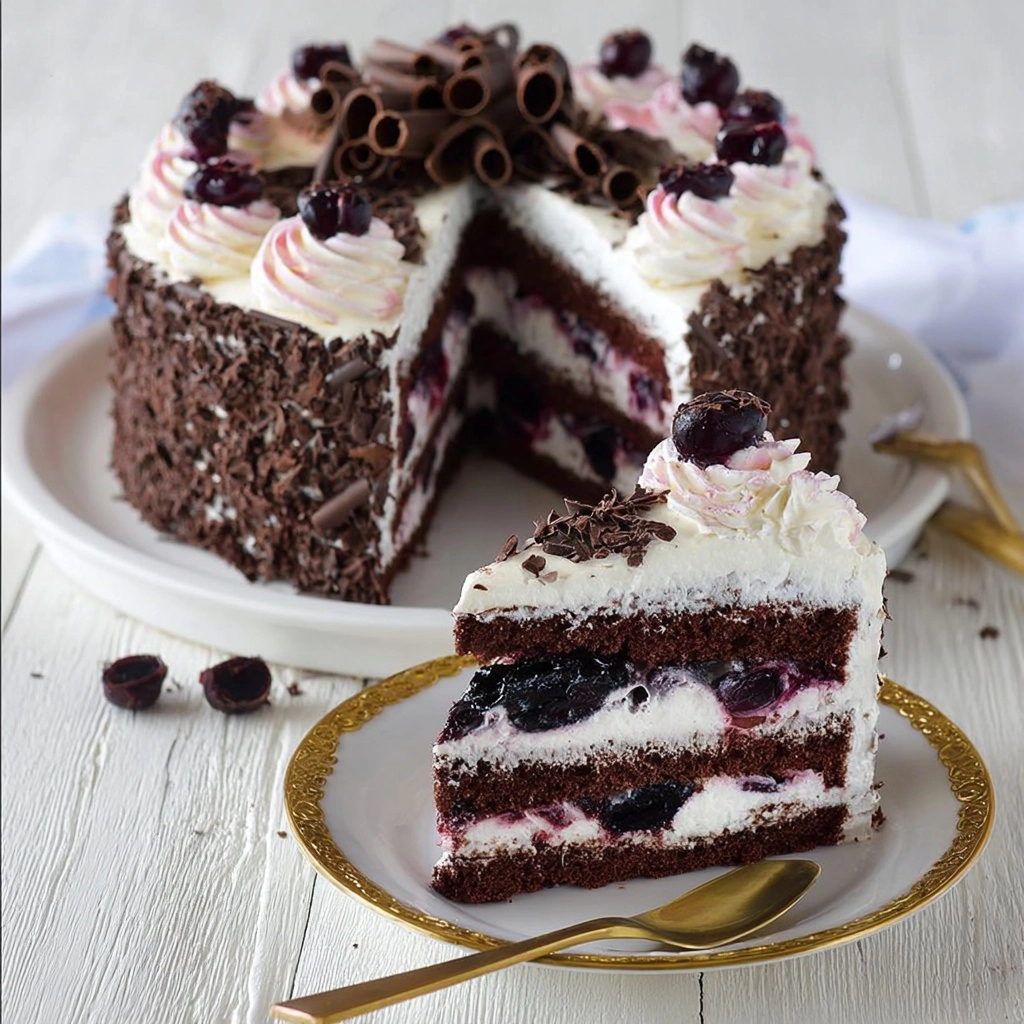
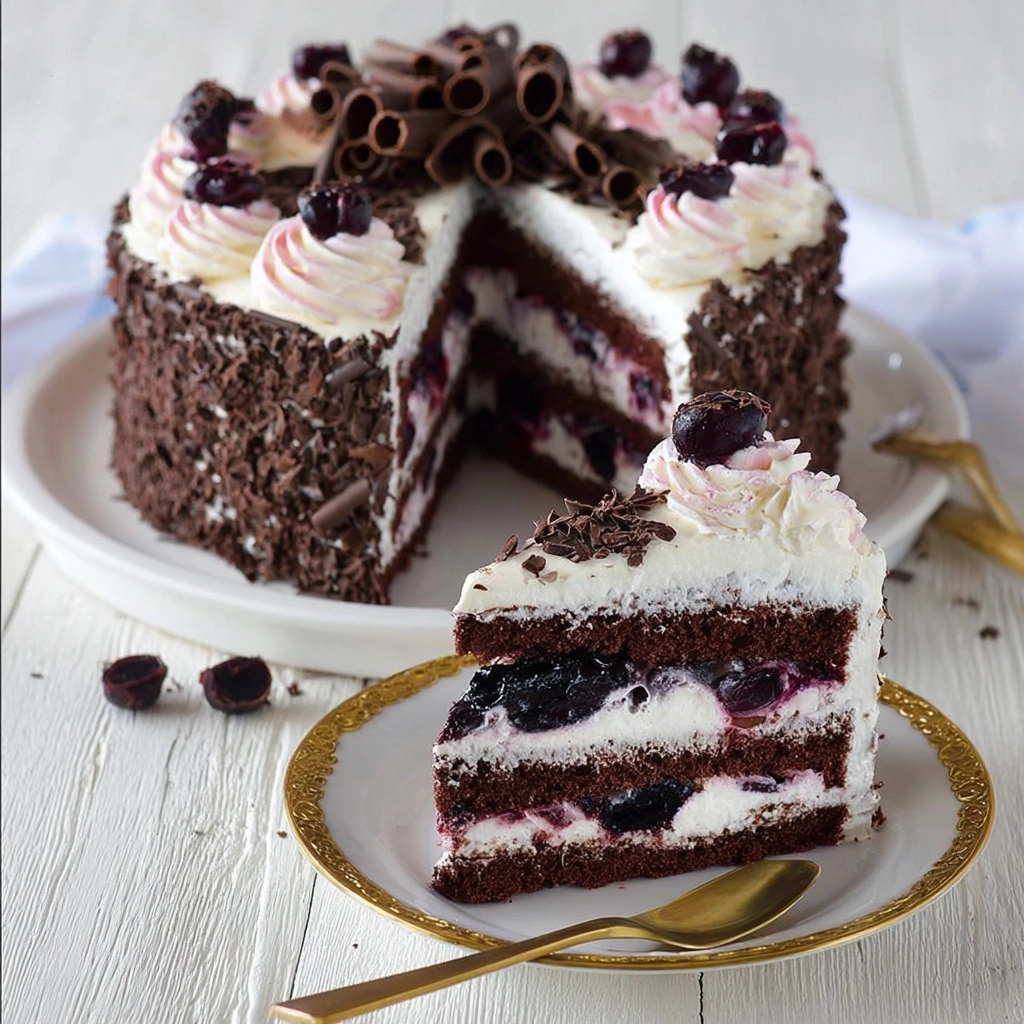
If you have a sweet tooth and love the combination of rich chocolate, luscious cherries, and fluffy cream, then you are in for a real treat with this Decadent Black Forest Cake. This classic dessert brings together moist cocoa layers soaked with cherry juice, generous whipped cream, and tart cherries, all crowned with a generous helping of chocolate shavings and sticks. Every bite melts in your mouth and tells a story of indulgence, celebration, and pure baking joy. Whether you’re treating yourself or impressing guests, this Decadent Black Forest Cake is guaranteed to become your new favorite showstopper.
Ingredients You’ll Need
The magic behind this Decadent Black Forest Cake starts with simple, everyday ingredients that each play a vital role in texture, flavor, and that irresistible look. From rich cocoa powder to velvety whipped cream, every component counts toward creating the perfect balance of decadence and freshness.
- 1 3/4 cups all-purpose flour: This is the sturdy backbone of your cake, giving structure without heaviness.
- 2 cups granulated sugar: Sweetness that complements the cocoa and cherries perfectly.
- 3/4 cup unsweetened cocoa powder: Essential for bringing that deep, chocolatey richness to the cake layers.
- 2 teaspoons baking powder: Provides lift and lightness to the cake’s crumb.
- 1 1/2 teaspoons baking soda: Ensures your cake rises beautifully and stays tender.
- 1 teaspoon salt: Balances all the sweetness while intensifying the chocolate flavor.
- 2 large eggs: The binding element adding moisture and richness.
- 1 cup whole milk: Contributes creaminess and tender crumb.
- 1/2 cup vegetable oil: Keeps the cake soft and moist for days.
- 2 teaspoons vanilla extract: Adds that warm, inviting aroma that enhances all flavors.
- 1 cup boiling water: Helps dissolve cocoa for an ultra-moist, luscious texture.
- 2 cups heavy cream: Whipped to fluffy perfection for the creamy layers.
- 1/2 cup powdered sugar: Sweetens the whipped cream just right without graininess.
- 1 can (15 oz) pitted cherries, drained: Juicy bursts of tartness that cut through the richness.
- 1/2 cup cherry juice: For brushing the cake, infusing extra cherry flavor and moisture.
- 1 cup chocolate shavings: Decorative and delicious, giving texture and chocolate pops.
- 1/2 cup chocolate sticks: Adds elegant flair and a playful crunch to the final presentation.
How to Make Decadent Black Forest Cake
Step 1: Prepare Your Oven and Pans
Start by preheating your oven to 350°f (175°c) and greasing two 9-inch round cake pans. This step is crucial so your gorgeous chocolate cakes don’t stick and come out clean and perfect for layering.
Step 2: Mix the Dry Ingredients
In a large bowl, whisk together the all-purpose flour, sugar, cocoa powder, baking powder, baking soda, and salt. This ensures everything is evenly distributed which is key to a uniform cake texture and flavor.
Step 3: Combine Wet Ingredients
Add the eggs, whole milk, vegetable oil, and vanilla extract to the dry mixture. Beat everything together until smooth and fully blended. This forms your luscious batter base before the final touch.
Step 4: Incorporate Boiling Water
Carefully stir in the boiling water—the batter will be thin but this is just right. The hot water intensifies the cocoa flavor and keeps the cake super moist after baking.
Step 5: Bake the Cake Layers
Divide the batter evenly between your two prepared pans and bake for 30 to 35 minutes. You’ll know they’re done when a toothpick inserted in the center comes out clean. Allow the cakes to cool completely before assembling.
Step 6: Whip Up the Cream
While your cake layers cool, whip the heavy cream with powdered sugar until you achieve stiff peaks. This fluffy, sweet whipped cream becomes the luscious frosting and filling that makes this cake truly special.
Step 7: Assemble the Cake
Place one cake layer on your serving plate. Brush it generously with cherry juice for that signature moistness, then spread half of the whipped cream over the top. Scatter half the drained cherries on this creamy layer.
Step 8: Layer and Decorate
Top with the second cake layer and spread the remaining whipped cream smoothly over the top and sides. This gives the cake a wonderfully creamy exterior just waiting for the beautiful finishing touches.
Step 9: The Finishing Touches of Your Decadent Black Forest Cake
Decorate with the chocolate shavings, chocolate sticks, and the remaining cherries. These details not only make the cake look like a work of art but add exciting textures and bursts of flavor in every bite.
Step 10: Chill Before Serving
Refrigerate the assembled cake for at least one hour. Chilling helps the flavors meld and the whipped cream set perfectly, making every slice neat and luscious.
How to Serve Decadent Black Forest Cake

Garnishes
The key to serving your Decadent Black Forest Cake is to enhance its natural charm without overpowering it. Fresh cherries on top along with a sprinkle of extra chocolate shavings brighten the appearance and the taste, enticing everyone at the table to dig in.
Side Dishes
This cake shines beautifully on its own but pairing it with a simple scoop of vanilla ice cream or a dollop of lightly sweetened Greek yogurt can create a refreshing contrast. Fresh berries or a drizzle of cherry sauce also complement the flavors wonderfully.
Creative Ways to Present
Consider serving your Decadent Black Forest Cake in elegant slices on vintage china to elevate a special occasion, or plate individual mini versions in glass cups layering cake pieces, whipped cream, cherries, and chocolate for a fun twist. Presentation that matches the richness of this cake ensures an unforgettable dessert experience.
Make Ahead and Storage
Storing Leftovers
Your Decadent Black Forest Cake keeps well in the fridge for up to three days. To maintain its moist texture and creamy topping, cover it with a cake dome or plastic wrap, preventing the cake from drying out or absorbing other fridge odors.
Freezing
If you want to save some for later or prepare ahead for a party, you can freeze the cake (without decorations) wrapped tightly in plastic wrap and aluminum foil. It will last up to two months. Thaw it overnight in the refrigerator before adding fresh garnishes and serving.
Reheating
This cake is best enjoyed chilled, so reheating is not recommended. If you prefer, you can bring it to room temperature before serving for the smoothest texture and fullest flavor.
FAQs
Can I use fresh cherries instead of canned?
Absolutely! Fresh cherries would be delightful, especially if they’re in season. Just pit them and macerate briefly with a little sugar to bring out their juices before using.
Is there a non-dairy substitute for the whipped cream?
Yes. You can use coconut cream whipped with powdered sugar as a vegan-friendly alternative that still provides a rich and creamy texture for layering and frosting.
How can I make the cake layers more moist?
Brushing them generously with cherry juice, as the recipe suggests, is key. You can also add a simple syrup infused with cherry liqueur or vanilla for an extra moist and flavorful kick.
Can I prepare the cake a day in advance?
Definitely. In fact, chilling the cake overnight allows the flavors to meld together beautifully. Just keep it well wrapped in the refrigerator to preserve freshness.
What kind of chocolate should I use for shavings and sticks?
Use a high-quality semi-sweet or bittersweet chocolate. It offers just the right balance to complement the sweet whipped cream and tart cherries without overpowering them.
Final Thoughts
There’s something truly magical about the Decadent Black Forest Cake that makes every bite feel like a celebration. From the moist chocolate layers to the fresh cherries and fluffy whipped cream, it’s a dessert that never fails to bring smiles and warm hearts. I encourage you to dive in, get your hands a little messy, and enjoy crafting this classic delight that’s sure to become a beloved favorite in your kitchen.


Your email address will not be published. Required fields are marked *