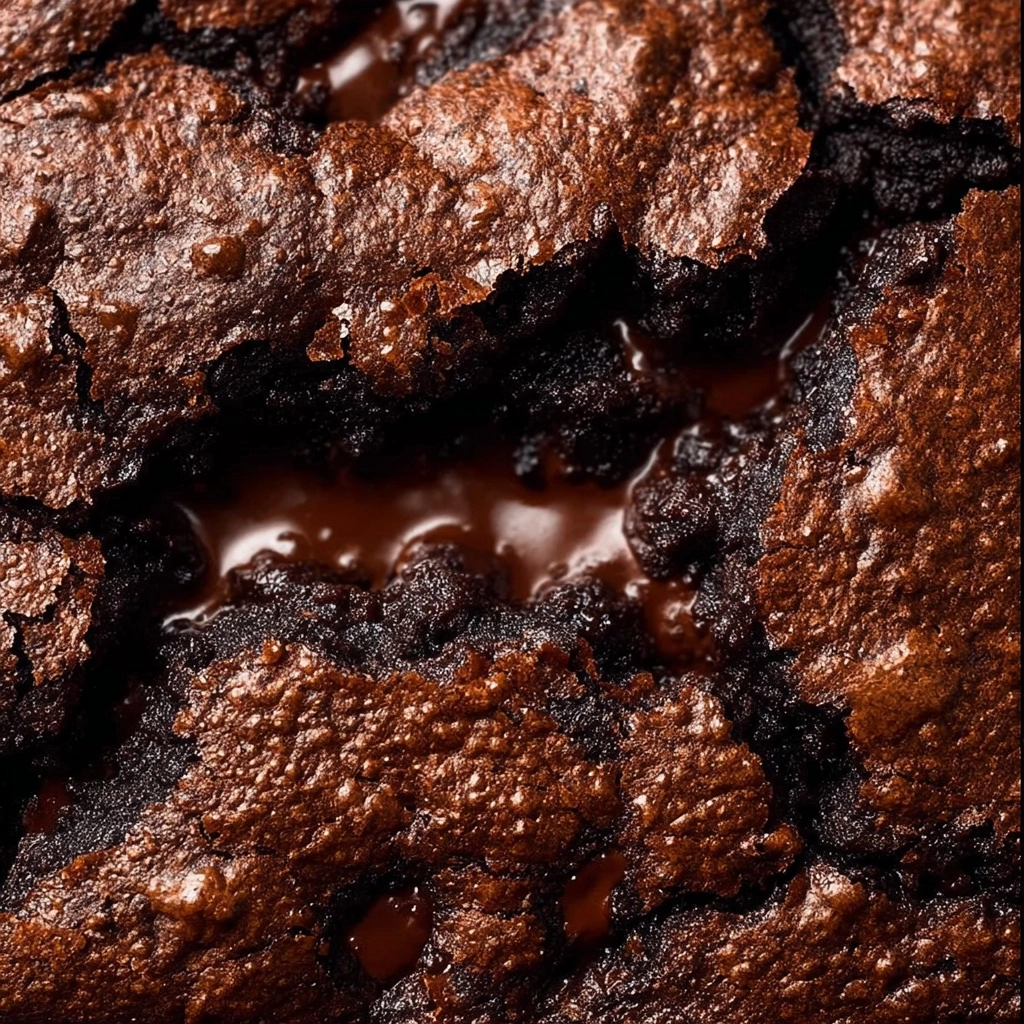
If you ever crave a dessert that feels like a warm hug on a plate, this Chocolate Dump Cake is your new best friend. Imagine layers of rich chocolate cake mix melding effortlessly with juicy cherry pie filling and tropical pineapple, all topped with golden melted butter and an optional crunch of walnuts. This dessert is impossibly simple to make yet utterly indulgent, perfect for any occasion when you want a crowd-pleaser with minimal fuss but maximum flavor. The Chocolate Dump Cake’s gooey, slightly crisp top and moist, fruity base make it an absolute joy to share or savor on your own.
Ingredients You’ll Need
Gathering a handful of straightforward ingredients is all it takes to whip up this show-stopping dessert. Each component plays a crucial role, from the sweet tang of cherries to the buttery finish that creates that irresistible crust.
- Chocolate cake mix: Choose your favorite boxed mix to provide that rich chocolate backbone, making prep a breeze.
- Cherry pie filling (21 oz can): Brings a bright, fruity sweetness and vibrant color to contrast the chocolate wonderfully.
- Crushed pineapple, undrained (15 oz can): Adds juicy moisture and a subtle tropical note that balances the richness.
- Unsalted butter, melted (½ cup): Pours over the dry mix to create a crisp, melt-in-your-mouth golden topping.
- Chopped walnuts (optional, ½ cup): Introduces a satisfying crunch and nutty dimension that elevates the texture beautifully.
How to Make Chocolate Dump Cake
Step 1: Preheat and Prepare Your Baking Dish
Start by heating your oven to 350°F (175°C) to ensure it’s ready to go when your dessert is assembled. Grab a 9×13-inch baking dish, the perfect size to create those layers of lusciousness and give the cake room to bubble and brown beautifully.
Step 2: Layer the Fruit Fillings
Dump the entire can of cherry pie filling into the dish and spread it out evenly. Then, add the crushed pineapple right on top without draining it—this juicy layer is key to keeping your cake moist and flavorful. Use a spatula to create an even fruit base that will infuse every bite with sweet and tangy bursts.
Step 3: Add the Cake Mix
Now sprinkle your dry chocolate cake mix evenly over the fruit layer. Take your time to cover every inch so you get a consistent chocolatey top once baked. This step is what turns simple fruit into an indulgent chocolate sensation.
Step 4: Pour the Melted Butter and Optional Walnuts
Drizzle the melted butter slowly across the entire surface—this little trick helps the dry mix bake into a perfectly crisp, buttery crust. If you want to add a little crunch and extra flavor, scatter the chopped walnuts over the top now. They’ll toast up during baking and add a delightful texture.
Step 5: Bake to Gooey Perfection
Slide your dish into the preheated oven and bake for about 50 minutes. You’ll know it’s done when the top is bubbling with a golden crispness. The aroma that fills your kitchen is enough to make waiting difficult, but it’s worth it to let the cake cool just slightly before digging in.
How to Serve Chocolate Dump Cake

Garnishes
While this cake shines all on its own, adding a scoop of vanilla ice cream or a dollop of whipped cream on top takes it to the next level of indulgence. Fresh cherries or a dusting of powdered sugar can also add a lovely finishing touch that is as pretty as it is tasty.
Side Dishes
Pair your Chocolate Dump Cake with a hot cup of coffee or a glass of cold milk for a classic combo. For a fancier occasion, serve it alongside fresh berries or a drizzle of caramel sauce to complement the rich chocolate and fruity layers.
Creative Ways to Present
For parties, serve this dessert in individual ramekins or mini mason jars to create charming portions. You can also top each serving with chopped nuts, chocolate shavings, or even edible flowers to impress your guests visually and palate-wise.
Make Ahead and Storage
Storing Leftovers
Keep any leftover Chocolate Dump Cake tightly covered in the refrigerator for up to 4 days. The flavors deepen as it rests, and it stays moist and delicious, making it perfect for enjoying on day two or three.
Freezing
You can freeze this cake in an airtight container for up to 2 months. To enjoy, thaw overnight in the refrigerator and warm gently before serving to bring back that freshly baked sensation.
Reheating
Pop individual servings into the microwave for 20 to 30 seconds or reheat the whole dish in a 325°F oven until warm. Adding a little fresh fruit or a scoop of ice cream when reheating can freshen it up wonderfully.
FAQs
Can I use fresh fruit instead of canned pie filling?
Fresh fruit can work, but the canned cherry pie filling and crushed pineapple give enough juice and sweetness that keep the cake moist and flavorful. If using fresh, adding some sugar or a splash of juice might be needed.
Is this recipe suitable for gluten-free diets?
It depends on your choice of cake mix. If you use a certified gluten-free chocolate cake mix, then yes! Just double-check all your ingredients to keep it safe.
Can I substitute the walnuts with other nuts?
Absolutely! Pecans or almonds would be delicious alternatives and still provide that satisfying crunch to contrast the gooey cake.
What makes this a “dump” cake?
The name comes from the simplicity of “dumping” the ingredients directly into the pan without any mixing. It’s all about effortless assembly and maximum taste.
Can I make this cake dairy-free?
Use a dairy-free chocolate cake mix and swap the butter for a plant-based alternative. Your Chocolate Dump Cake will still taste just as fabulous!
Final Thoughts
There’s something truly magical about how a few simple ingredients come together to create the rich, comforting delight of Chocolate Dump Cake. Whether you’re feeding a crowd or treating yourself, this dessert is a fuss-free way to satisfy chocolate cravings and celebrate the joy of sharing something homemade. Go ahead, give it a try—you just might find your newest favorite go-to recipe.


Your email address will not be published. Required fields are marked *