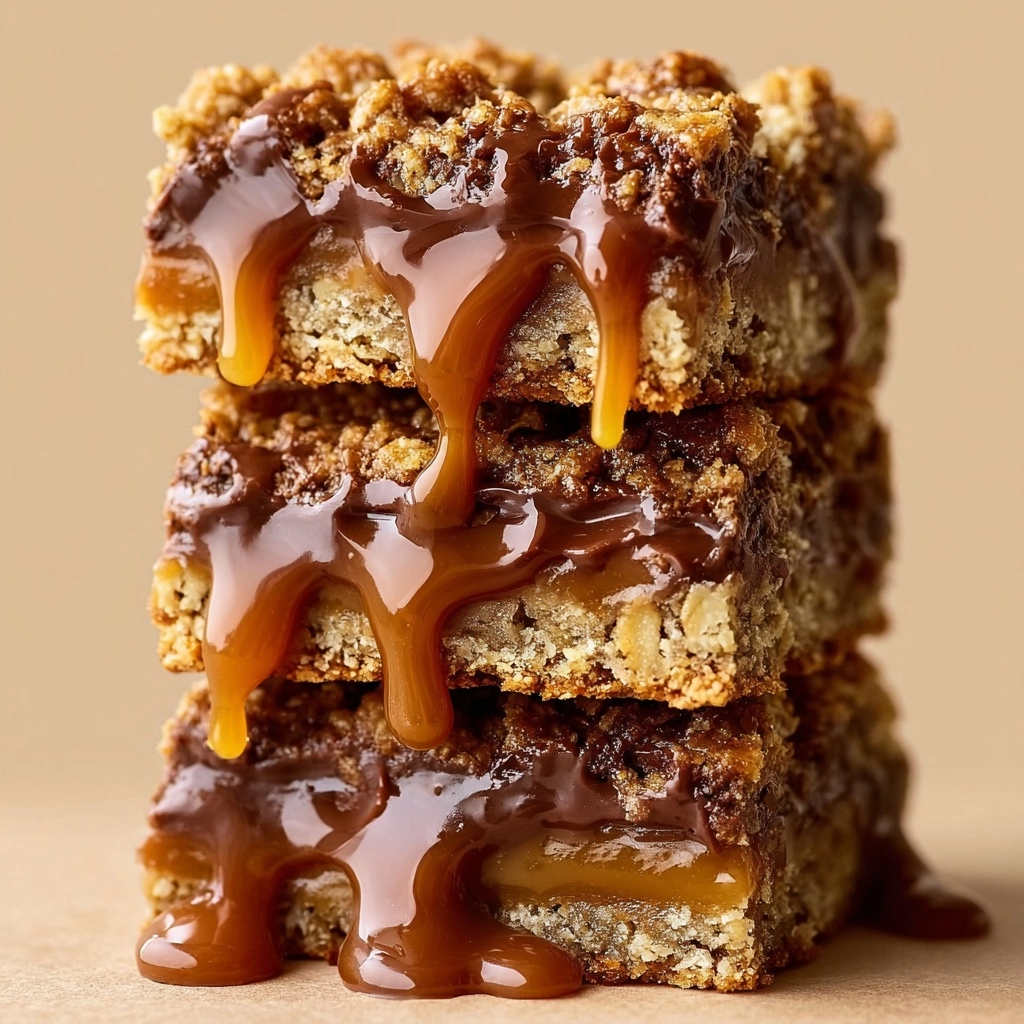
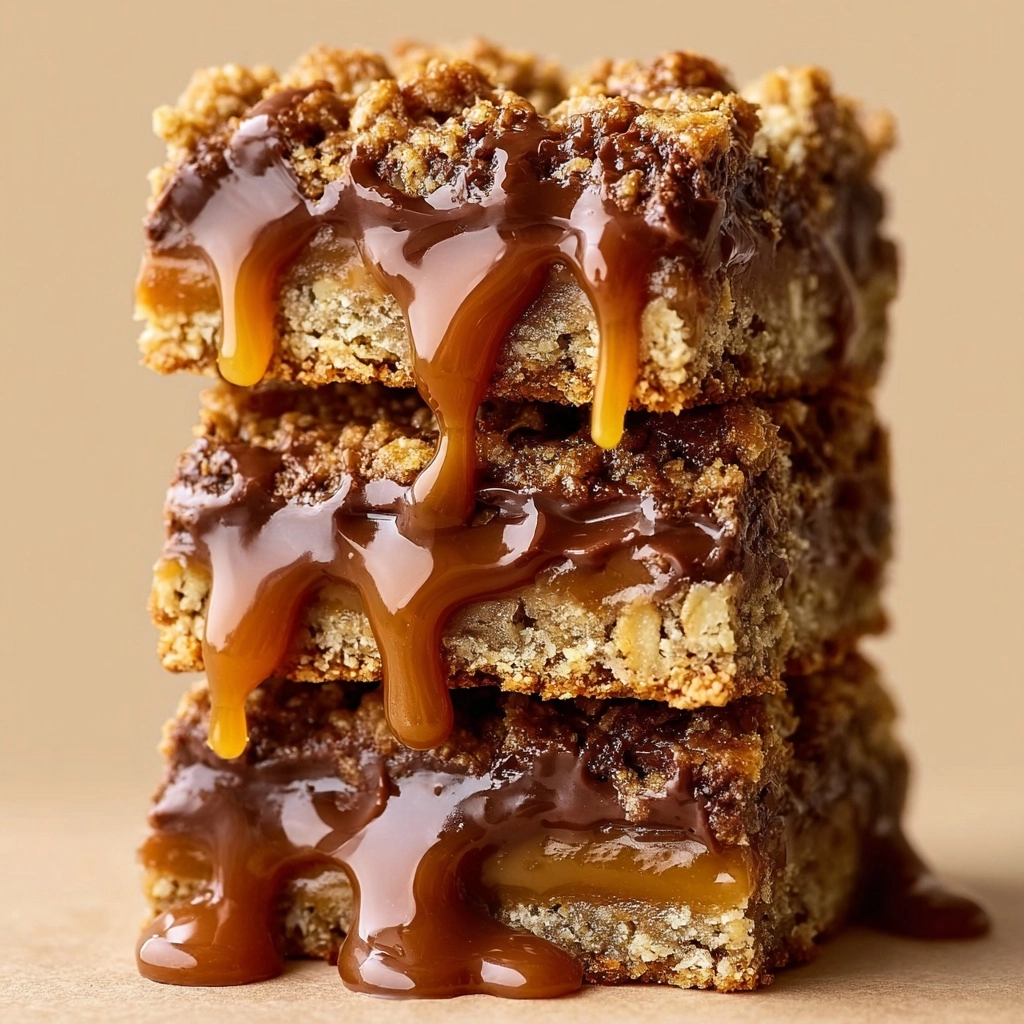
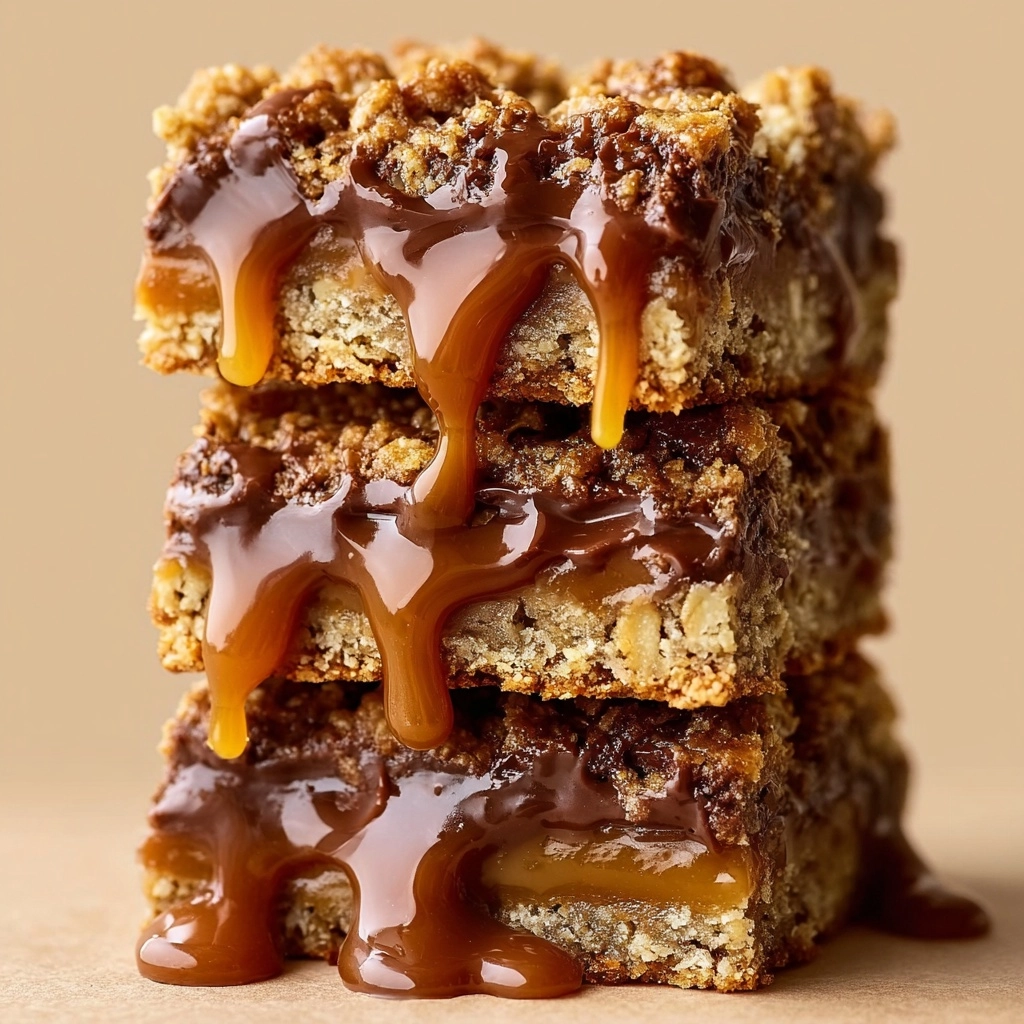
If you’re craving a dessert that perfectly balances chewy oats, luscious caramel, and melty chocolate, then Carmelitas are about to become your new obsession. These golden bars combine a slightly crumbly oat crust with gooey caramel and rich chocolate chips, creating an irresistible treat that feels like a warm hug in every bite. Whether you’re sharing with friends or sneaking a sweet moment alone, Carmelitas deliver that perfect homemade touch with simple ingredients that come together beautifully.
Ingredients You’ll Need
It’s amazing how just a handful of straightforward ingredients can come together to create something as magic as Carmelitas. Every component in this recipe plays a starring role—from the nutty oats that add texture to the brown sugar that brings caramel-like sweetness, and the melted butter that binds it all with richness.
- 1 cup all-purpose flour: Provides structure to the bars, ensuring they hold together perfectly without being too dense.
- 1 cup old-fashioned oats: Adds a delightful chew and rustic texture that makes Carmelitas so satisfying.
- ¾ cup brown sugar: Brings a deep, molasses-like sweetness that complements the caramel.
- ½ tsp baking soda: Helps lighten the crumb just a touch, preventing the bars from becoming too heavy.
- ¾ cup unsalted butter, melted: Imparts a rich, buttery flavor and keeps every bite tender.
- 1 cup caramel bits or soft caramels: The star of the show, creating that luscious, gooey caramel layer everyone adores.
- 2 tbsp heavy cream: Makes melting the caramel silky smooth for perfect drizzling.
- 1 cup semi-sweet chocolate chips: Adds melty pockets of chocolate that balance the sweetness with just a bit of bite.
How to Make Carmelitas
Step 1: Mix the Dry and Wet Ingredients
Start by preheating your oven to 350°F (175°C) so it’s ready when you are. In a large bowl, combine the all-purpose flour, oats, brown sugar, and baking soda. Pour in the melted butter and stir everything together until the mixture becomes crumbly but holds together when pressed. This forms the base and topping of your Carmelitas, delivering both crispness and chew.
Step 2: Press and Bake the Crust
Take half of the oat mixture and press it firmly into a greased 8×8-inch baking pan. This layer should be evenly compacted to provide a solid yet tender foundation. Pop the pan in the oven and bake for 10 minutes. Baking the crust first helps it set so it doesn’t get soggy when you add the gooey toppings.
Step 3: Prepare the Caramel Layer
While the crust is baking, melt the caramel bits together with the heavy cream in a small saucepan over low heat. Stir constantly until smooth and glossy. This step is crucial because it ensures your caramel will drizzle smoothly and coat the chocolate chips beautifully without clumping.
Step 4: Layer Chocolate, Caramel, and Topping
Once your crust comes out of the oven, sprinkle the semi-sweet chocolate chips evenly over it. Pour the warm caramel sauce on top in generous drizzle, spreading it gently without mixing. Finally, crumble the remaining oat mixture over the entire surface, creating a crunchy, golden topping that contrasts perfectly with the silky caramel beneath.
Step 5: Final Bake and Cool
Return the pan to the oven for another 15 to 18 minutes, or until the top is beautifully golden. This final baking step melds all the layers together into one harmonious bar. After baking, allow the Carmelitas to cool completely in the pan—this is crucial because it lets the caramel set, making sharp, clean cuts possible when slicing into bars.
How to Serve Carmelitas

Garnishes
To take your Carmelitas to the next level, consider a light dusting of powdered sugar or a sprinkle of flaky sea salt right before serving. A pinch of sea salt enhances the sweetness by balancing the caramel and chocolate, and powdered sugar adds an elegant finishing touch that looks as delightful as it tastes.
Side Dishes
These bars are indulgent enough to enjoy on their own, but if you want to elevate your dessert spread, pair Carmelitas with a scoop of vanilla ice cream or a dollop of lightly whipped cream. The cool creaminess beautifully contrasts the chewy, caramel-infused bars. Fresh berries or a cup of rich coffee also complement the flavors nicely, making for a balanced treat.
Creative Ways to Present
Looking to impress your guests? Cut Carmelitas into smaller bite-sized squares and arrange them on a platter with drizzled melted chocolate on top. You can also layer them with brownies or blondies at a dessert table for a stunning visual effect. Wrapping individual bars in parchment paper tied with twine makes a fantastic homemade gift that feels cozy and personal.
Make Ahead and Storage
Storing Leftovers
Carmelitas keep wonderfully in an airtight container at room temperature for up to 4 days. Just make sure they’re cool before sealing so they don’t get soggy. Their layers maintain a lovely chew and gooeyness, so they’re just as enjoyable as when fresh.
Freezing
If you want to make these bars in advance, they freeze beautifully. Wrap individual Carmelitas tightly in plastic wrap and then place them in a freezer-safe bag or container. They’ll keep well for up to 2 months. Just thaw them at room temperature when you’re ready for a quick sweet fix.
Reheating
For that just-baked warmth, pop leftover Carmelitas in a low-temperature oven (about 300°F/150°C) for 5 to 10 minutes or microwave a single bar for 15 to 20 seconds. This brings back the melty chocolate and gooey caramel, making each bite taste freshly made.
FAQs
Can I use quick oats instead of old-fashioned oats?
While you can swap in quick oats, the texture will be softer and less chewy. Old-fashioned oats give Carmelitas their signature hearty bite that completes the bar’s structure perfectly.
What type of caramel works best for this recipe?
Soft caramels or caramel bits designed for baking work best. They melt smoothly without becoming too runny and help create that gooey layer everyone loves.
Can I use dark chocolate instead of semi-sweet chocolate chips?
Absolutely! Dark chocolate brings a richer, less sweet contrast that pairs beautifully with the caramel’s sweetness and the oat crust’s warmth.
Are Carmelitas gluten-free?
The recipe uses all-purpose flour and regular oats, so it’s not gluten-free as is. However, you can substitute with gluten-free flour and certified gluten-free oats to make a safe version.
How do I get clean cuts when slicing Carmelitas?
Make sure the bars are completely cooled and set before cutting. Using a sharp knife dipped in hot water and wiped dry between cuts helps create smooth, clean edges.
Final Thoughts
I can’t recommend making Carmelitas enough—they’re one of those treats that feel fancy yet are incredibly simple to whip up. They’re perfect for a cozy night in, special gatherings, or just when you need a little caramel and chocolate comfort. Trust me, once you try these chewy, luscious bars, Carmelitas will become your new favorite go-to dessert.


Your email address will not be published. Required fields are marked *