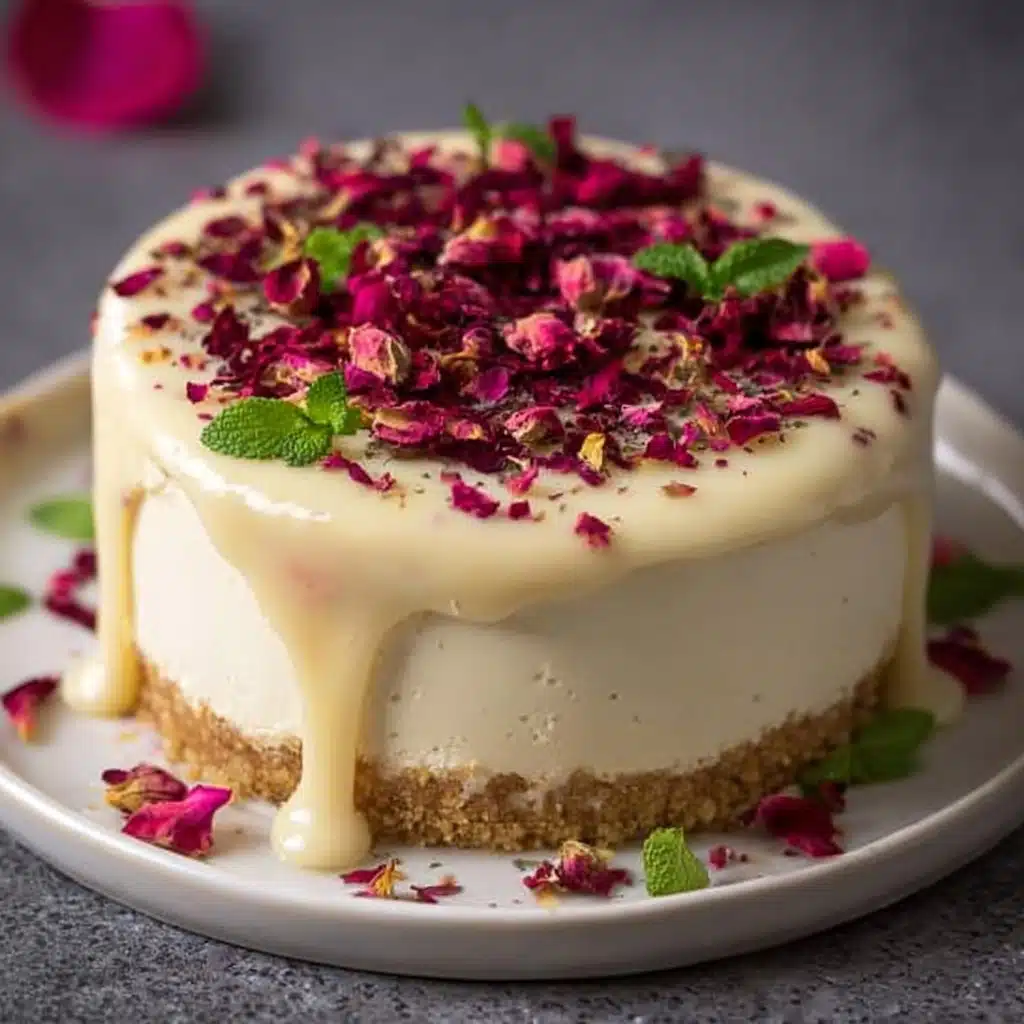
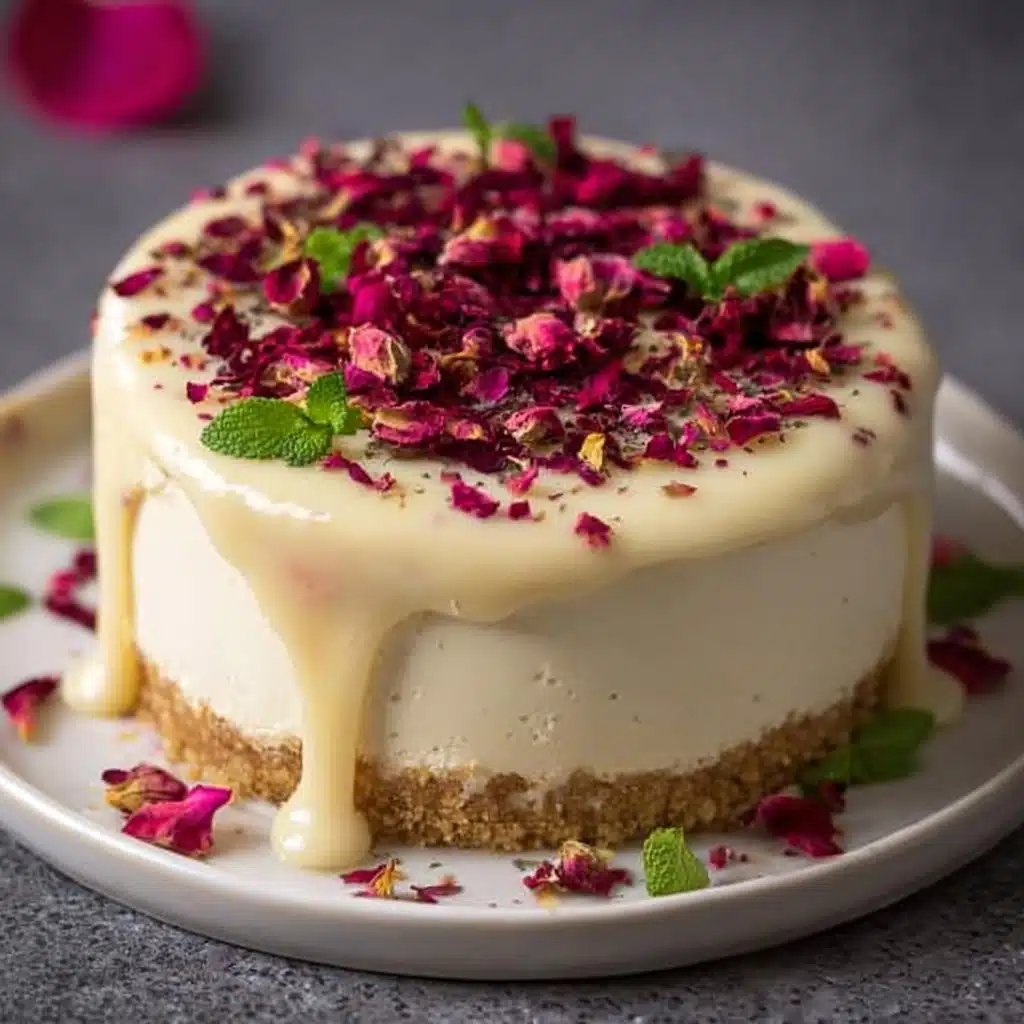
This White Chocolate & Rose Cheesecake is a dreamy showstopper that pairs the creamy luxury of white chocolate with delicate floral notes and the prettiest finish of edible rose petals. Whether you bake it or go the no-bake route, you’re signing up for silky smooth goodness and a little bit of magic in each slice. Every bite delivers melt-in-your-mouth sweetness with an elegant twist, making it a dessert for special occasions—or simply a treat-yourself day. Let’s dive into how you can make this White Chocolate & Rose Cheesecake a memorable centerpiece on your table.
Ingredients You’ll Need
Ingredients You’ll Need
You don’t need a laundry list of ingredients for this recipe – just a handful of essentials chosen specifically to create the perfect balance of crunch, creaminess, and floral aroma. Each component of this White Chocolate & Rose Cheesecake has a role to play in the overall flavor story, so don’t skip the good stuff!
- Digestive biscuits or graham crackers: The humble hero behind that buttery, crumbly base.
- Unsalted butter (melted): Binds your biscuit crumbs together for a base that’s set and rich.
- Cream cheese (room temperature): The backbone of any great cheesecake—smooth, creamy, and lightly tangy.
- White chocolate (melted & cooled): Sweetness and silkiness all in one, with a subtle cocoa butter flavor.
- Heavy cream: Ensures a soft, pillowy filling and creates that luscious white chocolate drip for a beautiful finish.
- Granulated sugar: Brings just the right touch of sweetness without overpowering the delicate rose.
- Vanilla extract: Adds warmth and depth to round out the flavors.
- Large eggs: Help set the filling if you choose to bake your cheesecake, making it sliceable and smooth.
- Dried edible rose petals (or freeze-dried raspberries): The spark of floral flair or a fruity pop for decoration—your call!
- Fresh mint leaves: Bring a burst of freshness and color to make your cheesecake pop.
How to Make White Chocolate & Rose Cheesecake
Step 1: Prepare the Biscuit Base
Start by grabbing those digestive biscuits or graham crackers and crushing them until they’re as fine as sand – use a food processor if you have one, but a rolling pin and a sealed bag do the trick too. Mix your crumbs with the melted butter, stirring until the mixture is evenly coated and clumps like wet sand. Next, press the crumb mixture firmly into the base of a springform pan, smoothing it out as you go, then pop it into the fridge to chill and set up while you work on the filling.
Step 2: Whip Up the Creamy Cheesecake Filling
In a large bowl, beat the softened cream cheese and sugar together until smooth and creamy with no lumps—this is where the cheesecake magic starts! One at a time, add in your eggs, mixing gently just until incorporated; avoid overbeating to keep the mixture light. Stir in the vanilla extract for that sweet aroma, then fold in the melted (and slightly cooled) white chocolate, blending until everything looks indulgent and glossy.
Step 3: Fold in the Whipped Cream
In a separate bowl, whip the heavy cream to soft peaks; you want it fluffy but not stiff. Carefully fold this whipped cream into the cheesecake mixture, being gentle to keep that lovely, airy texture—this step ensures your White Chocolate & Rose Cheesecake turns out feather-light with every bite.
Step 4: Assemble and Bake (or Chill)
Pour the dreamy cheesecake filling over your chilled biscuit base, smoothing the top with a spatula. If you’re going the baked cheesecake path, preheat your oven to 160°C (320°F) and bake for 45–50 minutes, until the edges are set but the center still jiggles just a little. Let it cool at room temperature, then refrigerate for at least 4 hours or, even better, overnight for optimal texture. For a no-bake cheesecake, simply cover and chill for 6–8 hours until totally set.
Step 5: Make and Pour the White Chocolate Drip
For that irresistible finishing touch, gently heat heavy cream (don’t let it boil!) and pour it over some chopped white chocolate. Stir until silky smooth, then let it cool just slightly—this way, it’ll flow perfectly but not melt your cheesecake. Drizzle it around the edge so it drips seductively down the sides. It’s the crown your masterpiece deserves!
Step 6: Decorate and Serve
Scatter dried rose petals generously across the top, and add a sprinkle of freeze-dried raspberries or chopped pistachios if you love a pop of flavor and color. Crown it all with a few mint leaves, slice, and serve your White Chocolate & Rose Cheesecake chilled for maximum creaminess and beauty.
How to Serve White Chocolate & Rose Cheesecake
Garnishes
When it’s time to serve, don’t hold back on the edible rose petals—they give an elegant fragrance and look like a bouquet on a cake! A handful of crushed pistachios, or freeze-dried raspberries, offer crunchy and tangy contrast, while fresh mint leaves bring a cool touch. It’s these little details that transform each slice of White Chocolate & Rose Cheesecake into a visual feast.
Side Dishes
Pair this cheesecake with lightly macerated strawberries, a dollop of whipped cream, or even some tart raspberry coulis. On a warm day, a scoop of lemon sorbet alongside accentuates the floral and chocolate notes without overpowering them. Each bite of White Chocolate & Rose Cheesecake works beautifully with simple, fruity sides that add a fresh twist.
Creative Ways to Present
If you love entertaining, serve individual mini cheesecakes in jam jars or dessert glasses for a charming, modern look! Alternatively, cut the White Chocolate & Rose Cheesecake into dainty squares for a sweet addition to an afternoon tea tray. For special occasions, arrange rose petals in intricate patterns or use a stencil and powdered sugar for extra flair.
Make Ahead and Storage
Storing Leftovers
Leftover White Chocolate & Rose Cheesecake keeps like a dream! Simply cover the pan or transfer slices to an airtight container and refrigerate for up to five days. The flavor actually deepens a little after a day, so those sneaky midnight fridge visits are more than justified.
Freezing
This cheesecake freezes well, too—perfect for planning ahead. Just wrap slices (or the whole cake, minus the garnishes) tightly in plastic wrap and foil. Thaw overnight in the fridge before adding your finishing touches and serving. The White Chocolate & Rose Cheesecake will taste just as indulgent!
Reheating
No reheating is needed—this dessert is all about that cool, creamy texture! If you’ve frozen it, simply let it thaw slowly in the refrigerator. Avoid microwaving or warming, as this can affect the texture of your beautiful cheesecake.
FAQs
Can I make this White Chocolate & Rose Cheesecake without eggs?
Absolutely! Skip the eggs and opt for the no-bake method; the filling will set beautifully in the fridge thanks to the whipped cream and white chocolate.
What can I use instead of rose petals?
If rose petals aren’t available, try freeze-dried raspberries, a dusting of raspberry powder, or even a hint of orange zest for a different twist—each gives a unique decorative and flavor touch.
Is it possible to make this cheesecake gluten-free?
Yes, simply substitute the digestive biscuits or graham crackers for a gluten-free alternative. The rest of the recipe is naturally gluten-free, so everyone can enjoy a slice.
Can I prepare the White Chocolate & Rose Cheesecake in advance for a party?
This cheesecake is actually better made ahead! Prepare it 1–2 days in advance and add the garnishes just before serving for the freshest, prettiest look.
Will the rose flavor be overpowering?
Not at all. Edible rose petals impart a delicate floral note that enhances but never overwhelms the creamy richness of the White Chocolate & Rose Cheesecake. Adjust the amount to taste if you prefer it more subtle.
Final Thoughts
I can’t wait for you to experience how magical this White Chocolate & Rose Cheesecake is—it’s every bit as impressive as it looks, yet totally doable in your own kitchen. Don’t be surprised if your friends ask for the recipe or request it again (and again). Gather your ingredients and treat yourself to this unforgettable creation!


Your email address will not be published. Required fields are marked *