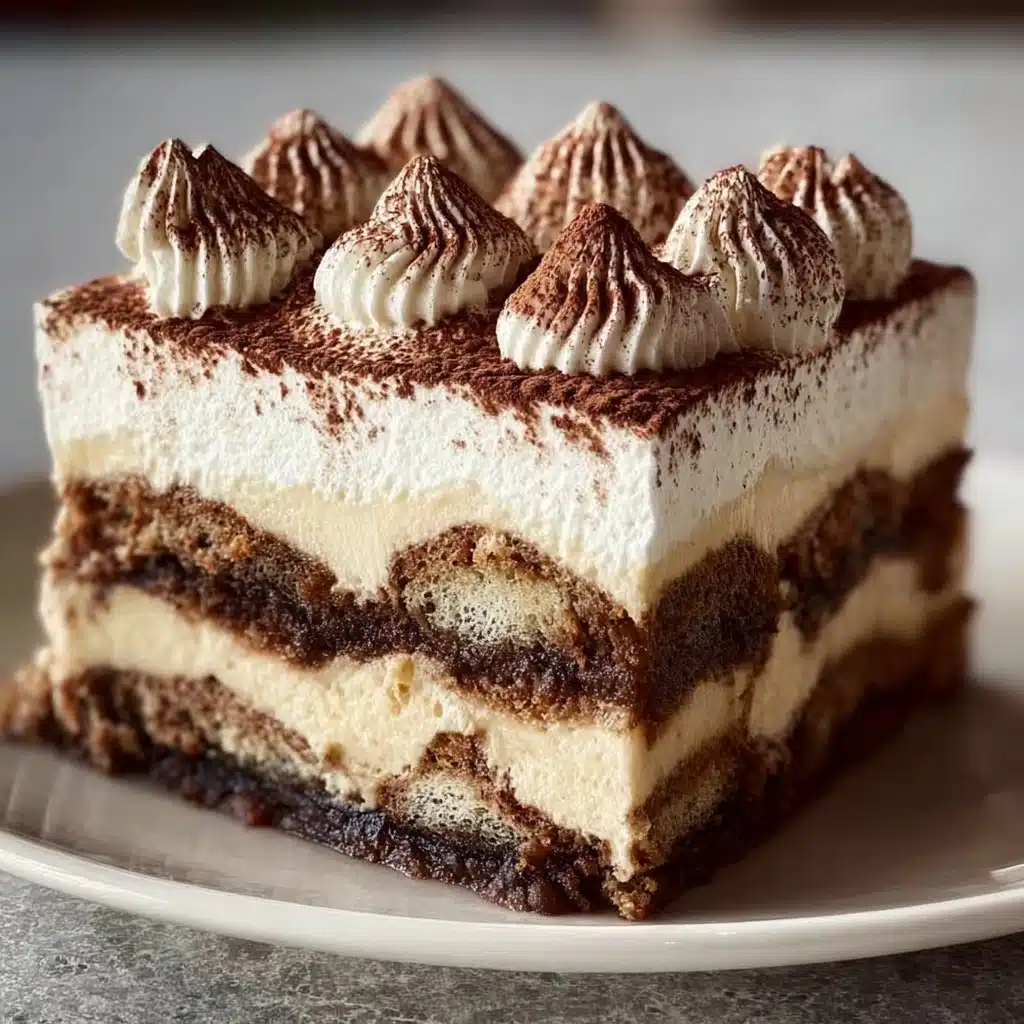
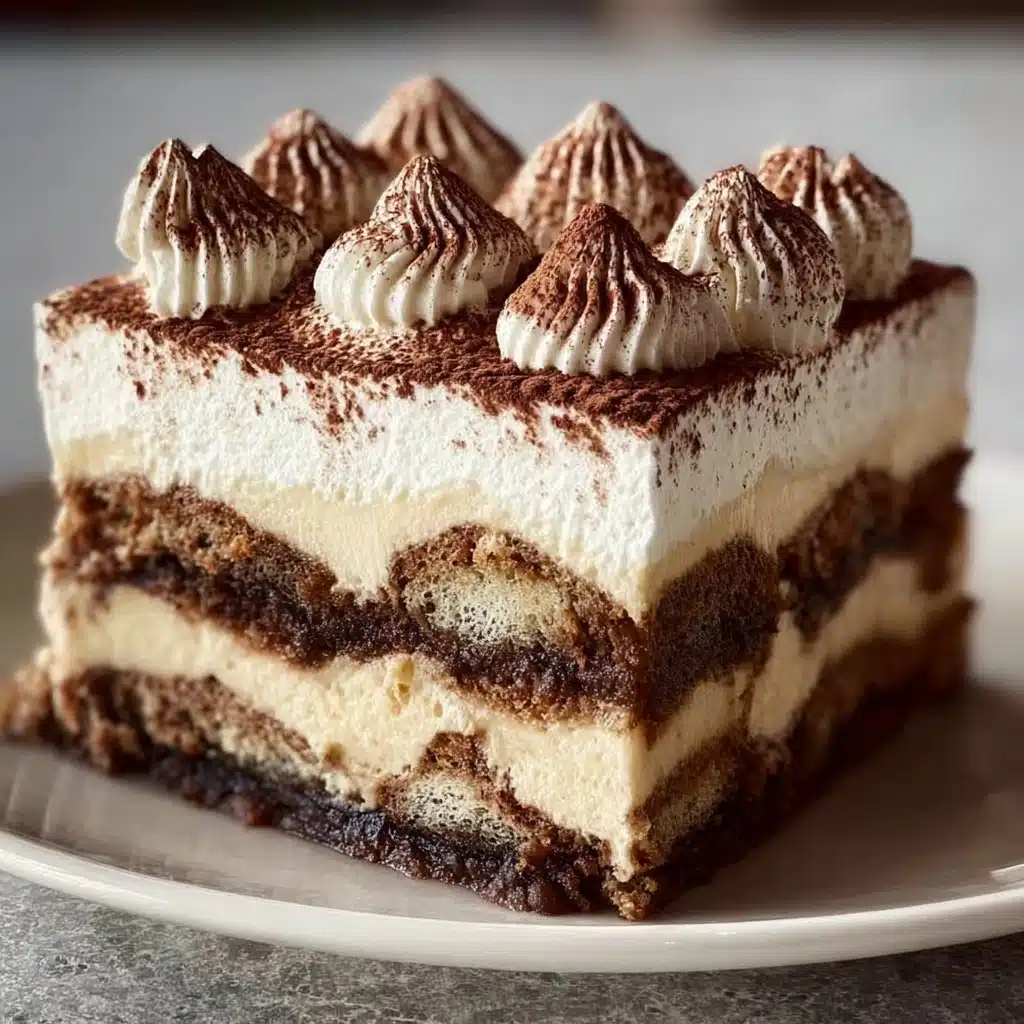
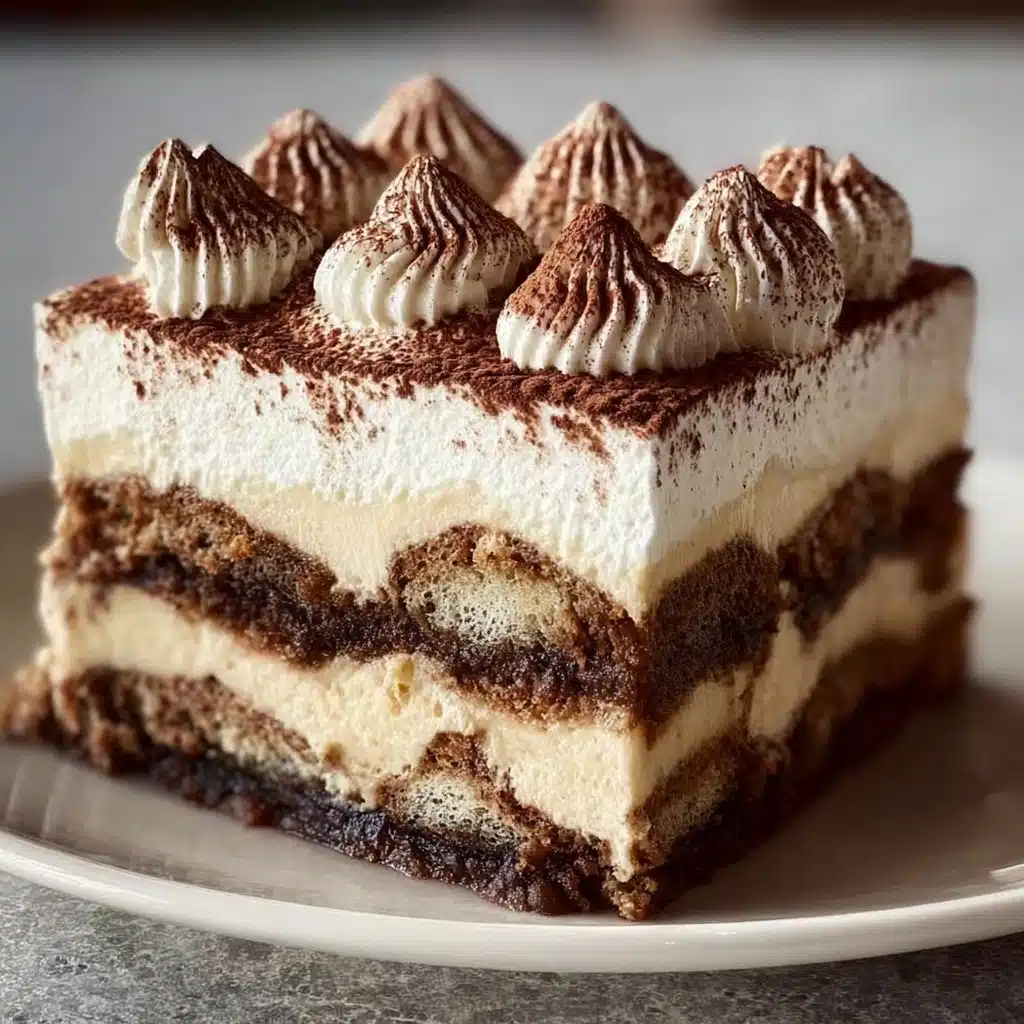
If you adore the decadence of classic tiramisu and the creamy dreaminess of cheesecake, let me introduce you to your new obsession: Tiramisu Cheesecake. This show-stopping dessert takes the best of both worlds—the coffee-soaked bliss of tiramisu and the lush tang of cheesecake—and brings them together in one stunning slice. Expect bold coffee notes, silky richness, and all the indulgence you crave, perfect for celebrations or whenever you want to treat yourself (or a lucky friend!).
Ingredients You’ll Need
The beauty of Tiramisu Cheesecake is how it transforms simple pantry staples and a handful of specialty touches into a dessert that feels utterly luxurious. Every ingredient here has a purpose, from the velvety cream cheese to the aromatic espresso—each one helps create that authentic tiramisu flavor and luscious cheesecake texture.
- Crushed ladyfingers: These are the soul of any tiramisu, lending the crust a delicate vanilla flavor and a light, crumbly bite. Substitute with graham crackers in a pinch.
- Melted butter: The binder that holds the crust together and adds a touch of richness.
- Cream cheese: Softened to room temperature, it’s the base of the filling for that classic cheesecake silkiness.
- Granulated sugar: Adds just the right level of sweetness to balance the coffee and tanginess.
- Large eggs: These bring structure and richness—always add one at a time for best results.
- Strong brewed espresso: It infuses authentic coffee flavor; cooled so it doesn’t scramble the eggs.
- Coffee liqueur (like Kahlúa): This deepens the coffee notes and adds that unmistakable tiramisu allure.
- Vanilla extract: Elegant and warming, it ties all the flavors together.
- All-purpose flour: Just a touch thickens the filling without making it heavy.
- Sour cream: Adds a subtle tang and creamy finish—don’t skip it!
- Heavy cream: The secret to a cloud-like whipped topping.
- Powdered sugar: Sweetens the whipped cream gracefully, so it melts perfectly in your mouth.
- Cocoa powder: Dusting the top completes the tiramisu vibe and adds a hint of bitterness.
How to Make Tiramisu Cheesecake
Step 1: Prepare the Crust
Let’s set the stage! Start by preheating your oven to 325°F (163°C). Mix those crushed ladyfingers (or graham crackers if you’re improvising) with the melted butter until they resemble sandy, delicious crumbles. Press this mixture evenly into the bottom of a 9-inch springform pan—use the flat bottom of a glass for a smooth finish. Bake your crust for 10 minutes to set it, then let it cool as you prep the filling. This step keeps the base crispy and ensures no soggy bottoms!
Step 2: Make the Filling
In a large bowl, beat the cream cheese and sugar until completely smooth—this is key for a lump-free Tiramisu Cheesecake. Add the eggs one at a time, beating well after each addition to keep things airy and luscious. Now for the magic: mix in your cooled espresso, coffee liqueur, vanilla extract, flour, and sour cream until everything is silky and uniform. Pour this velvety filling over your baked crust and smooth out the top with a spatula (there’s something so satisfying about this step!).
Step 3: Bake with a Water Bath
To guarantee that signature creamy texture, you’ll need a water bath. Wrap your springform pan in foil—this keeps water from leaking in—and nestle it into a larger baking dish. Pour hot water into the outer pan so it comes about halfway up the sides. Bake the cheesecake for 55 to 65 minutes, or until the edges are set but the center still has a gentle jiggle. Turn off the oven, crack the door, and let it cool gradually. Once completely cool, refrigerate for at least 4 hours (overnight is even better!) to let the flavors meld and the texture set.
Step 4: Make the Topping
While your cheesecake chills, whip up the topping. Beat the heavy cream, powdered sugar, and a splash of vanilla extract together until stiff peaks form—watch as it transforms into a dreamy, billowy cloud. Spread this generous layer over the cold cheesecake, creating swoops and peaks. Finish with a dusting of cocoa powder. This final step gives your Tiramisu Cheesecake its classic look and a hint of earthy chocolate aroma.
How to Serve Tiramisu Cheesecake

Garnishes
Dress up each slice with a sprinkle of cocoa powder just before serving to keep that intense color contrast fresh. For a fancier flourish, consider a few chocolate shavings, a sprinkle of espresso powder, or even a chocolate-covered coffee bean perched on top. Fresh berries (think raspberries or strawberries) can add a bright pop of color and a touch of tartness as well.
Side Dishes
Tiramisu Cheesecake is the undoubted star of any spread, so keep side dishes simple. A shot of hot espresso or a cup of bold coffee is a perfect companion, enhancing the dessert’s coffee notes. For a lighter pairing, offer a bowl of fresh berries or a crisp biscotti. Just let the cheesecake be the centerpiece!
Creative Ways to Present
For special occasions, you can serve individual mini Tiramisu Cheesecakes in jars or ramekins—adorable and perfectly portioned! Alternatively, top slices with a drizzle of coffee liqueur or a dollop of mascarpone for an extra-luxe finish. If you’re feeling fancy, plate each piece with a swoosh of chocolate sauce or scatter chocolate curls around for a bit of drama.
Make Ahead and Storage
Storing Leftovers
Leftover Tiramisu Cheesecake keeps beautifully in the refrigerator. Cover it tightly with plastic wrap or place in an airtight container to keep the edges from drying out. Stored properly, it will stay fresh and creamy for up to five days—if it lasts that long!
Freezing
To freeze, let the cheesecake chill completely, then wrap individual slices or the entire cheesecake first in a layer of plastic wrap, then a layer of foil. Place in a freezer-safe container. When you’re ready for a treat, thaw overnight in the fridge before serving. The flavor and texture hold up surprisingly well for up to two months.
Reheating
Good news—Tiramisu Cheesecake is best enjoyed cold, straight from the fridge! No need to reheat, though it’s wise to let it sit at room temperature for about 10 minutes if you prefer a slightly softer, silkier bite. That first creamy forkful is always worth the wait.
FAQs
Can I make Tiramisu Cheesecake without a springform pan?
Absolutely! While a springform pan makes removal neat and easy, you can use a deep pie dish or a regular round cake pan lined with parchment. Just allow the cheesecake to cool fully before attempting to remove, and serve straight from the dish if needed.
Is it necessary to use a water bath?
For the best creamy texture and to prevent cracks, yes—a water bath is strongly recommended for Tiramisu Cheesecake. The gentle, even heat it provides creates that custardy consistency cheesecake lovers crave.
Can I substitute mascarpone for some of the cream cheese?
Definitely! Swapping 8 ounces of cream cheese for mascarpone will give your Tiramisu Cheesecake an even more authentic Italian flair, with richer flavor and a softer crumb. Just be sure the cheese is at room temperature to avoid lumps.
What’s the best way to get clean slices?
For picture-perfect slices, dip your knife in hot water and wipe between each cut. This helps glide through the creamy layers and keeps your gorgeous presentation intact.
Can I make Tiramisu Cheesecake ahead for a party?
Yes—this is actually the perfect make-ahead dessert! Prepare it a day in advance and chill overnight. Wait to add the whipped cream and cocoa powder until just before serving for the freshest finish.
Final Thoughts
If you’re craving a dessert that’s as festive as it is foolproof, give Tiramisu Cheesecake a try. From its lush, coffee-swirled filling to that heavenly cocoa-dusted top, it’s bound to leave a lasting impression—on you and everyone lucky enough to snag a slice. Happy baking!


Your email address will not be published. Required fields are marked *