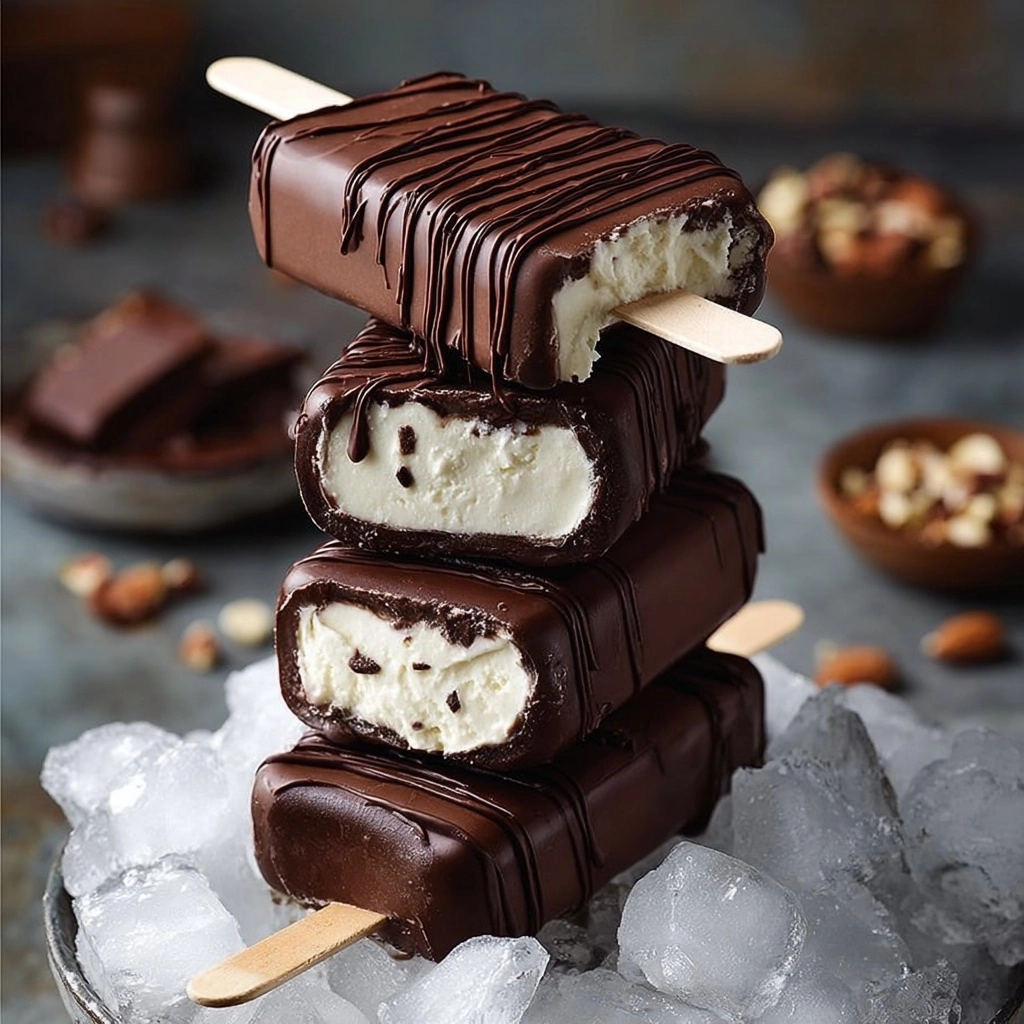
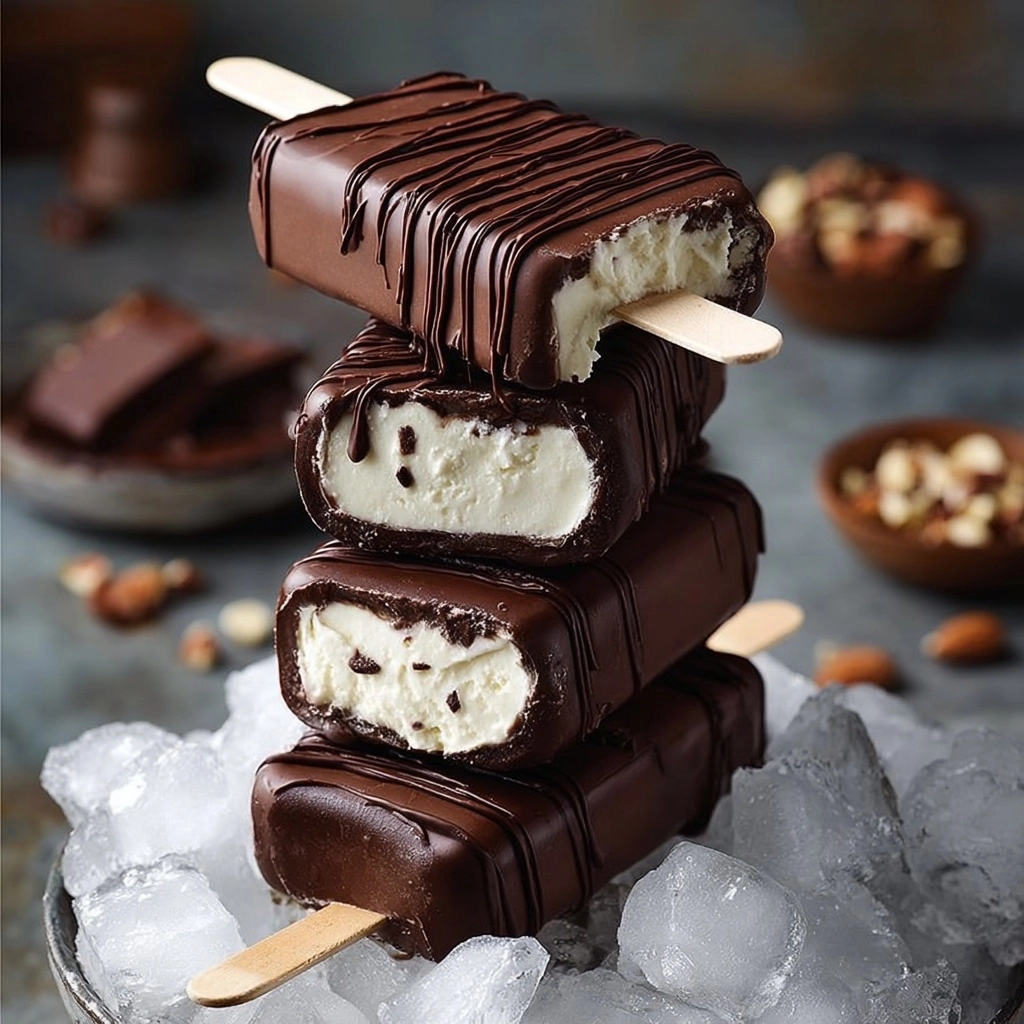
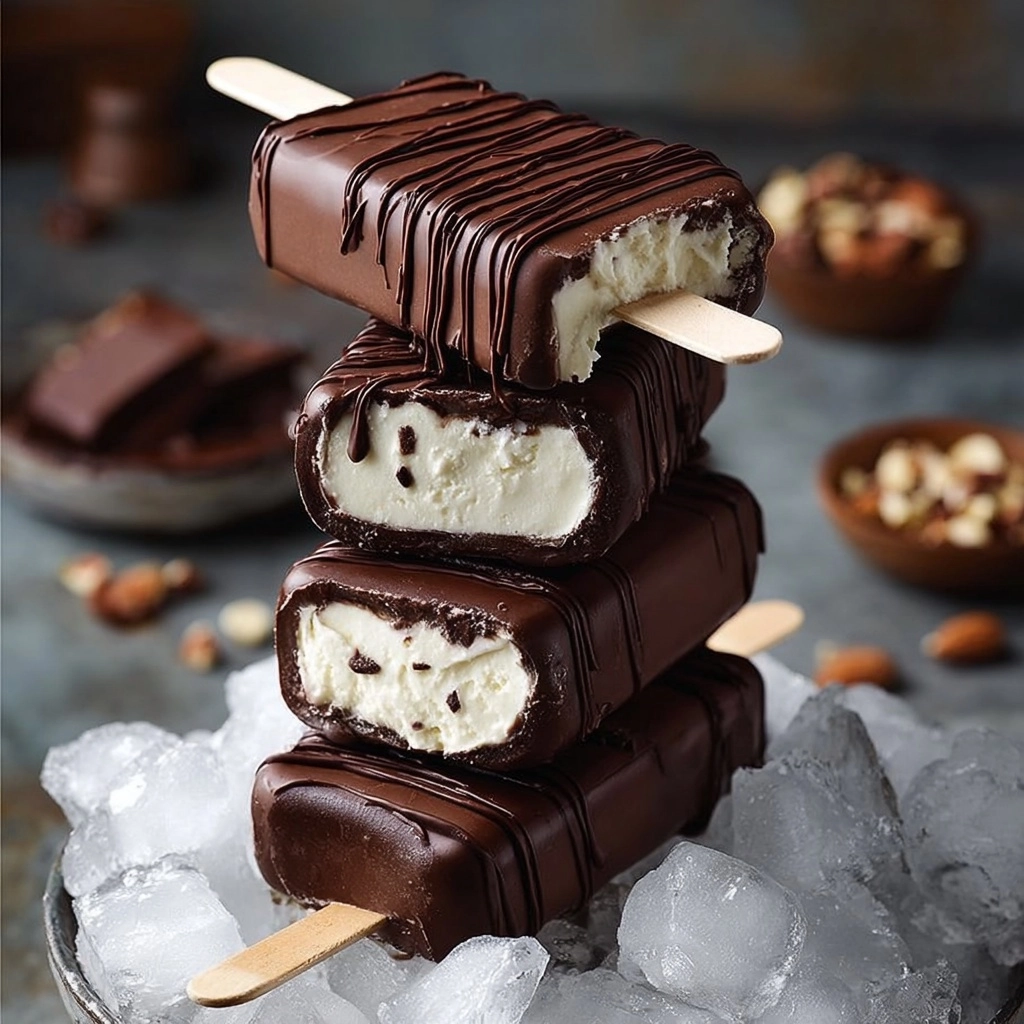
If you’re looking for a nostalgic treat that’s both endlessly fun and supremely satisfying, you’re going to absolutely fall in love with this recipe. We’re taking the classic treat to a whole new level by shaping the vanilla ice cream into a rectangular, dunking it in rich melted chocolate, and dazzling it with toppings—right at home! It’s a brilliantly simple dessert that brings out the kid in everyone while letting you customize every sensational bite.
Ingredients You’ll Need
These few ingredients are the magic behind your homemade ice cream bars, with each one adding flavor, crunch, color, or that creamy base everyone craves. Gather these, and you’re halfway to dessert bliss!
- Vanilla ice cream: The star—choose a rich, creamy variety for an ultra-satisfying bar.
- Melting chocolate: Milk, dark, or white chocolate works here—pick your mood and melt it smoothly for perfect dipping.
- Crushed nuts: Almonds, peanuts, or hazelnuts add an irresistible crunch and nutty contrast.
- Crushed cookies: Oreos, graham crackers, or any cookie you love for extra texture and flavor.
- Sprinkles: Colorful, whimsical, and the fast track to smiles!
- Popsicle sticks: These make your bars easy to handle and fun to eat—don’t skip them.
How to Make the vanilla ice cream into a rectangular
Step 1: Shape the Vanilla Ice Cream into a Rectangular Dish
Start by scooping the vanilla ice cream into a rectangular dish. Gently press and spread it out to create an even layer, making sure to get those sharp corners—it’ll make slicing easier later. Pop it in the freezer until it’s very firm; this is the secret to getting that iconic shape without any meltdowns during assembling.
Step 2: Slice the Bars
Once the vanilla ice cream into a rectangular shape is frozen solid, remove it from the freezer and carefully cut it into bars or squares. Use a sharp knife dipped in hot water for clean, smooth cuts. Consistent sizing will help your bars freeze and coat evenly.
Step 3: Insert Popsicle Sticks
Working quickly, slide a popsicle stick into each ice cream bar, being careful not to push all the way through. If the ice cream softens a bit, pop the bars back in the freezer for a few minutes to firm up before moving on.
Step 4: Melt the Chocolate
Chop your chocolate and melt it in a microwave-safe bowl or in a double boiler on the stove. Stir until it’s silky smooth and perfectly dippable. Let it cool slightly—hot chocolate will make the ice cream melt faster.
Step 5: Dip the Bars
Now the real fun begins. Dip each bar into the melted chocolate, using a spoon to help coat every surface. The contrast between the cold ice cream and the warm chocolate will make the shell set quickly, so be ready with your toppings!
Step 6: Add Toppings
Before the chocolate hardens, generously sprinkle over your choice of crushed nuts, cookies, or sprinkles. Don’t be shy—the more, the merrier. The toppings will stick instantly to the just-dipped chocolate.
Step 7: Freeze Again
Arrange your finished bars on a baking sheet lined with parchment paper. Place them back in the freezer until the chocolate is completely set, about 30 minutes. This final chill ensures everything holds together in one delightful bite.
Step 8: Enjoy!
Once set, your homemade ice cream bars are ready to eat! Gather friends or family (or just treat yourself) and savor every creamy, crunchy, chocolatey mouthful.
How to Serve the vanilla ice cream into a rectangular

Garnishes
To make the vanilla ice cream into a rectangular even more special, go wild with finishing touches. Drizzle with extra melted chocolate, dust with a little sea salt for contrast, or even add a cloud of whipped cream on the side for decadence.
Side Dishes
Pair your bars with fresh summer berries, sliced bananas, or a warm shot of espresso on the side. The bright fruit flavors and bitter coffee balance the sweetness beautifully and add café-level flair to your dessert table.
Creative Ways to Present
Lay the vanilla ice cream into a rectangular bars on a chilled platter, and consider setting up a DIY toppings bar for guests to customize their own creations. Or, for a party, wrap each in parchment and secure with a colorful ribbon—a joy to unwrap and eat!
Make Ahead and Storage
Storing Leftovers
If you somehow have leftovers (kudos on your willpower!), lay the bars flat in an airtight container, separating layers with parchment so they don’t stick. They’ll keep perfectly for up to a week, always ready for a sweet craving.
Freezing
Because the vanilla ice cream into a rectangular is all about ice cream, your freezer is their best friend. Keep bars tightly wrapped to prevent frost and preserve that dreamy, creamy texture. For extra freshness, use within seven days.
Reheating
Luckily, there’s no reheating needed! Just let the bars sit at room temperature for 2-3 minutes if they’re very solid from the freezer—this softens the chocolate shell just enough for a perfect bite.
FAQs
Can I use other flavors instead of vanilla?
Absolutely! While the magic hinges on shaping the vanilla ice cream into a rectangular, other flavors like chocolate, strawberry, or even pistachio work beautifully. Choose your favorite and have fun experimenting!
What’s the best chocolate for dipping?
Any high-quality melting chocolate will work, whether milk, dark, or white. Look for types made specifically for melting or coating to guarantee a smooth, glossy finish on the bars.
Why does the chocolate sometimes slide off?
If your ice cream isn’t frozen solid, or if the chocolate is too warm, it may not stick well. Make sure the vanilla ice cream into a rectangular is as cold as possible and the chocolate is cooled slightly—this combo is key for a perfect shell.
How can I make the bars dairy-free?
Use a favorite non-dairy ice cream and dairy-free chocolate for dipping. There are wonderful plant-based options that work just as well, so everyone can enjoy these homemade treats!
How do I keep the bars from melting while decorating?
Work quickly in small batches, keeping most of your bars in the freezer until they’re ready for dipping and decorating. This ensures the vanilla ice cream into a rectangular bars hold their shape and the toppings stick nicely.
Final Thoughts
There’s true magic in transforming the vanilla ice cream into a rectangular and crafting your own chocolate-covered ice cream bars at home. They’re impressively simple yet wildly fun—so don’t wait to try them! Gather your favorite toppings and discover just how delicious (and easy) homemade happiness can be.


Your email address will not be published. Required fields are marked *