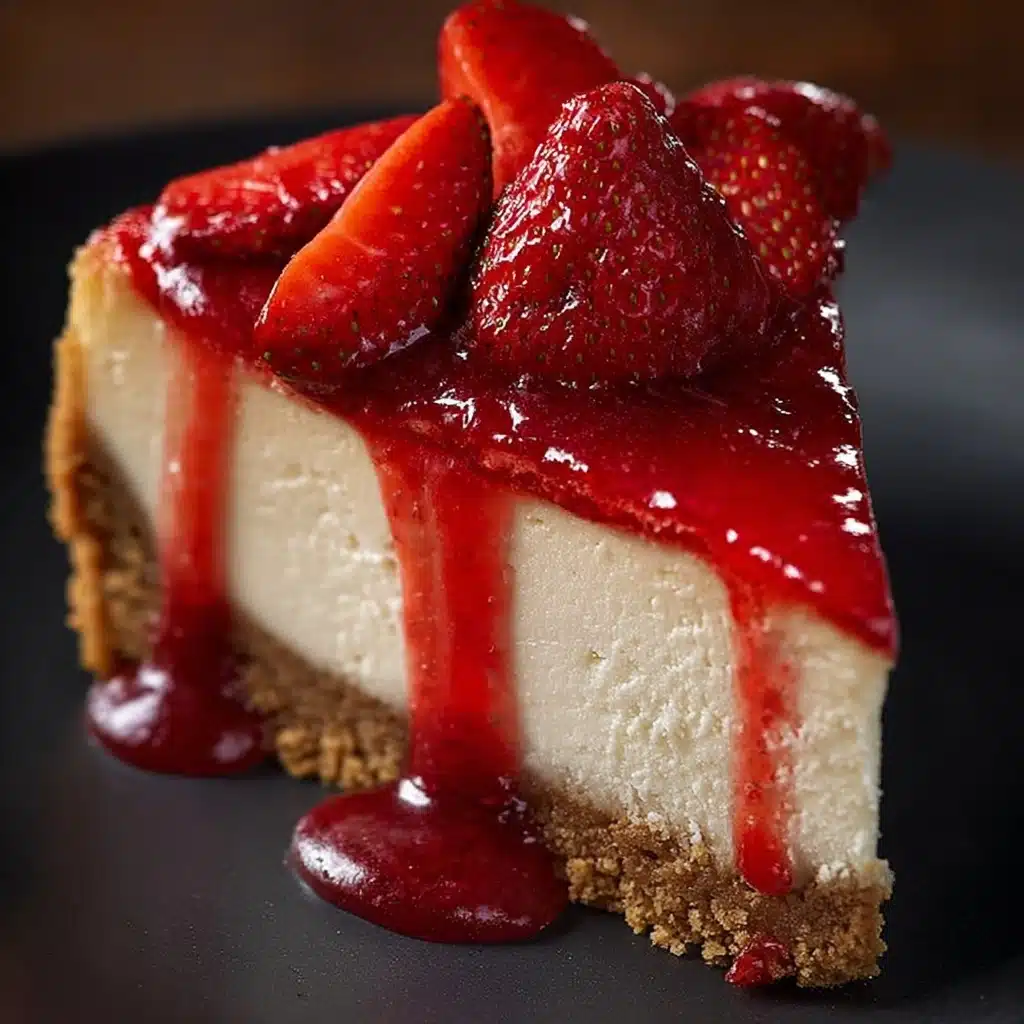
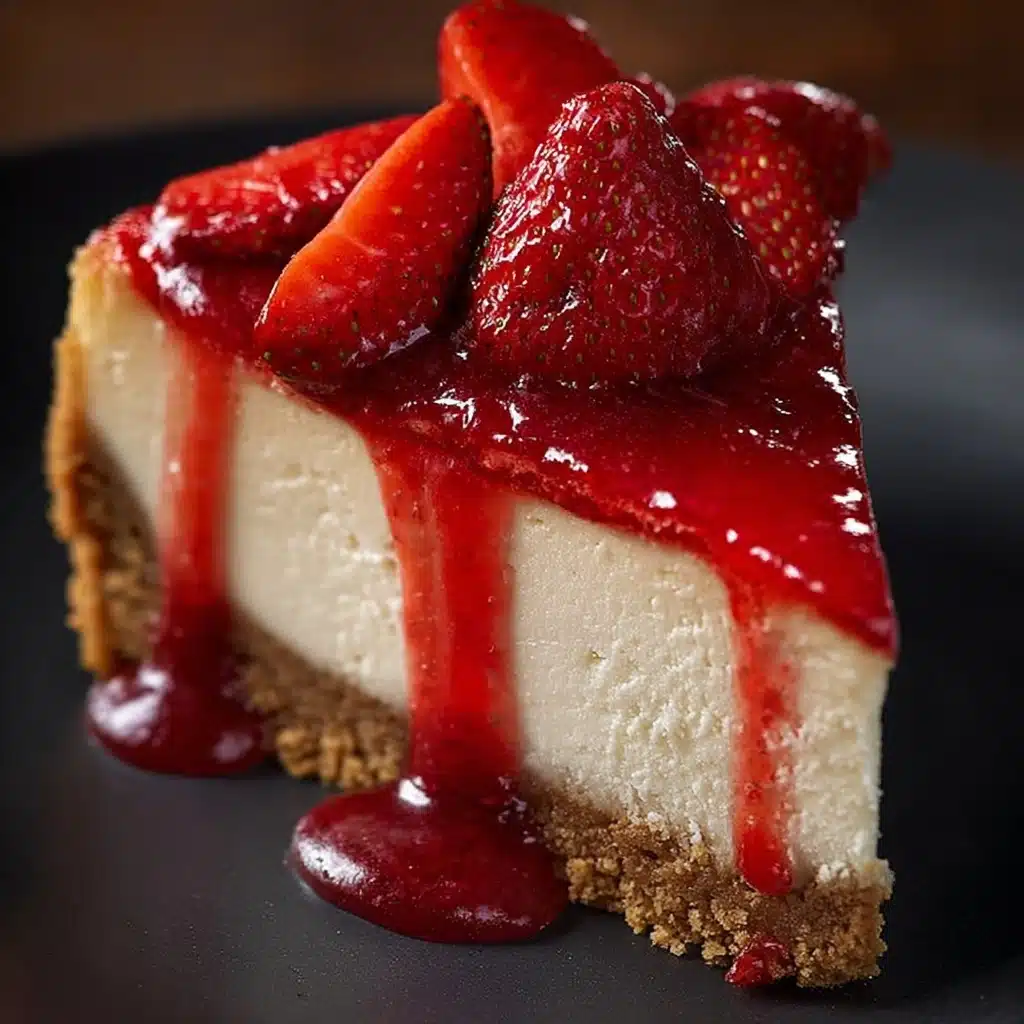
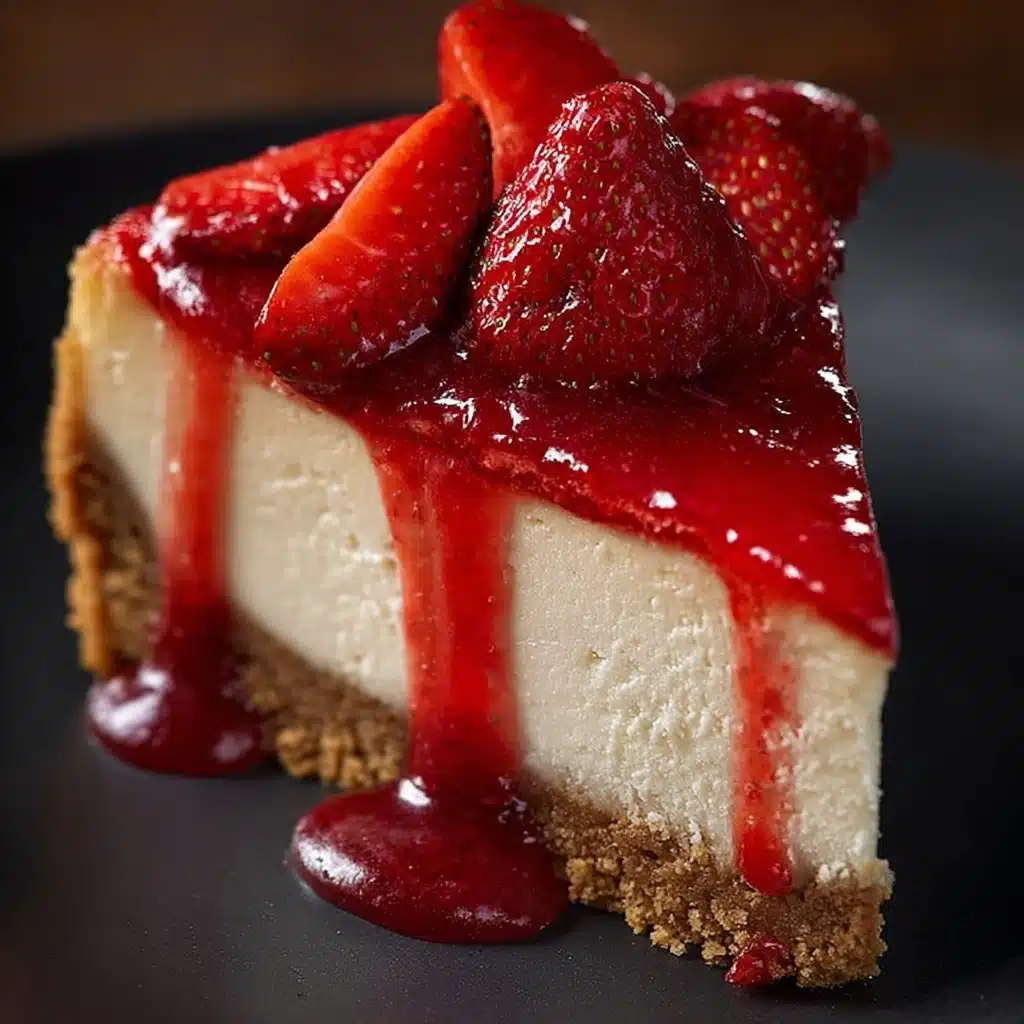
If you have a sweet tooth and love the rich, creamy texture of cheesecake combined with the fresh, vibrant flavor of strawberries, then you are in for a treat. This recipe for the Perfect Slice of Strawberry Cheesecake is just what you need to satisfy your dessert cravings and impress anyone lucky enough to have a bite. With a buttery graham cracker crust, luscious cream cheese filling, and a glossy fresh strawberry topping, every slice tells a story of pure indulgence. It’s easy to make, beautifully classic, and absolutely irresistible – your new favorite dessert is just a bake away!
Ingredients You’ll Need
Simple ingredients come together to create something truly extraordinary. Each element in this cheesecake is essential for building layers of flavor, from the crunchy, buttery crust to the velvety filling and the bright strawberry topping.
- Graham cracker crumbs: The foundation of your crust, offering a sweet, crunchy base that holds everything together perfectly.
- Granulated sugar: Adds the necessary sweetness to both the crust and filling, balancing the tanginess of the cream cheese and strawberries.
- Unsalted butter: Melted to bind the crumbs into a crisp crust that complements the creamy filling.
- Cream cheese: The star of the filling, providing a rich and smooth texture that defines cheesecake.
- Vanilla extract: A splash of flavor that rounds out the filling with warm, aromatic notes.
- Eggs: They give structure and stability without weighing down the cheesecake.
- Sour cream: Adds a subtle tang and extra creaminess, making the filling decadently smooth.
- All-purpose flour: Helps with the cheesecake’s texture by holding it together gently without toughening.
- Fresh strawberries: For that irresistible, juicy topping that brightens every bite.
- Strawberry jam or preserves: Used to glaze the topping, adding shine and a touch of sweetness.
- Water: Just enough to loosen the jam for a perfect glaze finish.
How to Make Perfect Slice of Strawberry Cheesecake
Step 1: Prepare the Crust
Start by preheating your oven to 325°F (160°C). Mix the graham cracker crumbs with sugar and the melted butter until you have a moist, sandy mixture. Press this firmly into the bottom of a 9-inch springform pan, making sure the crust is even and compact. Bake it for 10 minutes to allow it to set, then remove it from the oven and let it cool while you prepare the filling. This step is crucial—it creates that buttery crunch you want under every creamy bite.
Step 2: Mix the Cheesecake Filling
In a large bowl, beat the softened cream cheese and sugar together until smooth and fluffy—getting this right means your cheesecake will be creamy, not grainy. Blend in the vanilla extract, and then add the eggs one at a time, mixing gently after each addition. Finally, fold in the sour cream and flour carefully to avoid overmixing; you want a tender, velvety filling that holds just the right amount of firmness.
Step 3: Bake the Cheesecake
Pour your luscious filling over the cooled crust, smoothing it into an even layer. To ensure a crack-free cheesecake with a silky texture, bake it in a water bath: place the springform pan inside a larger roasting pan and add hot water until it reaches halfway up the sides of the pan. Bake for 55-65 minutes, watching for the edges to set while the center remains slightly wobbly. Turn off the oven, crack the door, and let the cheesecake rest inside for an hour before transferring it to the fridge to chill for at least 4 hours or overnight. This slow cooling is the secret to perfect texture.
Step 4: Prepare and Add the Strawberry Topping
While your cheesecake chills, warm the strawberry jam with a bit of water until it becomes smooth and spreadable. Once the cheesecake is fully chilled, arrange the fresh strawberry slices beautifully on top. Then, brush them with the warm jam glaze for a glossy, inviting finish. This fresh, fruity topping adds brightness and a stunning visual pop, completing the Perfect Slice of Strawberry Cheesecake.
How to Serve Perfect Slice of Strawberry Cheesecake

Garnishes
To really make your slices shine, add a few extra fresh strawberries or a small sprig of fresh mint. A light dusting of powdered sugar can add an elegant touch too. These simple additions not only enhance the presentation but also add extra flavor layers that make each bite more delightful.
Side Dishes
Serving your cheesecake alongside a dollop of whipped cream or a scoop of vanilla ice cream can elevate the experience even further. Fresh berries on the side are perfect for those who want more fruitiness with every forkful. A chilled glass of dessert wine or sparkling water with lemon also pairs wonderfully to cleanse the palate between bites.
Creative Ways to Present
If you want to impress guests, try serving your Perfect Slice of Strawberry Cheesecake as individual mini cheesecakes in small jars or molds. Layer the strawberry topping between thin slices to show off vibrant layers or create a deconstructed version with spoonfuls of filling, crumbled crust, and fresh berries artistically plated. Presentation makes this classic dessert feel even more special.
Make Ahead and Storage
Storing Leftovers
Keep any leftover cheesecake sealed tightly with plastic wrap or store in an airtight container in the refrigerator. It will stay fresh and delicious for up to 5 days. This ensures the filling maintains its creamy texture, and the crust stays crisp without becoming soggy.
Freezing
You can freeze the cheesecake for longer storage by wrapping it securely in plastic wrap and aluminum foil. Freeze for up to 2 months. When ready to enjoy, thaw overnight in the refrigerator. Freezing is a great option if you want to prepare the Perfect Slice of Strawberry Cheesecake in advance for parties or special occasions.
Reheating
Cheesecake is best served chilled, so there is no need to reheat it. However, if you prefer your cheesecake slightly softer, allow it to sit at room temperature for 15-30 minutes before serving. This subtle warming enhances the creamy texture without compromising its structure.
FAQs
Can I use frozen strawberries for the topping?
While fresh strawberries are best for the topping’s texture and appearance, you can use frozen strawberries if needed. Just thaw and drain them well to avoid extra moisture making the cheesecake soggy, and consider simmering them lightly with jam to keep the glaze consistency.
Why do I need to bake the cheesecake in a water bath?
The water bath provides a gentle, even heat that prevents cracks and helps the cheesecake cook slowly, resulting in a smooth, creamy texture. It also helps avoid overbaking the edges before the center is done.
What if my cheesecake cracks on top?
Cracking can happen due to overbaking or rapid cooling. Cooling it gradually by leaving the oven door ajar after baking helps prevent this. If cracks do appear, you can cover them with the strawberry topping or a dusting of powdered sugar.
Can I substitute the graham cracker crust?
Absolutely! Digestive biscuits or even crushed cookies like shortbread work well. Just make sure to keep the ratio of crumbs to butter similar to maintain the right texture and cohesiveness.
How long should I chill the cheesecake before serving?
For the best results and easiest slicing, chill the cheesecake for at least 4 hours, but overnight chilling is ideal. This allows the flavors to meld and the filling to set perfectly for that Perfect Slice of Strawberry Cheesecake.
Final Thoughts
This recipe truly brings out the joy of baking and sharing a dessert that feels both indulgent and fresh. Every step is straightforward, and the results are nothing short of spectacular. You owe it to yourself and your loved ones to bake this Perfect Slice of Strawberry Cheesecake – it’s a delicious way to make any day a little sweeter and a lot more special.


Your email address will not be published. Required fields are marked *