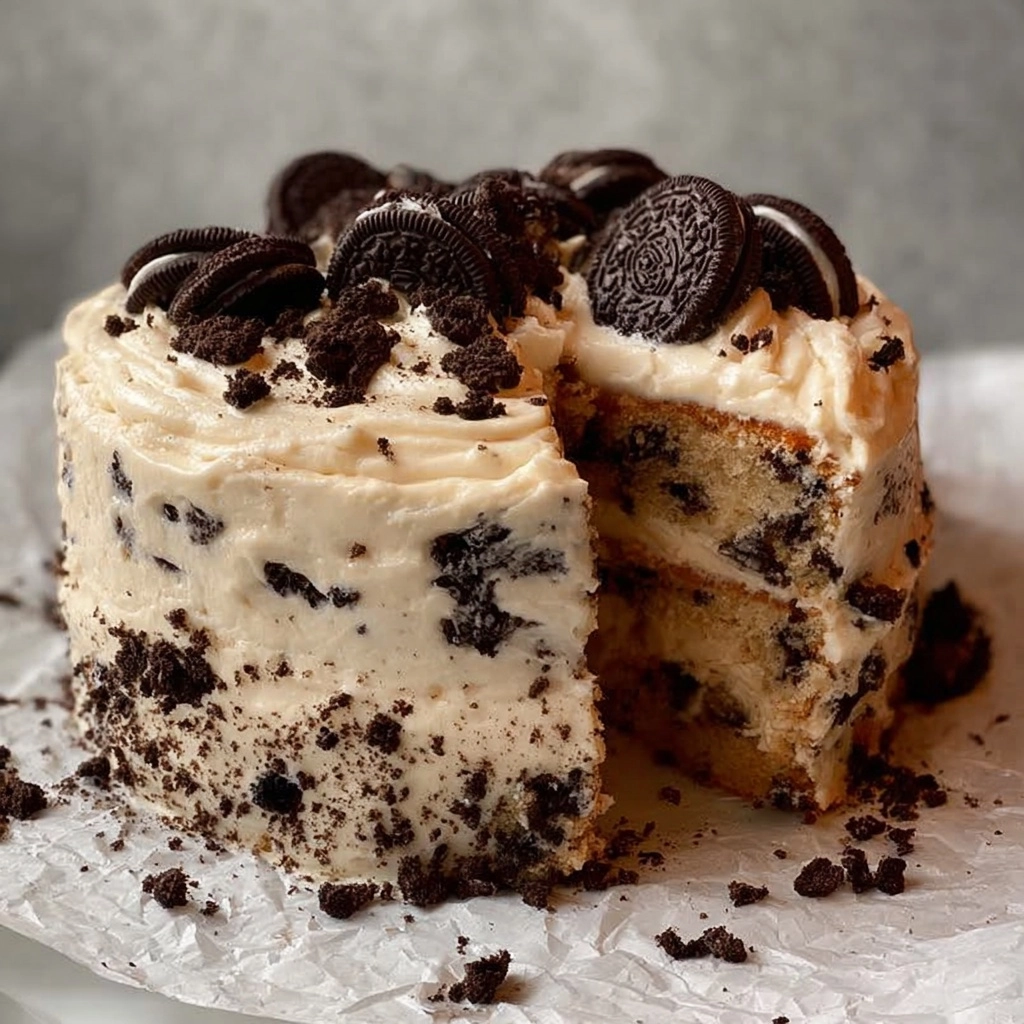
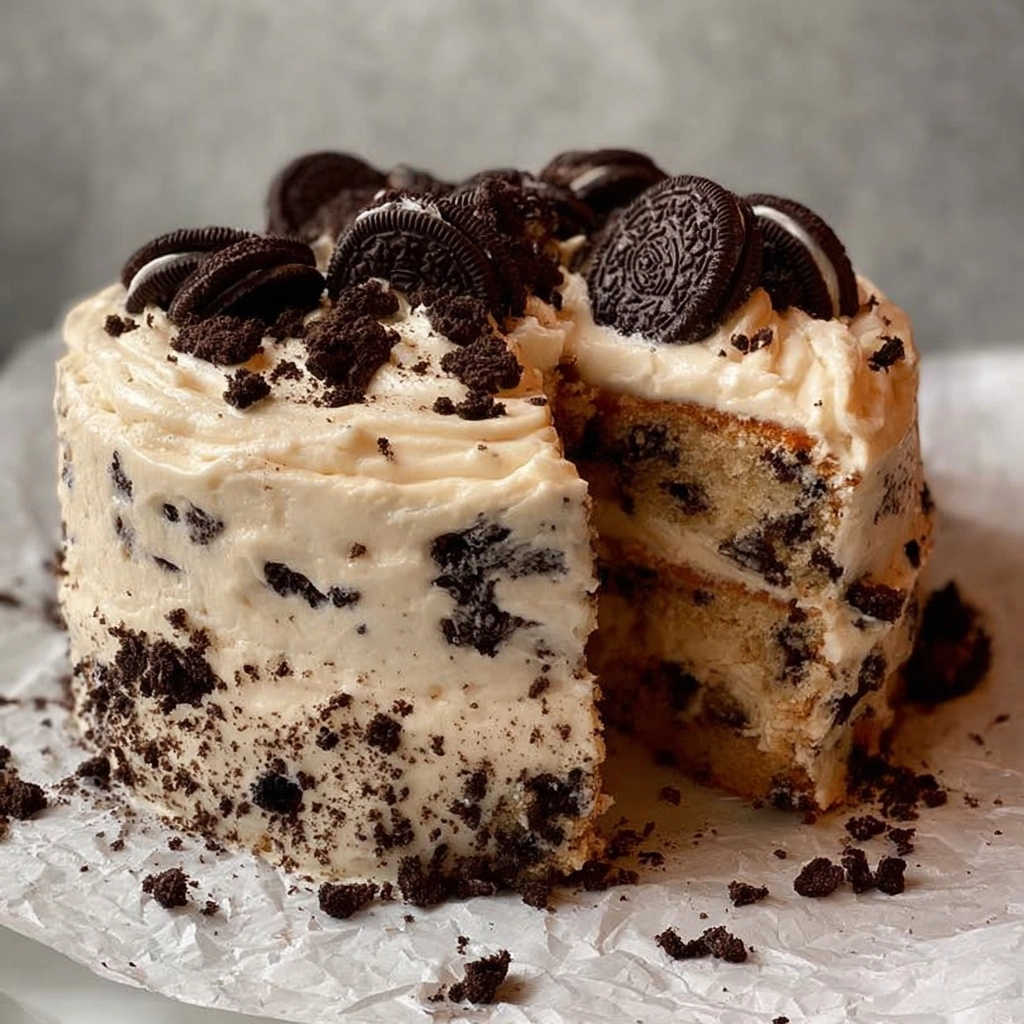
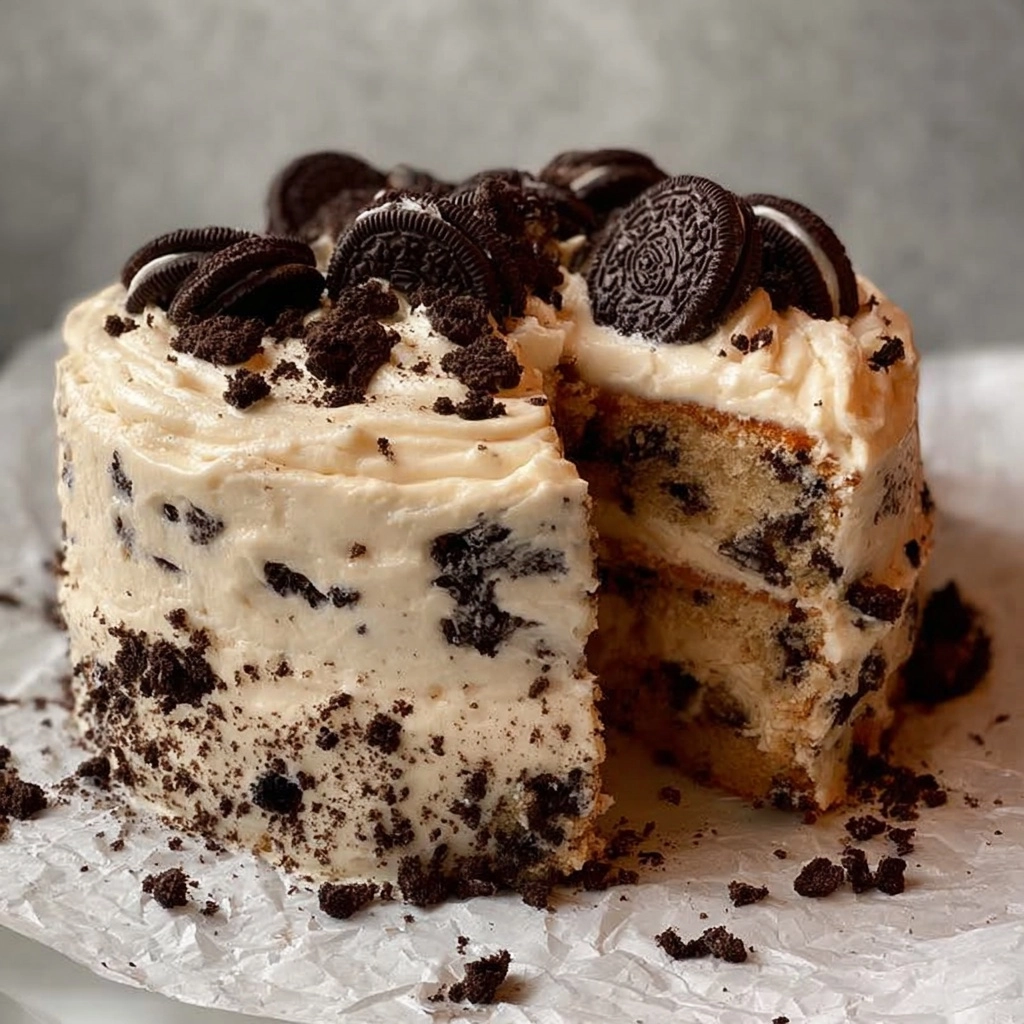
Get ready for a dessert that combines the rich, buttery goodness of classic pound cake with everyone’s favorite cookie: the Oreo Pound Cake. Imagine each bite bursting with velvety moistness, flecks of dark chocolate cookies, and a lush Oreo-studded cream cheese frosting. This recipe is incredibly simple to bring together and creates a cake that looks (and tastes) like a true bakery treat. If you’re searching for a showstopping bake that still brings familiar comfort, this Oreo Pound Cake will quickly become a new favorite in your kitchen.
Ingredients You’ll Need
Baking up an unforgettable Oreo Pound Cake is all about balancing simple pantry staples with a few special touches. Every ingredient is essential, bringing moisture, structure, or that signature cookies-and-cream flavor to every slice.
- Butter (1 cup, softened): Adds richness and creates a tender crumb for your cake.
- Granulated Sugar (2 cups): Brings sweetness and helps cream the butter to a light, fluffy base.
- Eggs (4 large, room temperature): Bind the batter and contribute to the cake’s structure and golden color.
- Sour Cream (1 cup): Keeps the cake ultra-moist and adds a subtle tang, or swap with Greek yogurt for a boost of protein.
- All-Purpose Flour (2 ½ cups): The backbone of the cake, giving substance and stability.
- Baking Powder (½ tsp) & Baking Soda (½ tsp): These provide the perfect lift for a dense, yet fluffy pound cake.
- Salt (½ tsp): Enhances every flavor and ensures the sweetness doesn’t overpower.
- Vanilla Extract (1 tsp): Deepens the cake’s aroma and brings out the chocolate in the Oreos.
- Crushed Oreo Cookies (1 ½ cups, about 15 cookies): The star ingredient—crumbles of classic Oreo throughout ensure bites of cookie in every forkful.
- Cream Cheese (4 oz, softened): For the Oreo frosting, delivers a tangy, creamy counterpoint to the sweet cake.
- Butter for Frosting (¼ cup, softened): Combines with cream cheese for an ultra-smooth topping.
- Powdered Sugar (2 cups): Makes the frosting cloud-like and perfectly sweet.
- Vanilla Extract for Frosting (1 tsp): Balances the tang and brings a warm note to the frosting.
- Milk (2–3 Tbsp): Adjusts the consistency of your frosting, making it perfectly spreadable.
- Finely Crushed Oreo Cookies (½ cup): Stirred into the frosting for an extra punch of cookies-and-cream flavor.
How to Make Oreo Pound Cake
Step 1: Prep Your Pan and Oven
Begin by preheating your oven to 350°F (175°C). Grease and flour a loaf or bundt pan to guarantee every beautiful detail of your Oreo Pound Cake releases cleanly. This simple prep step ensures nothing gets stuck!
Step 2: Cream Butter and Sugar
Using a hand mixer or stand mixer, beat the softened butter with the granulated sugar until the mixture is pale and fluffy. This step is crucial since incorporating air now leads to a lighter, more tender cake later on.
Step 3: Add Eggs, Sour Cream, and Vanilla
One at a time, add the eggs to the creamed mixture, mixing well after each addition. Follow with the sour cream and vanilla extract, blending until the batter is smooth and creamy. The batter should already smell irresistible at this point!
Step 4: Mix Dry Ingredients and Combine
In a separate bowl, whisk together your flour, baking powder, baking soda, and salt. Gradually add this dry mixture into the wet batter, mixing gently until just combined. Avoid overmixing in this step to keep your Oreo Pound Cake delicate.
Step 5: Fold in the Oreos
Pour in the crushed Oreo cookies and fold them in with a spatula. This keeps those signature black-and-white Oreo flecks visible throughout your cake and gives every bite that authentic cookies-and-cream goodness.
Step 6: Bake to Perfection
Pour the finished batter into your prepared pan and level it out. Slide it into the oven and bake for 55–65 minutes. You’ll know it’s done when a toothpick comes out clean or with just a few crumbs. Let it cool in the pan for 15 minutes, then transfer to a wire rack to cool completely.
Step 7: Make the Oreo Frosting
While your cake cools, beat together softened cream cheese and butter until perfectly smooth. Gradually add powdered sugar and vanilla, mixing until creamy and lush. Add milk a tablespoon at a time to reach your ideal frosting consistency, then stir in the finely crushed Oreos for that parfait-like flavor.
Step 8: Frost and Decorate
Once your Oreo Pound Cake is completely cool, slather on that creamy frosting with a spatula or butter knife. For a show-stopping finish, sprinkle extra Oreo crumbs or crown your cake with whole Oreos. Get creative—the topping is where your personal touch can truly shine!
How to Serve Oreo Pound Cake

Garnishes
A sprinkle of extra crushed Oreos or halved whole cookies is always a winning touch, but don’t stop there! For a bakery-worthy finish, try a dusting of powdered sugar, a few chocolate shavings, or even mini chocolate chips scattered on top for a playful twist. Garnishes add curb appeal and little bursts of flavor to every slice.
Side Dishes
Oreo Pound Cake shines alongside cool, creamy sides—think a scoop of vanilla bean ice cream or a dollop of lightly sweetened whipped cream. For a lighter pairing, serve with fresh berries like strawberries or blueberries. Each side helps balance the cake’s rich, sweet crumb with a cool or fruity contrast.
Creative Ways to Present
Show off your Oreo Pound Cake by slicing it into individual pieces and arranging them on a tiered cake stand, or cut the cake into cubes for a stunning trifle layered with whipped cream and Oreos. Hosting a party? Decorate mini pound cake slices on dessert boards with other cookies, candies, and fresh fruit for a truly festive spread.
Make Ahead and Storage
Storing Leftovers
Once frosted, the Oreo Pound Cake keeps perfectly in an airtight container in the fridge for up to five days. For the best texture, let slices come to room temperature before serving so the crumb and frosting are beautifully soft.
Freezing
Oreo Pound Cake freezes exceptionally well! Wrap individual slices or the whole (unfrosted) cake tightly in plastic wrap, then foil, and freeze for up to three months. Thaw at room temperature before serving; hold off on frosting until after thawing for optimum freshness.
Reheating
If you’d like your cake slightly warm, microwave individual slices (without frosting) for 10–15 seconds. For a more gentle touch, warm slices in a low oven (300°F) for 5–10 minutes. Always add frosting or garnishes after reheating so they don’t melt away.
FAQs
Can I use Greek yogurt instead of sour cream?
Absolutely! Greek yogurt swaps in perfectly for sour cream, keeping your Oreo Pound Cake moist with a touch of tang. Just use an equal amount and expect a deliciously tender crumb.
Can I make Oreo Pound Cake in a bundt pan?
Yes, a bundt pan works beautifully for this recipe. Just be sure to thoroughly grease and flour all the pan’s nooks and crannies so the cake turns out clean and gorgeous.
How many Oreos do I need for this recipe?
You’ll need about 15 Oreo cookies (cream and all) for the batter and another 4–5 cookies for the frosting. I always like to have a few extra on hand for garnishing or snacking!
How do I crush the Oreos for the cake and frosting?
Pop your Oreos into a zip-top bag and gently crush with a rolling pin or a heavy glass. You want some large crumbs in the cake batter for texture, but the Oreos for the frosting should be more finely ground so they blend smoothly.
Can I make this Oreo Pound Cake ahead of time?
Definitely. Bake the cake a day in advance, wrap it well, and frost just before serving for the freshest-tasting results. It actually gets moister as it sits, so a little time only improves the flavor!
Final Thoughts
If you’re looking to wow a crowd or just treat yourself to something spectacular, Oreo Pound Cake is truly a must-bake. Every step is easy enough for a beginner, yet the finished cake tastes like a beloved bakery favorite. Try it soon and discover just how special this cookies-and-cream twist on pound cake can be!


Your email address will not be published. Required fields are marked *