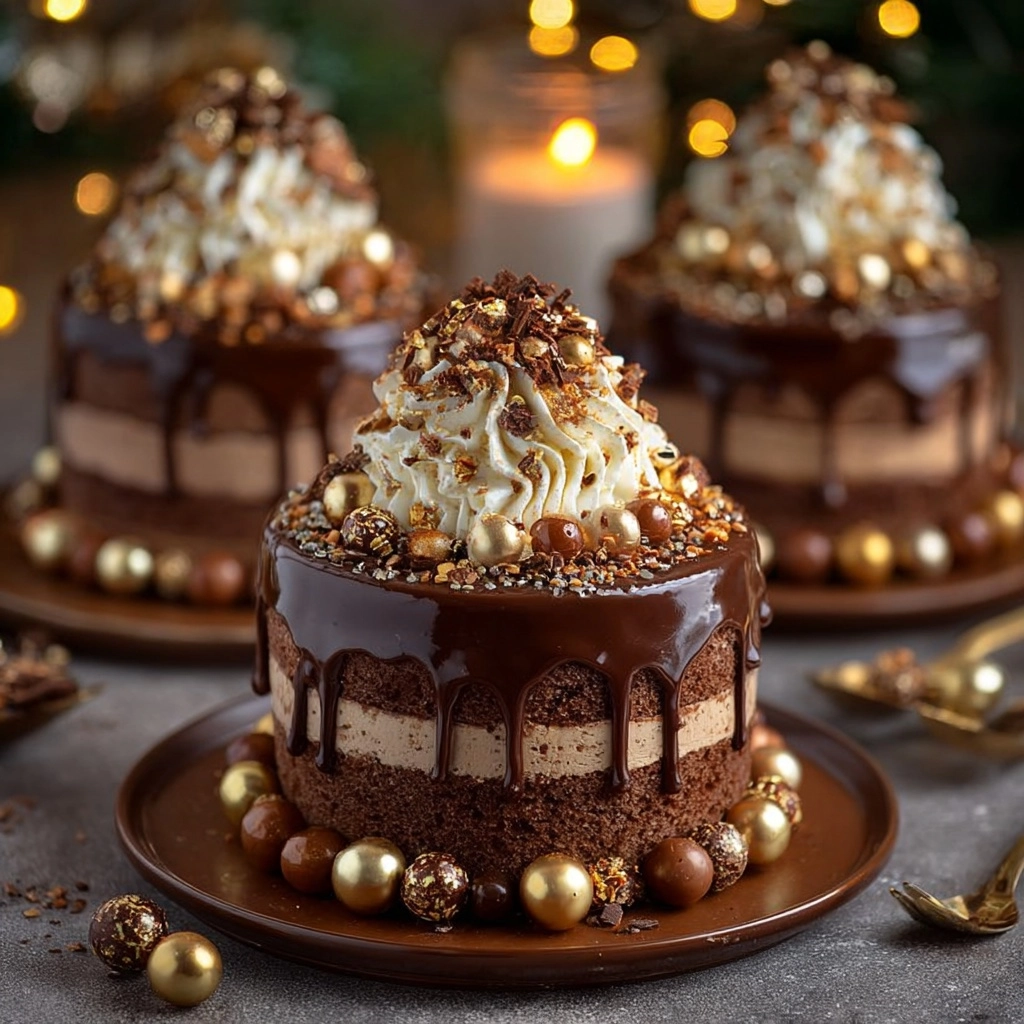
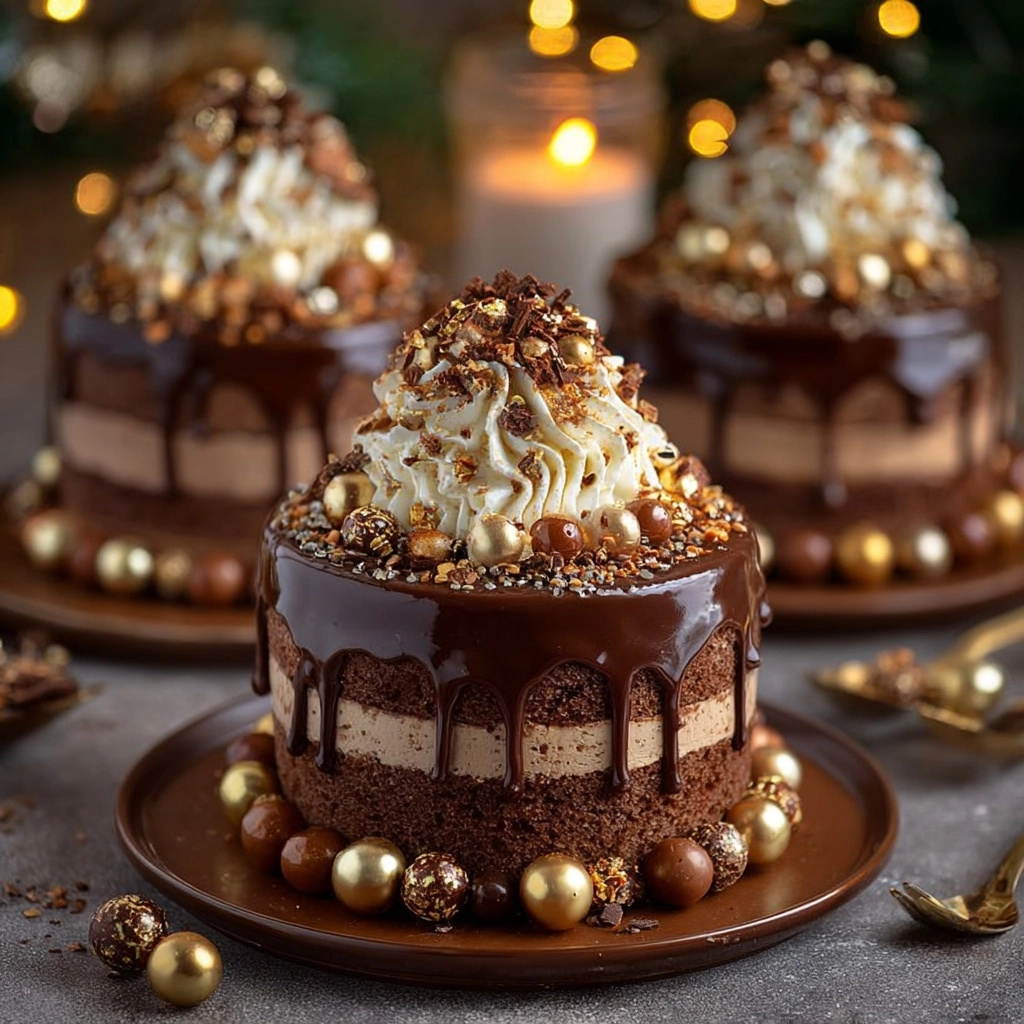
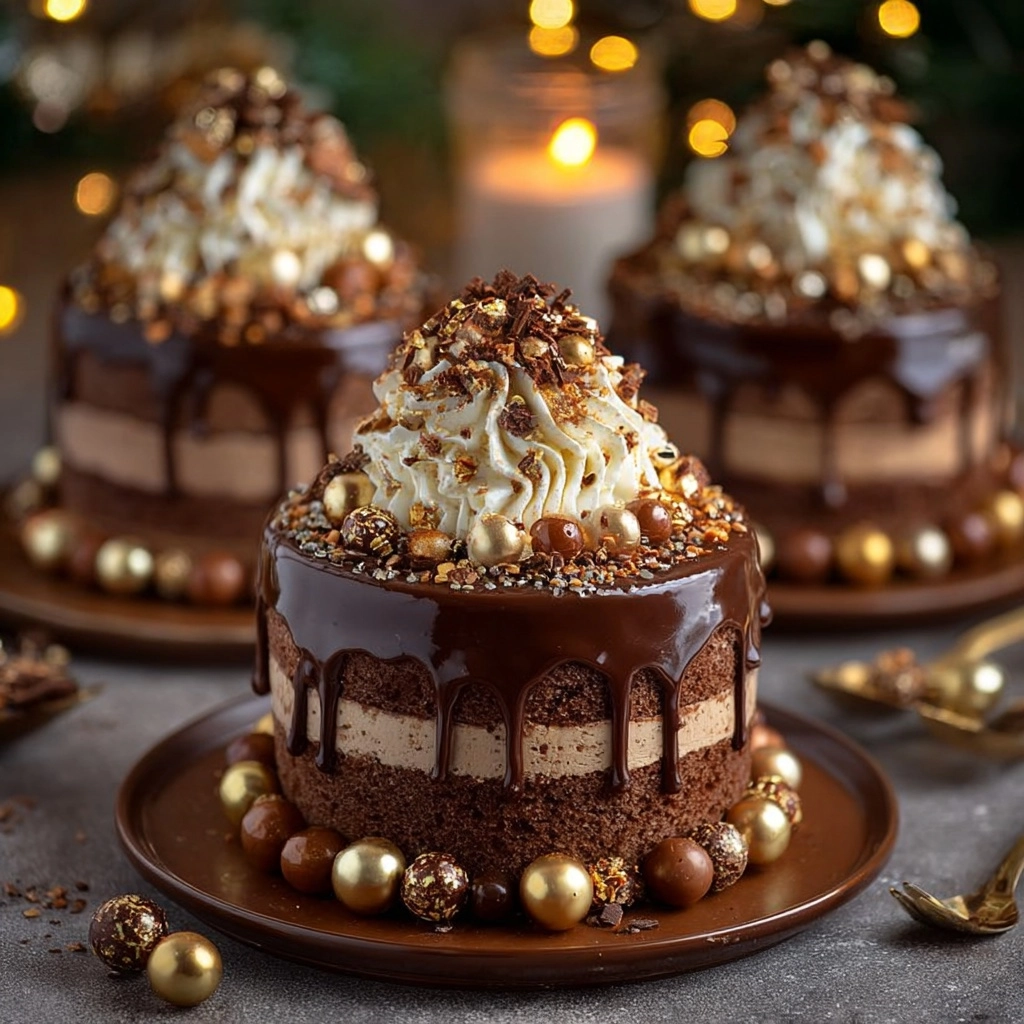
Get ready to fall in love with these Mini Chocolate Drip Cakes, the ultimate showstopping treat for chocolate lovers everywhere. Imagine a tender, rich chocolate sponge layered with silky ganache and topped with clouds of whipped cream, elegant drips, and playful decorations—it’s like a pocket-sized celebration on every plate. Whether you’re baking for a special occasion or just want to turn an ordinary day into something quite extraordinary, these mini cakes never fail to impress!
Ingredients You’ll Need
Every bite of these Mini Chocolate Drip Cakes sings with the thoughtful combination of ingredients, each one bringing something special to the table—whether it’s rich chocolatey depth, a touch of creaminess, or a light finish. Don’t let the grocery list fool you; these components are simple but essential for magic in every forkful.
- All-purpose flour: The foundation of your sponge, giving it just the right structure without heaviness.
- Sugar: Lends sweetness while also keeping the cake moist and tender.
- Unsweetened cocoa powder: Dark, robust cocoa flavor is what gives these cakes their irresistible chocolate intensity.
- Baking powder and baking soda: The dynamic duo that ensures your mini cakes rise to fluffy perfection.
- Salt: Just a pinch boosts all the rich flavors and keeps things perfectly balanced.
- Eggs: Essential for structure and that delicious, delicate crumb.
- Vegetable oil: Keeps the cake moist, even days after baking.
- Buttermilk (or milk + vinegar): Adds a tangy note and creates a lovely, tender texture—an easy swap if you don’t have buttermilk handy.
- Vanilla extract: A subtle note that enhances and rounds out the chocolate.
- Hot coffee (or hot water): Deepens the cocoa flavor for an extra chocolatey kick.
- Dark chocolate (for ganache): Choose a good-quality bar for the smoothest, richest drips.
- Heavy cream: Used both in the ganache and whipped topping for double creamy decadence.
- Butter: Transforms the ganache into a glossy, luscious glaze.
- Powdered sugar: Sweetens the whipped cream just the right amount for a creamy, cloud-like finish.
- Chocolate curls/shavings & fancy toppings: Add the final flourish with whatever makes you smile—golden pearls, crushed cookies, or a sprinkle of praline.
How to Make Mini Chocolate Drip Cakes
Step 1: Prepare and Bake the Chocolate Sponge
Begin by lining and greasing four 4-inch mini cake pans. Preheat your oven to 175°C (350°F), then get ready to build the backbone of your Mini Chocolate Drip Cakes. In a large bowl, whisk together the flour, sugar, cocoa, baking powder, baking soda, and salt. Add the eggs, oil, buttermilk (or milk with vinegar), and vanilla extract. Mix until the batter comes together, smooth and rich. Stir in the hot coffee or water last—don’t worry if the batter seems thin; that’s exactly what keeps these cakes incredibly moist. Divide the batter evenly into your prepared pans and bake for 18–22 minutes, until a skewer comes out clean. Let the cakes cool completely before moving on.
Step 2: Make the Ganache Drip
While your mini cakes cool, make the luscious chocolate ganache. Heat the heavy cream until steaming but not boiling, then pour it over your chopped dark chocolate in a heatproof bowl. Let it sit for a minute or two to melt, then stir until you have a silky, glossy mixture. Add the butter for shine and extra silkiness. Allow the ganache to cool just enough so it thickens slightly but will still drip beautifully.
Step 3: Whip the Cream
With the cakes cooling and the ganache ready, it’s time for the crowning glory—a billowy whipped cream topping. Whip your chilled heavy cream with powdered sugar and a splash of vanilla until stiff peaks form, but don’t overwhip. Spoon the cream into a piping bag fitted with a star nozzle for bakery-worthy swirls in a snap.
Step 4: Assemble Your Mini Chocolate Drip Cakes
Now for the fun part! If needed, level the tops of your cakes with a serrated knife. Stack two layers per mini cake, adding a generous swipe of ganache between them. Once assembled, spoon or pour the ganache on top, gently nudging it over the edges to encourage those signature chocolate drips down the sides—it’s what gives these Mini Chocolate Drip Cakes their dazzling look.
Step 5: Decorate Like a Pro
Finish with a flourish: pipe dreamy whipped cream swirls on top, then scatter chocolate shavings, golden sugar pearls, or crushed cookies. For extra pizzazz, dot with metallic chocolate balls—your cakes will look (and taste!) like they came straight from a patisserie.
How to Serve Mini Chocolate Drip Cakes

Garnishes
The beauty of Mini Chocolate Drip Cakes is how easily you can personalize every serving. Sprinkle chocolate curls for elegance, add golden sugar pearls for a little sparkle, or use crushed praline or cookies for crunch and a pop of texture. A final flurry of cocoa powder or gold dust shouts celebration—don’t be shy!
Side Dishes
While these cakes are a stand-alone treat, you can go the extra mile by serving with a scoop of vanilla bean ice cream or a spoonful of fresh berries. The slight tartness of raspberries or strawberries beautifully balances the rich chocolate, making your dessert plate even more memorable.
Creative Ways to Present
There are so many playful ways to share these Mini Chocolate Drip Cakes! Try serving them on individual cake stands or tiered platters for a party-worthy display. Wrap each mini cake in a clear acetate collar and tie with a ribbon for stunning edible gifts. Or, plate them with edible flowers for a springtime soirée.
Make Ahead and Storage
Storing Leftovers
Mini Chocolate Drip Cakes stay moist and delicious for several days if stored properly. Simply cover them with a cloche or loosely wrap each cake in plastic wrap, then refrigerate. The flavors deepen overnight, and the texture stays soft and sumptuous.
Freezing
To freeze, wrap each undecorated cake (or even assembled, but without whipped cream) tightly in several layers of plastic wrap, then aluminum foil. Place them in an airtight container or freezer bag. They’ll keep for up to three months. Thaw overnight in the fridge before finishing with ganache and toppings.
Reheating
If you prefer your Mini Chocolate Drip Cakes slightly warm, remove them from the fridge and let them rest at room temperature for about 30 minutes. You can gently microwave individual slices for just 10–15 seconds (before topping with cream), but honestly, these cakes are exquisite both cold and at room temp!
FAQs
Can I make Mini Chocolate Drip Cakes without mini pans?
Absolutely! You can use a muffin tin with liners or cut larger sheet cakes into circles using a cookie cutter. The shape might vary, but the decadent taste remains untouched.
What’s the secret to perfect chocolate drips?
The best drips happen when your ganache is cool but still pourable—it should run slowly, not race down the cake! Always do a quick test on the side of a bowl before drizzling over your cakes.
How far in advance can I assemble these cakes?
You can bake and assemble the sponge and ganache layers up to a day ahead. Hold off on piping whipped cream until just before serving for the fluffiest finish and the prettiest presentation.
Can I use milk chocolate instead of dark chocolate for ganache?
Definitely! Swap in milk chocolate for a sweeter, more mellow finish. Just reduce the cream slightly, as milk chocolate is softer than dark, and you want that ganache to hold those beautiful drips.
How can I make these cakes gluten free?
Simply substitute a reliable gluten-free all-purpose flour blend in place of regular flour. Everything else stays the same—so everyone gets to enjoy Mini Chocolate Drip Cakes!
Final Thoughts
There’s just something magical about serving Mini Chocolate Drip Cakes—each one feels like a tiny gift wrapped in chocolatey joy. Whether you’re catering a celebration, treating your loved ones, or just sneaking in a little “me-time” dessert, I hope you’ll try this recipe soon and let every delicious bite bring a smile to your face!


Your email address will not be published. Required fields are marked *