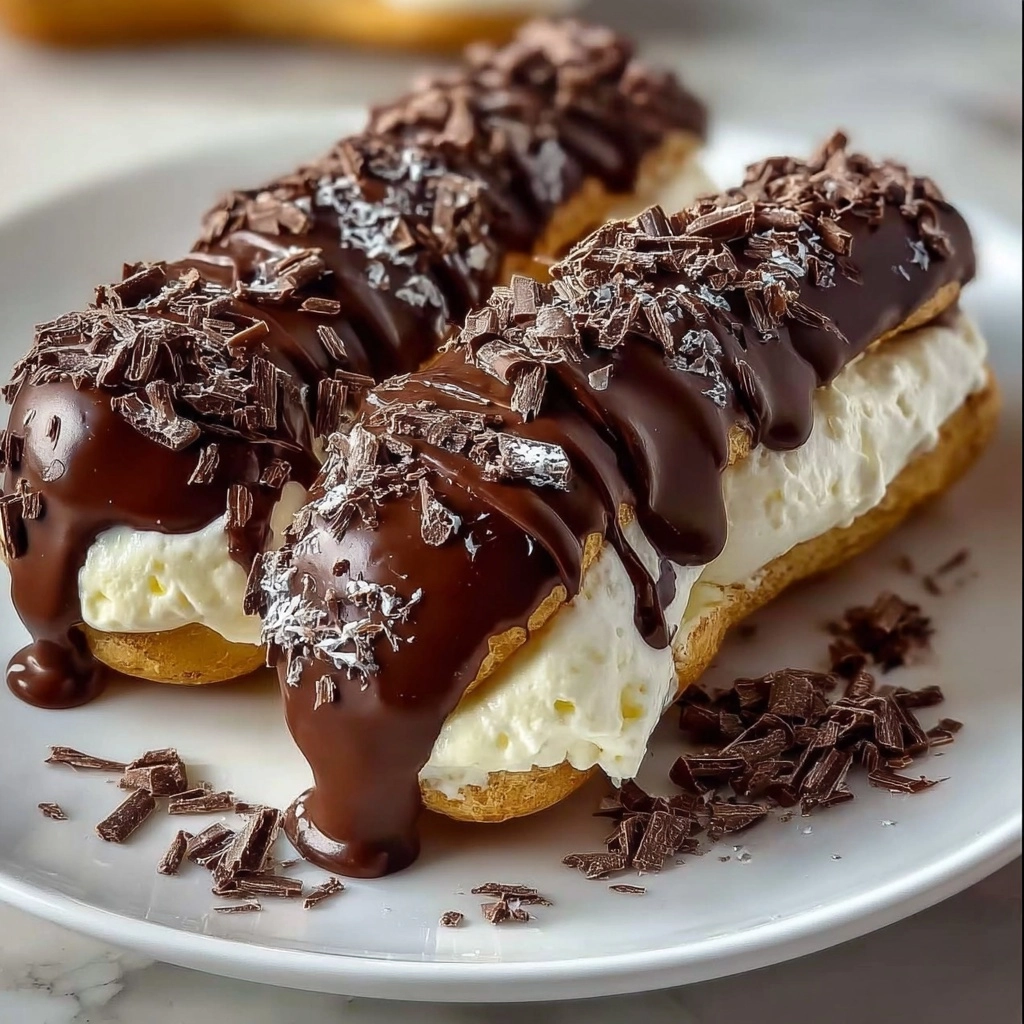
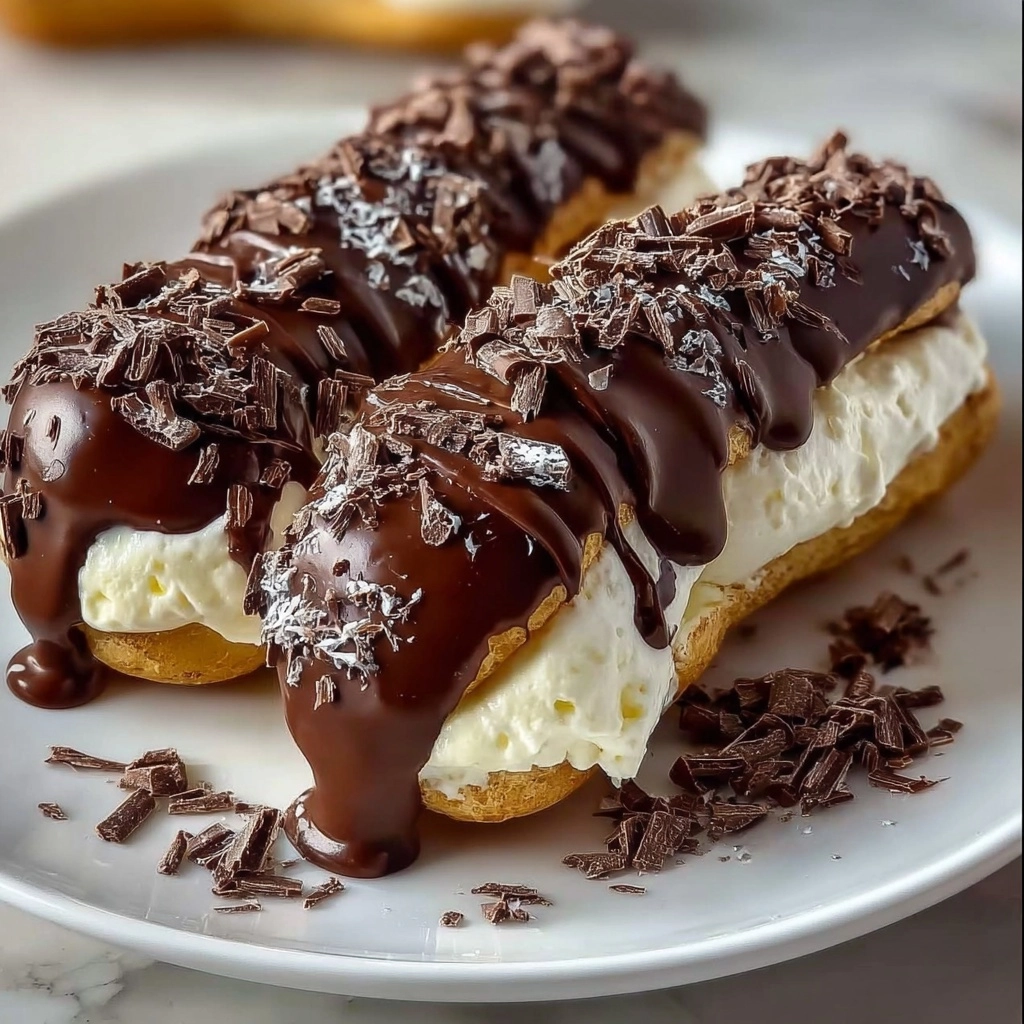
If you’ve ever dreamed about capturing that magic of your favorite ice cream truck treat right in your own kitchen, Homemade Chocolate-Covered Ice Cream is about to become your new obsession. Imagine lush, velvety vanilla ice cream enrobed in a crisp layer of decadent chocolate—each bite an irresistible crackle followed by cold, creamy bliss. Not only is this recipe surprisingly simple, but it’s also endlessly customizable and guaranteed to wow guests, kids, and your own midnight cravings alike. Let’s dive into how you can create true dessert magic with just a handful of humble ingredients!
Ingredients You’ll Need
The best part about this Homemade Chocolate-Covered Ice Cream is how it lets simple, honest ingredients shine. Each component has a purpose, ensuring the creamiest texture and the most delicious, snappy chocolate shell possible—while keeping the prep totally beginner-friendly.
- Whipping cream (500 ml): This is the secret to unbelievably smooth and creamy ice cream, creating airiness and body without a machine.
- Condensed milk (400 ml): Adds sweetness and keeps the ice cream soft and scoopable even after freezing.
- Vanilla extract (1 teaspoon): Rounds out the flavor with a classic, fragrant sweetness. Use pure vanilla for the best taste!
- Dark or milk chocolate (200 g): The star of the coating—choose your favorite for a rich or milder chocolate wrap.
- Coconut oil or cocoa butter (2 tablespoons): Makes the chocolate smooth to dip and ensures it hardens with that iconic crisp, never tooth-breakingly hard.
How to Make Homemade Chocolate-Covered Ice Cream
Step 1: Whip the Cream
Pour the whipping cream into a large, chilled bowl and beat it with an electric mixer on medium-high until soft peaks begin to form. This should take about 3-4 minutes—stop as soon as you see gentle “mountains” forming when you lift the beater. Over-whipping can turn your ice cream base heavy, so keep an eye out for that perfect cloud-like texture.
Step 2: Mix the Condensed Milk and Vanilla
In a separate bowl, stir together the condensed milk and vanilla extract until well blended. This step ensures even flavor throughout the ice cream, and helps bring everything together in the smoothest way possible.
Step 3: Combine Gently
Now, carefully fold the condensed milk mixture into your whipped cream. Use a spatula and a gentle hand—that’s the trick for keeping all that air you whipped in. Don’t rush: slow, sweeping motions until the mixture is uniform and fluffy.
Step 4: Freeze the Ice Cream
Transfer your ice cream base into a freezer-safe mold or loaf pan. Smooth the top, cover tightly with plastic wrap, and pop it in the freezer. For best results, let it freeze for at least 6 hours, but overnight is even better for a totally firm texture you can easily cut or scoop.
Step 5: Prepare the Homemade Chocolate-Covered Ice Cream Shell
Place your chocolate and coconut oil (or cocoa butter) in a heatproof bowl. Melt everything together using a double boiler or microwave in short, 30-second bursts, stirring after each. When silky smooth, let the chocolate mixture cool for just a few minutes—enough so it won’t melt freshly scooped ice cream, but still pourable.
Step 6: Cut and Dip
Once your ice cream is frozen solid, remove it from the mold. You can cut elegant bars or scoop out perfect spheres for a “truffle” vibe. Working quickly, dip each piece into the cooled chocolate, then place them on a sheet lined with parchment or foil. Watch the magic as the chocolate shell sets up instantly!
Step 7: Chill to Set
To make sure the chocolate coating hardens into that irresistible crackly shell, place your finished pieces into the refrigerator for about 10-15 minutes. After that, they’re ready to decorate, devour, or stash away for later cravings.
How to Serve Homemade Chocolate-Covered Ice Cream

Garnishes
Go wild with your favorite toppings: a sprinkle of crunchy chopped nuts, a drizzle of melted white chocolate, or a fistful of colorful sprinkles all take this Homemade Chocolate-Covered Ice Cream to showstopper status. For a touch of luxury, a pinch of flaky sea salt or edible rose petals will wow any crowd.
Side Dishes
If you’re planning a dessert platter, pair your chocolate-coated treats with fresh berries, fruit compote, or even a dollop of whipped cream for contrast. A hot espresso or strong black coffee alongside cuts the sweetness and offers café-style indulgence at home.
Creative Ways to Present
Try stacking the ice cream bars on a pretty cake stand for parties or nestle them into cupcake liners for grab-and-go convenience. For kids’ birthdays, skewer each bar with a popsicle stick before dipping—suddenly your Homemade Chocolate-Covered Ice Cream turns into the ultimate hand-held summer delight!
Make Ahead and Storage
Storing Leftovers
Keep any uneaten Homemade Chocolate-Covered Ice Cream in an airtight container in the freezer, separated by parchment or wax paper. This will help prevent the chocolate from sticking and keep your ice cream perfectly fresh until you’re ready for your next treat.
Freezing
The best part? These treats freeze beautifully for up to two weeks. Store them as single layers to maintain that lovely shell, and always make sure your container is tightly sealed to protect from freezer odors or pesky ice crystals.
Reheating
No reheating needed! For that ideal crackle and creaminess, let your Homemade Chocolate-Covered Ice Cream sit at room temperature for 2-3 minutes just before serving. This softens the shell slightly and brings out all the nuanced flavors.
FAQs
Can I use non-dairy alternatives for the cream?
Absolutely! Swap in a high-fat coconut cream or an oat-based whipping cream for a delicious dairy-free version of Homemade Chocolate-Covered Ice Cream. The key is using something rich enough to give your base that dreamy texture.
What’s the best chocolate to use for the coating?
You can use any good-quality dark or milk chocolate, but choose something you truly love eating on its own. Dark chocolate offers a dramatic contrast to the sweet ice cream, while milk chocolate makes each bite extra kid-friendly and nostalgic.
Why add coconut oil or cocoa butter to the chocolate?
These create a thinner, shinier shell that’s easier to bite through—think of that iconic snap instead of a tough, hard layer. Plus, it keeps the coating from seizing or turning dull once it’s cold.
Can I make this Homemade Chocolate-Covered Ice Cream in advance?
Definitely! These are the perfect make-ahead dessert. Finished treats store safely in the freezer for up to two weeks, making them ideal for prepping ahead for parties or anytime cravings.
Can I flavor the ice cream base or the chocolate?
Oh, absolutely—this is where your creativity shines! Swirl in some peanut butter, fruit puree, or instant coffee into the ice cream, or add a bit of cinnamon, orange zest, or sea salt to your chocolate for a gourmet touch. Endless possibilities!
Final Thoughts
When you whip up a batch of Homemade Chocolate-Covered Ice Cream, you’re not just making dessert—you’re making pure joy, ready to crack open and savor. It’s a recipe that’s endlessly customizable, universally loved, and guaranteed to impress. Dive in, have fun, and let this become your signature dessert for every season!


Your email address will not be published. Required fields are marked *