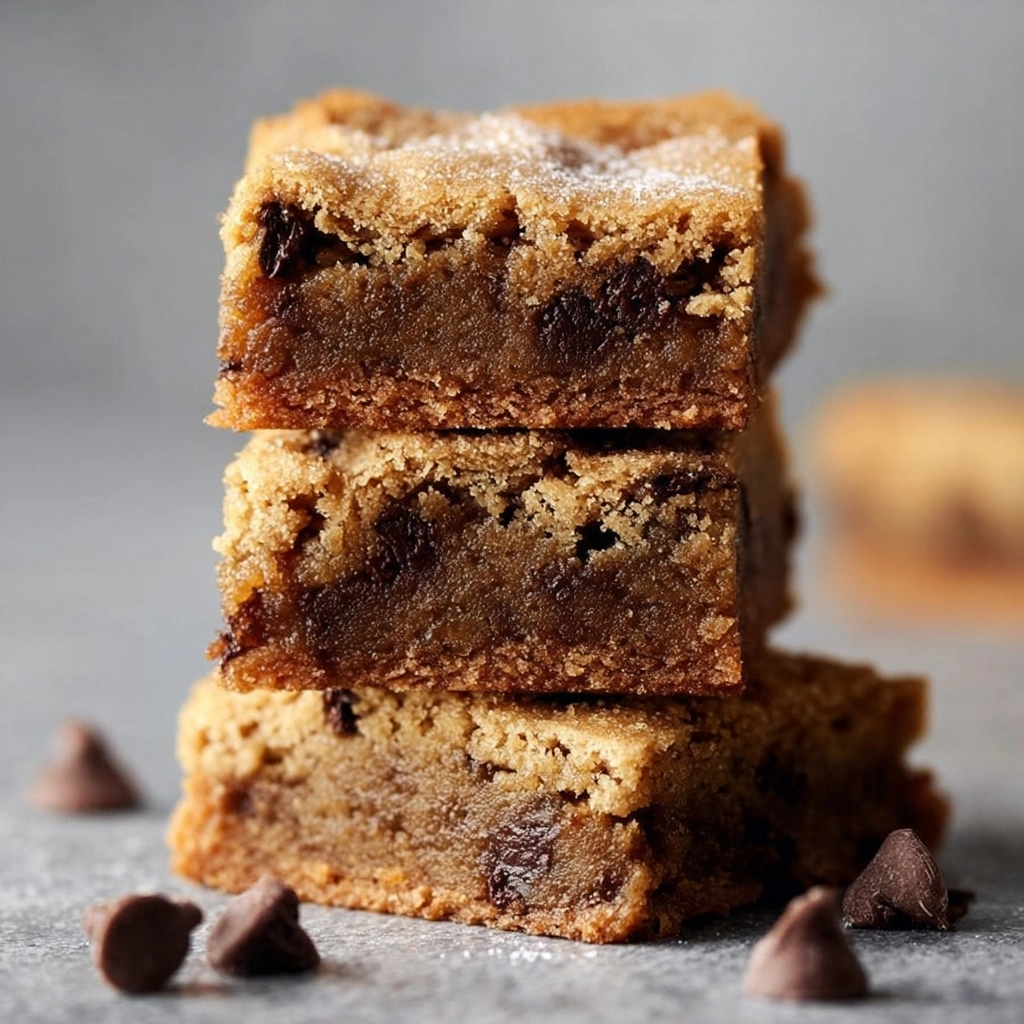
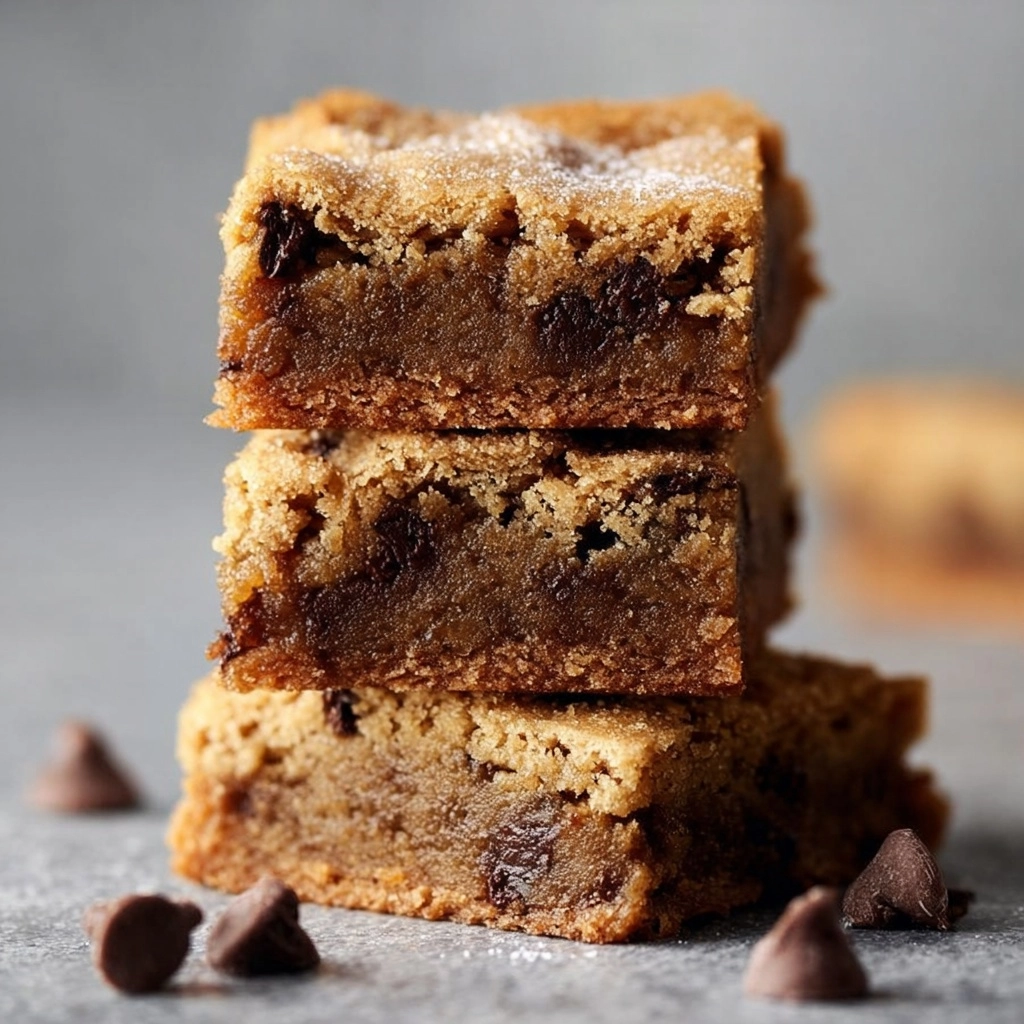
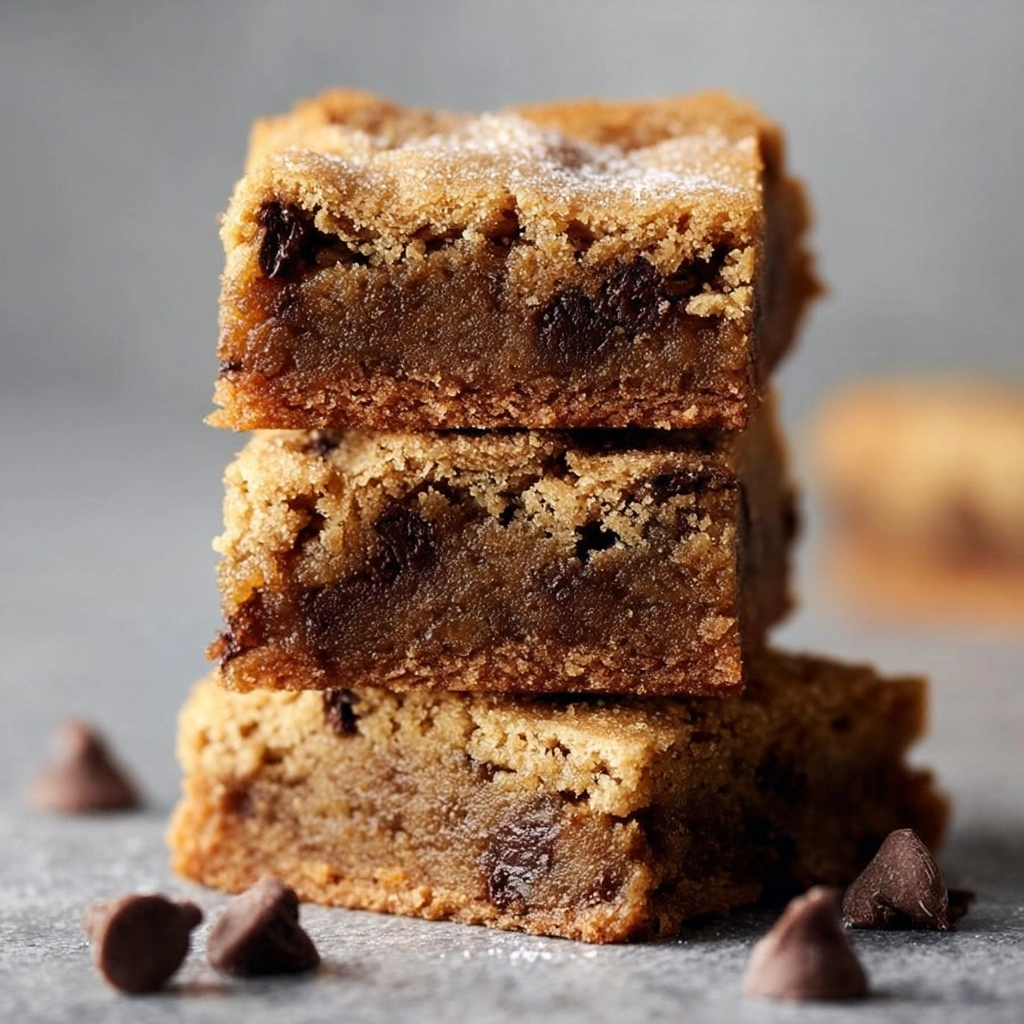
Get ready to fall in love at first bite with these Golden Brown Butter Blondie Bliss Bars! They’re everything a perfect dessert bar should be: gooey-crisp edges, a rich caramel flavor that only brown butter can bring, and flecks of creamy white chocolate nestled into each chewy square. Whether you’re baking for a gathering, a potluck, or just your own sweet tooth, these bars are the kind of treat friends beg you for the recipe, and family requests again and again. With minimal fuss and accessible ingredients, this recipe is a true showstopper you’ll turn to whenever you crave a little homemade comfort.
Ingredients You’ll Need
The magic of these bars lies in their simple, deliberate ingredient list—each one carefully selected to add depth, texture, and that signature golden hue. Don’t be tempted to swap or skip: every element helps craft the irresistible bliss in these Golden Brown Butter Blondie Bliss Bars!
- Unsalted Butter: Browning transforms butter into a nutty, toasty base that sets these bars apart from all others.
- Light Brown Sugar: This adds caramel sweetness and chew, giving the bars their signature moist texture.
- Large Eggs: Eggs bind everything together for just the right lift and rich density.
- Pure Vanilla Extract: A splash of vanilla deepens all those brown butter notes.
- All-Purpose Flour: Provides structure without making the bars dense; it’s key for chewy centers!
- Baking Powder: Gives a gentle lift for soft, thick bars.
- Baking Soda: A hint helps with that perfect golden color and delicate crumb.
- Salt: Just enough to balance out the sweetness and enhance all the flavors.
- White Chocolate Chips: Little pockets of creamy sweetness throughout—classic blondie bliss!
- Chopped Toasted Pecans (Optional): For extra crunch and a hint of buttery, nutty delight in every bite.
How to Make Golden Brown Butter Blondie Bliss Bars
Step 1: Prep the Baking Pan
Start by preheating your oven to 350°F (175°C). Grease a 9×13-inch baking pan and line it with parchment paper, leaving an overhang on two sides. This not only ensures easy release after baking (goodbye, sticky mess!) but also helps achieve crisp, bakery-perfect edges on your Golden Brown Butter Blondie Bliss Bars.
Step 2: Brown the Butter
Place the unsalted butter in a medium saucepan over medium heat. Watch it carefully as it melts, then starts to foam—stir occasionally. After about 5–7 minutes, the butter will deepen to a golden brown and fill your kitchen with a nutty aroma. As soon as you see brown flecks on the bottom and smell that toasty fragrance, pull it off the heat. Let it cool for several minutes, so it doesn’t cook the eggs in the next step.
Step 3: Stir in Sugar, Eggs, and Vanilla
Pour the brown sugar into your slightly cooled browned butter and stir until thoroughly blended. The mixture should look glossy and thick, almost like caramel. Next, whisk in the eggs one at a time, then add the vanilla extract. This step creates a lush, unified base that makes the blondies beautifully fudgy.
Step 4: Combine the Dry Ingredients
In a separate large bowl, whisk together the flour, baking powder, baking soda, and salt. Ensuring your leaveners and salt are evenly distributed means every bite of Golden Brown Butter Blondie Bliss Bars has the same perfect flavor and tender crumb.
Step 5: Mix Wet and Dry Together
Add the dry ingredients to the butter-sugar mixture, folding gently with a spatula until just combined. Take care not to over-mix—this preserves that magical chewy texture. The batter will be thick, almost cookie dough-like, which is exactly what you want.
Step 6: Add White Chocolate and Pecans
Gently fold in the white chocolate chips and chopped toasted pecans (if you’re using them). The creamy chocolate and crunchy nuts become irresistible surprises nestled into every Golden Brown Butter Blondie Bliss Bar.
Step 7: Bake to Golden Perfection
Spread the batter evenly in your prepared pan—it may take a little nudge with an offset spatula or the back of a spoon. Bake for 25–30 minutes, or until the edges are deeply golden and a toothpick poked into the center comes out with just a few moist crumbs. Resist the urge to over-bake; these bars are best a little gooey in the center.
Step 8: Cool and Slice
Let the pan cool completely on a rack before lifting out the bars using the parchment overhang. Slice into squares or rectangles—whatever shape delights you most. Now comes the hardest part: waiting to dig in!
How to Serve Golden Brown Butter Blondie Bliss Bars

Garnishes
Take your Golden Brown Butter Blondie Bliss Bars from “yum” to “wow” with a dusting of powdered sugar, a scoop of vanilla ice cream, or even a drizzle of salted caramel. A sprinkle of flaky sea salt just before serving adds a delightful crunch and balances the sweetness for true bliss in every bite.
Side Dishes
These bars are rich and satisfying on their own, but they pair beautifully with a steaming cup of coffee, cold milk, or your favorite chai tea. For a fun brunch or dessert spread, serve them beside fresh berries or a bowl of whipped cream for that perfect sweet contrast and a little touch of freshness.
Creative Ways to Present
Gift wrap them in parchment and tie with baker’s twine for heartfelt homemade presents, or stack and skewer with tiny flags for a party platter centerpiece! You can even cut the Golden Brown Butter Blondie Bliss Bars into bite-sized cubes and mix into ice cream for a decadent homemade sundae.
Make Ahead and Storage
Storing Leftovers
Keep your Golden Brown Butter Blondie Bliss Bars fresh by storing them in an airtight container at room temperature for up to four days. They’ll stay chewy and flavorful—not that they’re likely to last that long!
Freezing
To freeze, arrange sliced cooled bars in a single layer, separated by parchment paper, in a zip-top bag or freezer-safe container. They’ll keep perfectly for up to three months. When you need a quick treat, just thaw at room temperature or microwave for a few seconds.
Reheating
For that just-baked taste, pop a bar in the microwave for 10–15 seconds before enjoying. This revives the gooey white chocolate and that signature soft, chewy center—pure Golden Brown Butter Blondie Bliss Bars greatness, every time.
FAQs
Can I use dark brown sugar instead of light?
You can! Dark brown sugar will give an even deeper molasses flavor and a slightly denser texture. Feel free to experiment and see which version of Golden Brown Butter Blondie Bliss Bars you love best.
Do I have to use pecans?
Nope! The pecans are totally optional. If you prefer, substitute with walnuts, hazelnuts, or even omit them entirely for nut-free bars that still taste incredible.
Can I make these bars gluten-free?
Yes! Swap the all-purpose flour for your favorite 1-to-1 gluten-free baking blend. The bars maintain their chewy texture and that delicious golden brown finish.
What’s the best way to brown butter without burning it?
Keep the heat at medium, and stir frequently. The butter will foam, then turn golden and smell wonderfully nutty. As soon as you see brown specs at the bottom and that lovely aromatic scent, remove it from the heat to avoid burning.
Why did my bars turn out cakey and not chewy?
It could be due to over-mixing or over-baking—mix just until combined and bake only until the edges are golden and the center is still slightly soft. This ensures your Golden Brown Butter Blondie Bliss Bars stay chewy, not cakey!
Final Thoughts
If you’re ready for a guaranteed crowd-pleaser, go ahead and preheat that oven—these Golden Brown Butter Blondie Bliss Bars are about to become your new go-to treat. Their nutty brown butter aroma, gooey centers, and creamy white chocolate are simply irresistible. Give them a try and spread a little bliss with every bite!


Your email address will not be published. Required fields are marked *