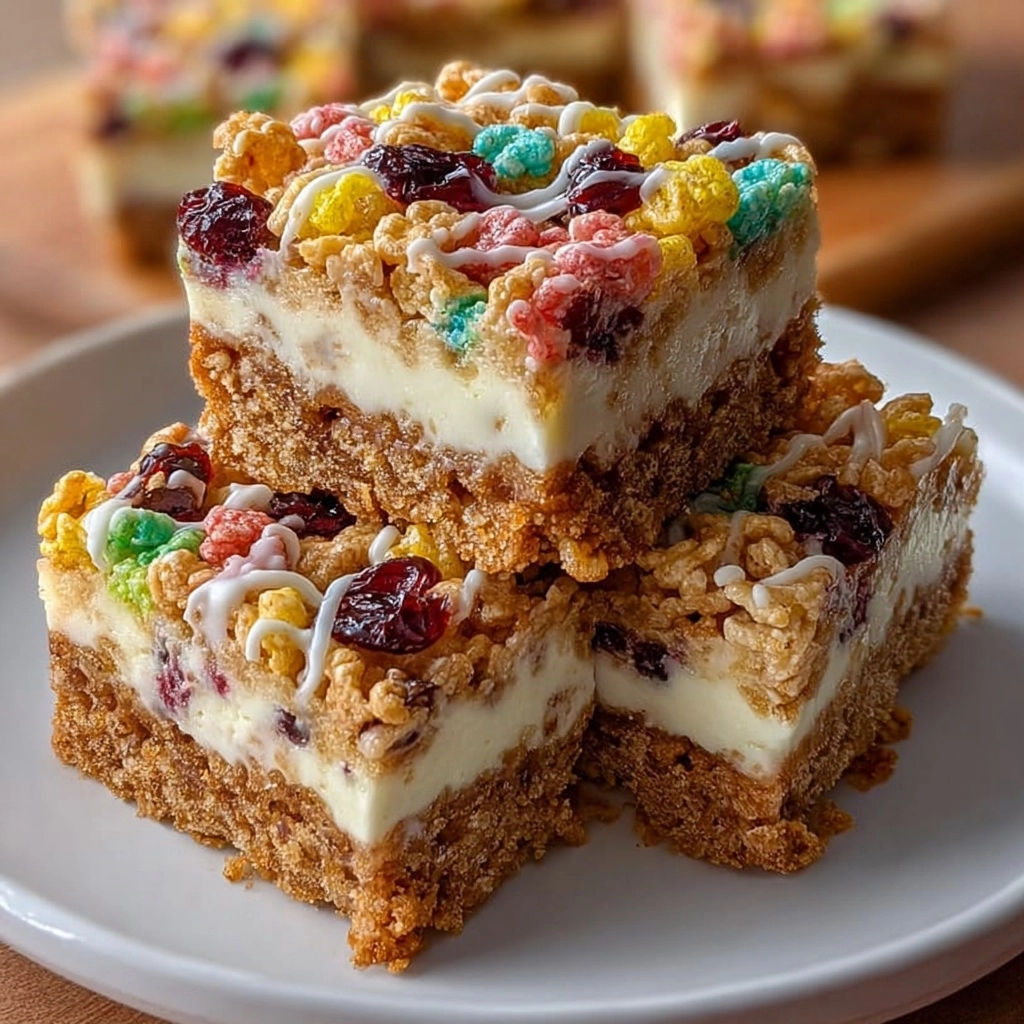
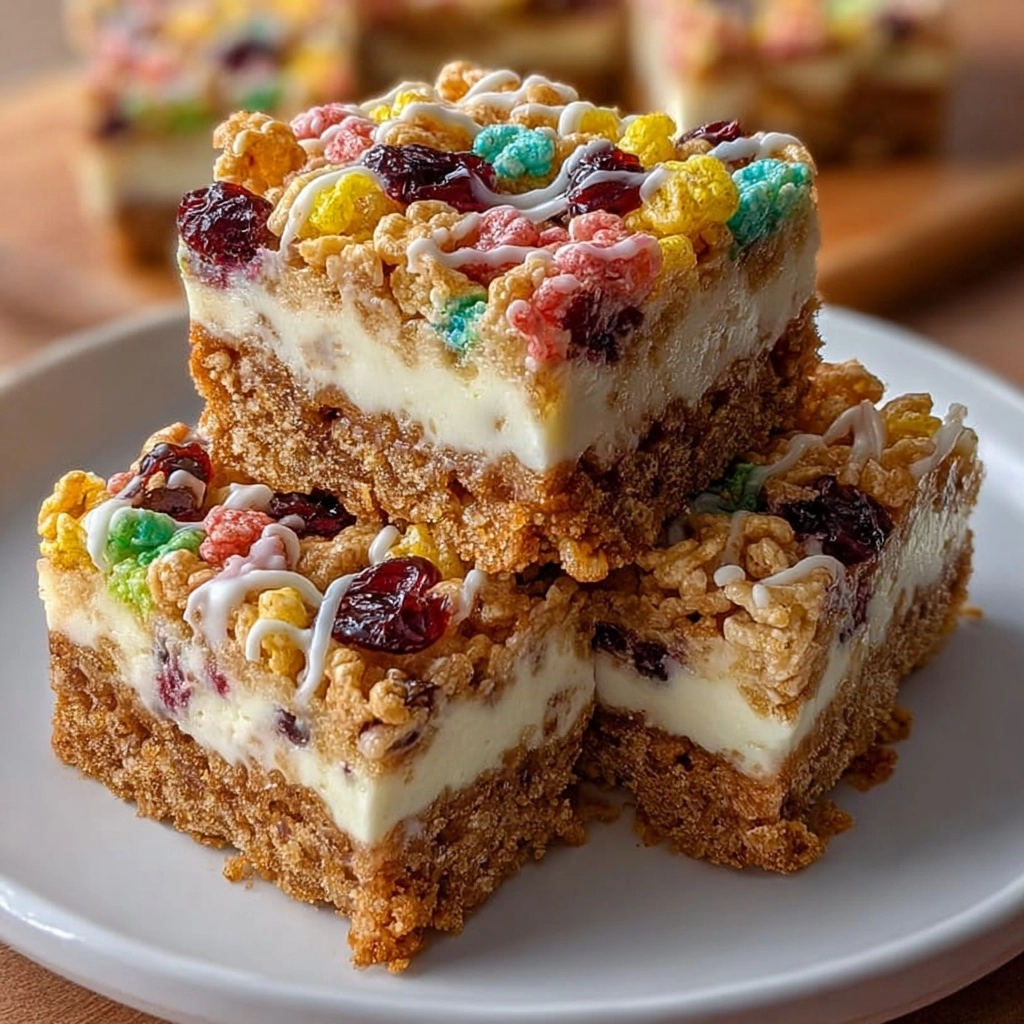
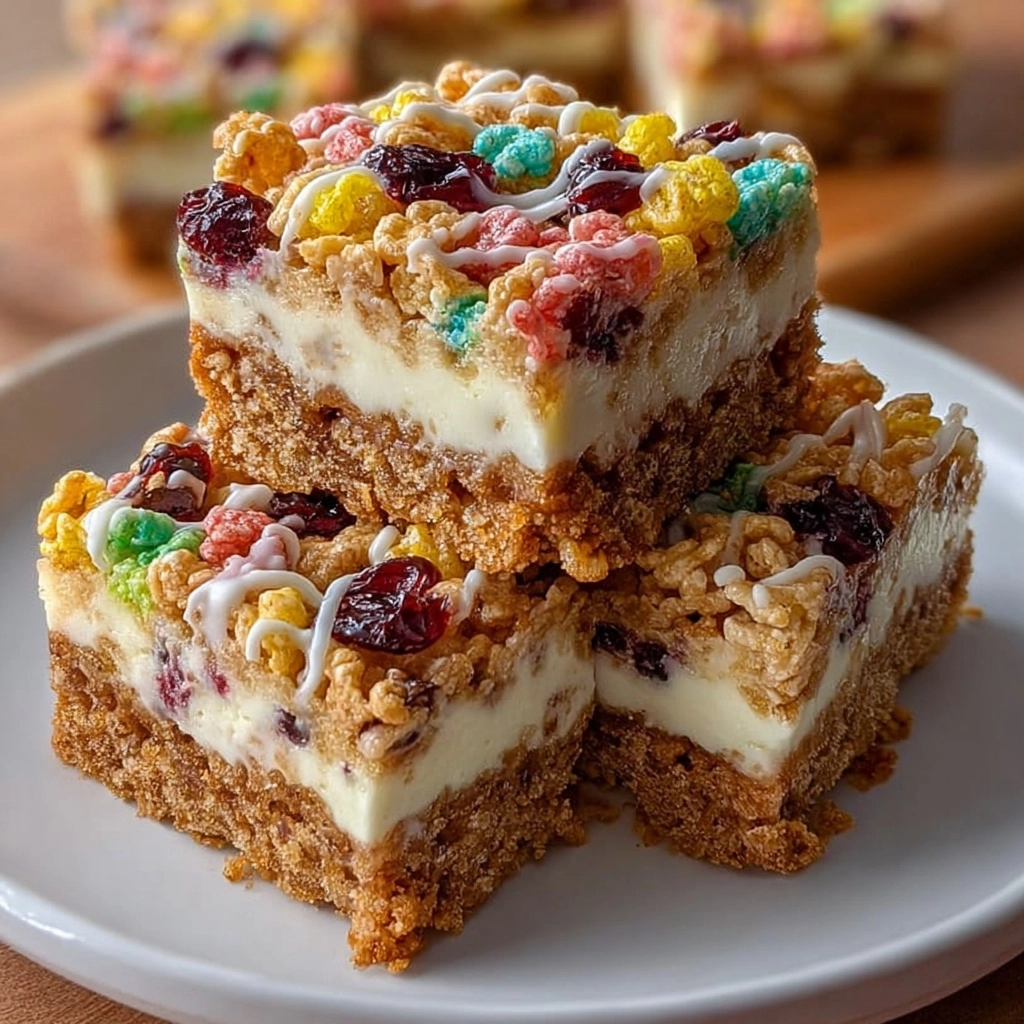
If you’re looking to add a burst of color and a nostalgic crunch to your dessert lineup, these Fruity Pebble Treat Bars are an absolute must-make. Imagine the classic, chewy marshmallow treat you loved as a kid but upgraded with vibrant, fruity cereal that pops with playful flavors and a rainbow of hues in every bite. These bars are not only irresistibly tasty but also incredibly easy to whip up, making them perfect for potlucks, after-school snacks, or anytime you want to brighten your day with something sweet and whimsical. Let me walk you through why these Fruity Pebble Treat Bars will become a beloved recipe in your kitchen.
Ingredients You’ll Need
Trust me, the magic of these Fruity Pebble Treat Bars comes largely from a handful of simple, straightforward ingredients that work beautifully together to deliver that classic chew, sweetness, and vibrant color. Each one has an important role in building the perfect balance of texture and flavor.
- 6 cups Fruity Pebbles cereal: The star of the show, bringing a rainbow of fruity flavor and crunch to every bite.
- 3 tbsp unsalted butter: Helps melt the marshmallows smoothly and adds richness without overpowering the cereal’s brightness.
- 10 oz marshmallows (about 1 bag): The glue that holds everything together, creating that soft, chewy texture we all crave.
- 1 tsp vanilla extract (optional): Adds a subtle depth of sweetness and enhances the marshmallow flavor.
- Cooking spray or butter: Essential for greasing the pan so your bars come out perfectly without sticking.
How to Make Fruity Pebble Treat Bars
Step 1: Prepare the pan
Begin by greasing a 9×13-inch baking pan with butter or cooking spray. This simple step ensures that your Fruity Pebble Treat Bars will lift out cleanly once cooled, keeping their shape flawless and ready to impress.
Step 2: Melt marshmallows and butter
In a large saucepan over low heat, melt the butter gently to avoid browning. Then add the marshmallows and stir constantly until they are completely melted and smooth. For a little extra flavor, stir in the vanilla extract right after removing the pan from heat. This mixture should be glossy and ready to bind the cereal.
Step 3: Mix in cereal
Now the fun part: fold in the Fruity Pebbles cereal gently but thoroughly. The trick here is to coat every colorful piece with that warm marshmallow goodness without smashing the cereal too much. This ensures every bar is bursting with those signature fruity bites.
Step 4: Press into pan
Transfer your cereal and marshmallow mix into the prepared pan. Using a buttered spatula or a piece of wax paper, press the mixture down evenly and firmly. This step is crucial to compacting the bars so they hold together well once cooled and cut.
Step 5: Cool and cut
Let your Fruity Pebble Treat Bars cool completely at room temperature—about 30 to 60 minutes should do it. Once firm, slice into bars using a sharp knife, and get ready to enjoy a bright, flavorful snack that’s as fun to look at as it is to eat.
How to Serve Fruity Pebble Treat Bars

Garnishes
While these bars are vibrant on their own, you can take things a step further by adding a drizzle of melted white chocolate or a sprinkle of extra Fruity Pebbles on top right before the marshmallows set. Fresh fruit on the side like berries or sliced kiwi can add a fresh, juicy contrast that pairs beautifully with the sweet bars.
Side Dishes
Pair these colorful treats with simple sides like vanilla yogurt or a cold glass of milk to balance the sweetness and keep things light. They’re also fantastic alongside a scoop of fruity sorbet if you’re aiming to up the dessert game at gatherings.
Creative Ways to Present
For parties, try cutting the Fruity Pebble Treat Bars into fun shapes using cookie cutters. Serve them on a bright platter adorned with fresh flowers or edible glitter for an extra pop of whimsy. Wrapping individual bars in wax paper makes them great for gifting or packing in lunchboxes too!
Make Ahead and Storage
Storing Leftovers
Keep any leftover Fruity Pebble Treat Bars in an airtight container at room temperature, where they will stay fresh and chewy for up to 3 days. Avoid refrigeration as this can make the bars hard and less enjoyable.
Freezing
If you want to keep these bars for longer, wrap them tightly in plastic wrap and place them in a freezer-safe container or bag. They freeze well for up to one month. Let them thaw at room temperature before enjoying their signature softness again.
Reheating
Generally, rewarming the Fruity Pebble Treat Bars is not necessary, but if you find them a bit firm from storage, a few seconds in the microwave on low power can soften them up nicely. Be careful not to overheat, or the marshmallows might get sticky and tough.
FAQs
Can I use a different cereal instead of Fruity Pebbles?
Absolutely! While Fruity Pebbles provide a unique fruity crunch and bright color, you could swap in cereals like Rice Krispies or Cocoa Pebbles if you prefer. Just expect a different flavor and texture experience.
Is it necessary to add vanilla extract?
Vanilla extract is optional but highly recommended. It subtly enhances the marshmallow flavor and adds warmth to the overall taste without overpowering the cereal’s fruity notes.
How can I make the bars less sticky?
Using butter or cooking spray on your spatula and pan helps reduce stickiness. Also, letting the bars cool completely before cutting ensures they won’t stick to your knife or fingers.
What’s the best way to cut the bars neatly?
A sharp knife works best—warm the knife slightly by running it under hot water and drying it off before slicing. This helps cut through the marshmallow mixture smoothly for clean edges.
Can I add mix-ins to the bars?
Definitely! Mini chocolate chips, chopped nuts, or dried fruit can be folded in when mixing the cereal and marshmallow together for an added layer of texture and flavor. Just avoid anything too heavy that might weigh down the bars.
Final Thoughts
Making Fruity Pebble Treat Bars is like creating a little edible party that’s colorful, chewy, and bursting with nostalgic charm. They come together quickly, use just a handful of ingredients, and always deliver big smiles. I can promise once you try these bars, you’ll find all kinds of reasons to make them again—whether it’s for a snack, a celebration, or just to brighten a regular day. Go ahead, treat yourself and anyone lucky enough to share them with a batch of these joyful treats!


Your email address will not be published. Required fields are marked *