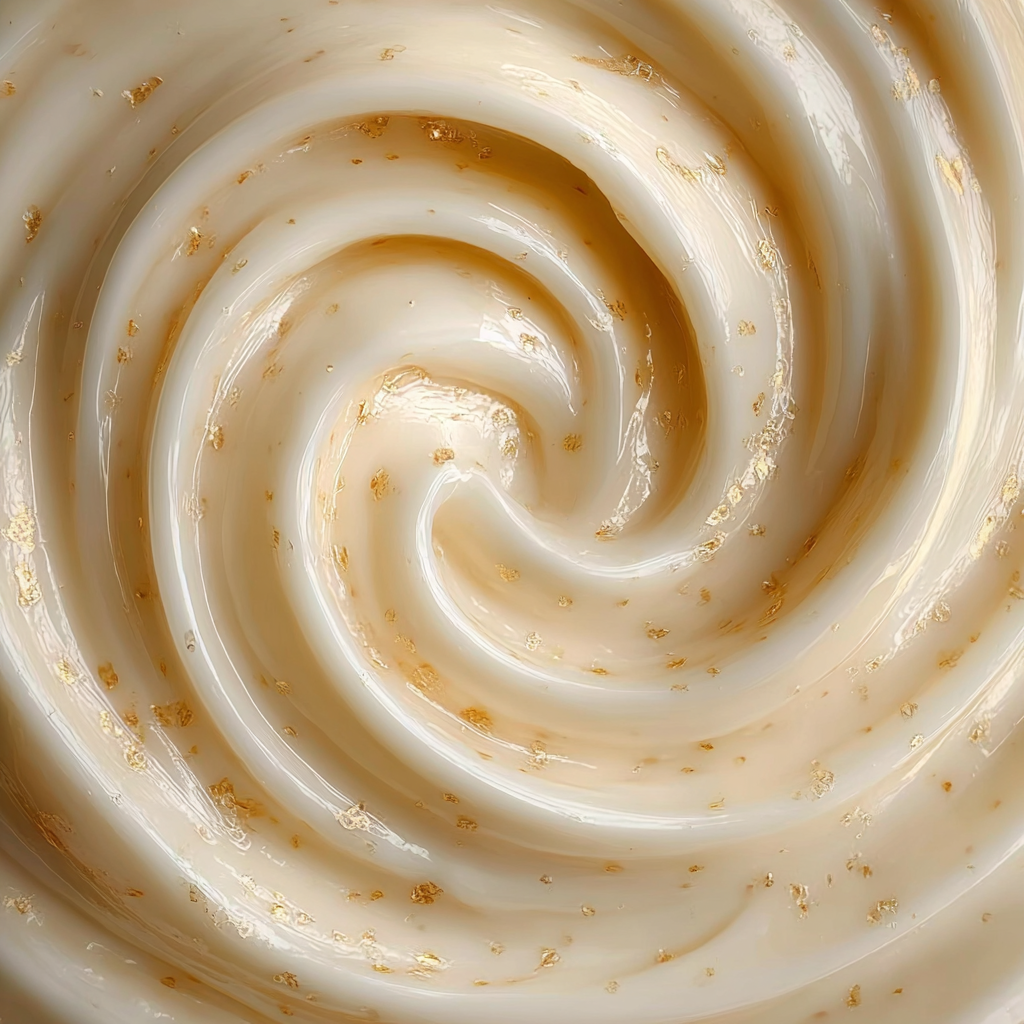
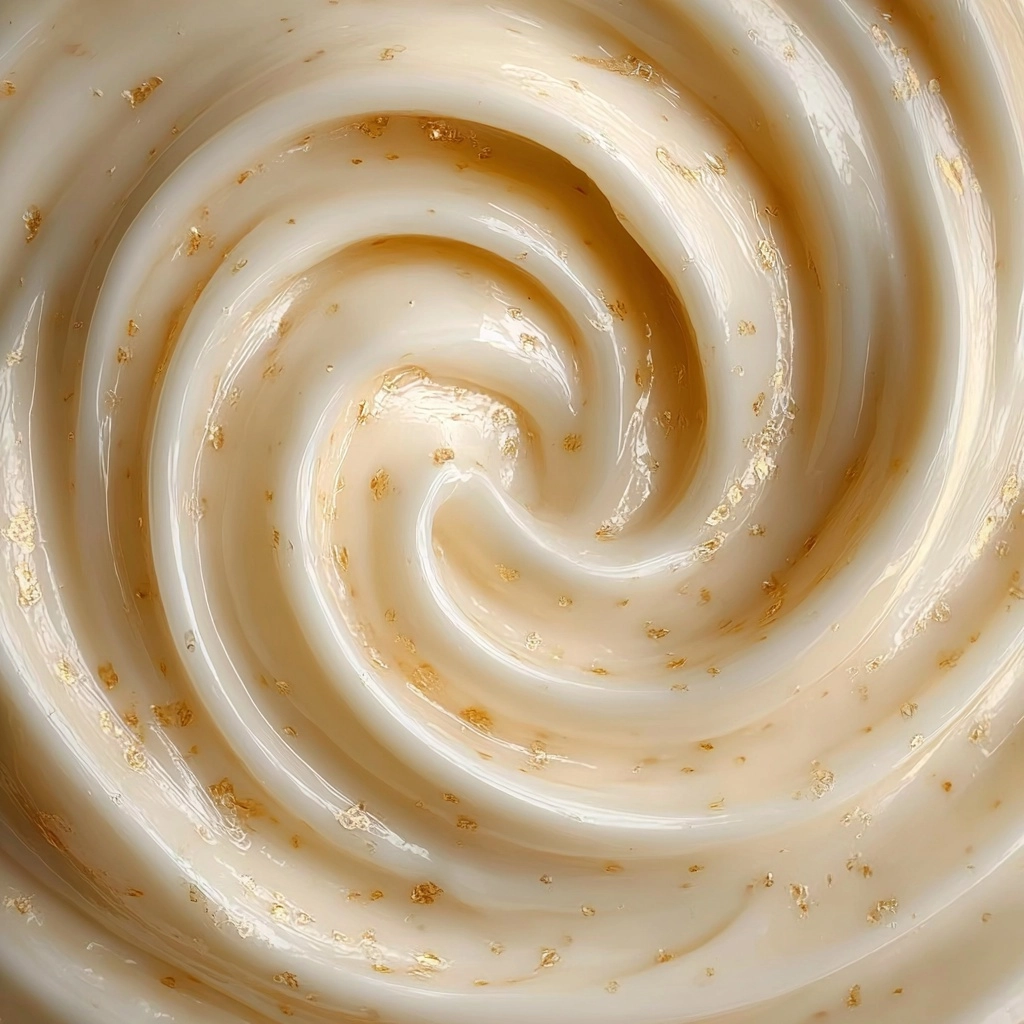
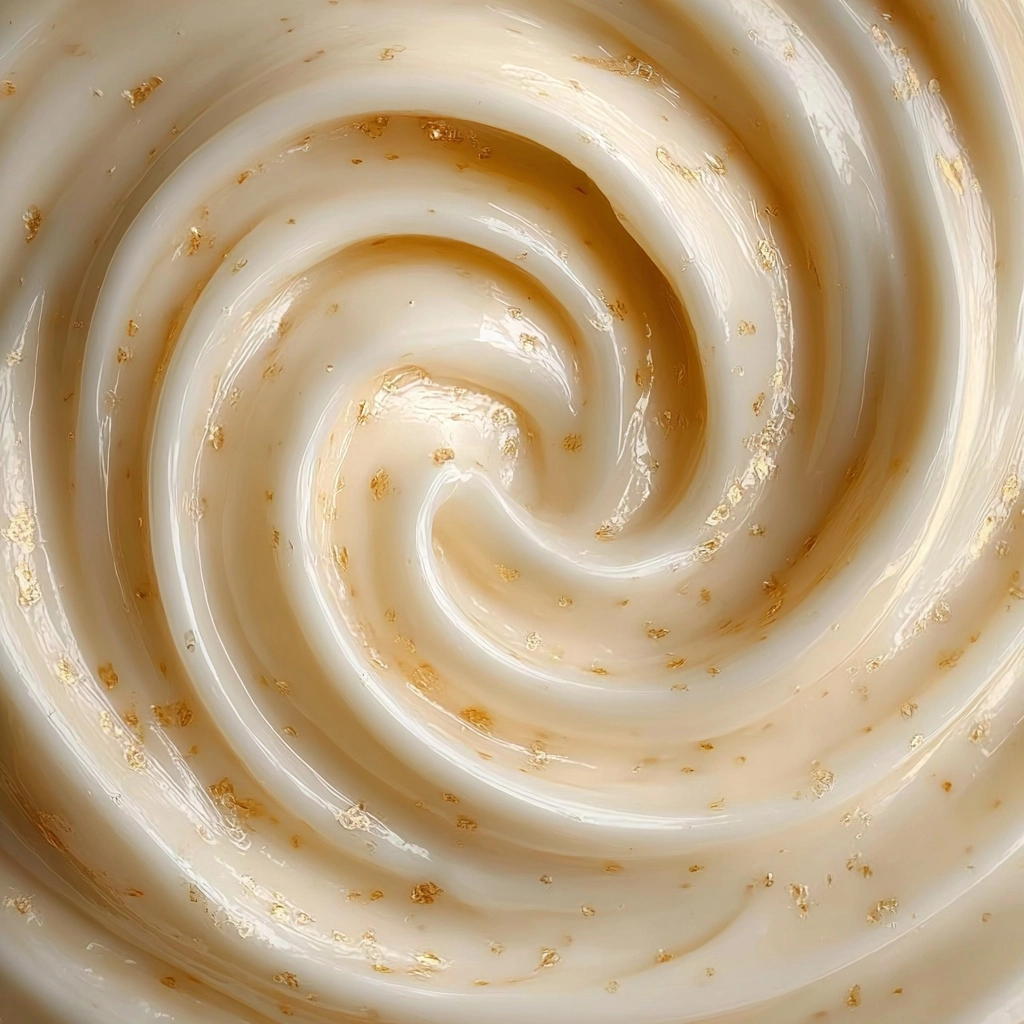
Indulgent, nostalgic, and impossibly smooth, Creamy Vanilla Pudding has a way of transforming even the simplest day into something special. Each spoonful delivers pure childhood comfort and the kind of subtle, cozy sweetness that soothes the soul—yet it’s almost shockingly easy to whip up from pantry staples you probably have on hand. Whether you’re impressing dinner guests or sneaking a quiet treat for yourself, this classic dessert guarantees pleasure in every rich, silky bite.
Ingredients You’ll Need
This recipe gleans its magic from just a handful of basic ingredients, each playing an important role in texture, flavor, and that signature creamy pale color. Don’t be tempted to swap or skip; the beauty truly lies in the details here.
- Whole milk: The foundation of creamy vanilla pudding, lending richness and the ideal silky mouthfeel.
- Granulated sugar: Just enough to sweeten each bite without overwhelming the delicate vanilla notes.
- Cornstarch: Essential for thickening; it gives the pudding that perfect wobbly-yet-smooth texture.
- Salt: A whisper of salt heightens and balances all the flavors, making them pop.
- Vanilla extract: The heart of this recipe; always use pure vanilla for the deepest, most aromatic result.
- Unsalted butter: Melted in at the end, it rounds out the texture and gives a subtle, irresistible gloss.
How to Make Creamy Vanilla Pudding
Step 1: Whisk Together Dry and Wet Ingredients
Start by adding the whole milk, granulated sugar, cornstarch, and salt to a medium saucepan. Using a whisk, stir them together until the mixture is completely smooth—no lumps here! This ensures a velvety base as your pudding thickens later.
Step 2: Cook and Thicken
Place your saucepan over medium heat, and get ready for a little hands-on time. Stir the mixture constantly; at first, it will seem thin, but after about 5 to 7 minutes, you’ll notice it starting to thicken and soft bubbles will rise up. This is where the silky magic of creamy vanilla pudding happens, so don’t walk away!
Step 3: Finish with Vanilla and Butter
Once your pudding is bubbling and nicely thickened, continue to cook—still stirring—for another 2 minutes. Remove it from the heat and immediately add the vanilla extract and butter. Stir thoroughly until the butter is fully melted and everything looks irresistibly smooth and glossy.
Step 4: Chill and Set
Pour the luscious pudding into individual serving dishes or one large bowl. Press a piece of plastic wrap directly onto the surface of the pudding; this crucial step prevents a skin from forming. Let it cool at room temperature for about 15 minutes before transferring to the fridge to chill for at least 2 hours—the wait is worth it!
Step 5: Serve and Enjoy
Once your creamy vanilla pudding is chilled to perfection, it’s ready for its big reveal. You can serve it as-is for pure, unadulterated comfort, or dress it up for something extra special (see below for ideas).
How to Serve Creamy Vanilla Pudding

Garnishes
A dollop of freshly whipped cream is classic and never fails, but this pudding also sings with a dusting of cinnamon or shaved chocolate, a scattering of berries, or a gentle sprinkle of toasted coconut. Let your mood—and what’s on hand—inspire you!
Side Dishes
To turn creamy vanilla pudding into a true dessert centerpiece, serve it alongside crisp almond cookies, a shortbread biscuit, or buttery pound cake. Fresh fruit on the side is another fabulous, refreshing contrast to the pudding’s richness.
Creative Ways to Present
For a showstopper, layer your pudding in parfait glasses with fruit preserves, crumbled graham crackers, or even coffee-soaked ladyfingers for a fun twist. Kids love it in mini jars with rainbow sprinkles, while adults may appreciate a drizzle of caramel or espresso syrup over top.
Make Ahead and Storage
Storing Leftovers
Leftover creamy vanilla pudding keeps beautifully in the fridge for up to 3 days. Simply transfer it to an airtight container, or keep it tightly wrapped with plastic directly on the surface to maintain that super-smooth texture.
Freezing
While you technically can freeze creamy vanilla pudding, it may change texture slightly upon thawing, becoming less silky and more watery. If you must, let it thaw overnight in the fridge, then give it a brisk whisk to revive its creamy character.
Reheating
Pudding is at its best served chilled, but if you prefer it a little warm, scoop out a portion and microwave it in 10-second bursts, stirring between each one. Be careful not to overheat, as this could make the texture rubbery.
FAQs
Can I make creamy vanilla pudding with non-dairy milk?
Absolutely! While whole milk provides that signature richness, you can substitute with coconut, almond, or oat milk for a dairy-free version. Just be sure to choose an unsweetened variety, and keep in mind the pudding might be a tad less thick.
Why press plastic wrap directly onto the pudding?
This simple trick prevents a rubbery skin from forming on the surface as the pudding cools—a must-do if you love smooth, flawless creamy vanilla pudding in every bite.
How can I make the pudding extra thick?
For an extra-firm result, increase the cornstarch by up to 1 tablespoon. Alternatively, simmer the pudding a minute or two longer to coax out even more thickness before cooling.
Can I use vanilla bean instead of extract?
Definitely! To use a whole vanilla bean, split it and scrape the seeds into the milk before you begin cooking. Letting the pod steep as you heat the mixture will infuse even more fragrant, nuanced vanilla flavor into your creamy vanilla pudding.
Is this recipe gluten-free?
Yes, as long as you double-check that your cornstarch is labeled gluten-free, this recipe is naturally free of any wheat or gluten ingredients. It’s a perfect dessert option for a wide variety of guests!
Final Thoughts
If you’re craving pure comfort or a little touch of nostalgia, I promise Creamy Vanilla Pudding delivers every single time. There’s nothing quite like scooping into that cool, custardy bliss—so roll up your sleeves and make room in your fridge, because this classic treat is about to become a new family favorite!


Your email address will not be published. Required fields are marked *