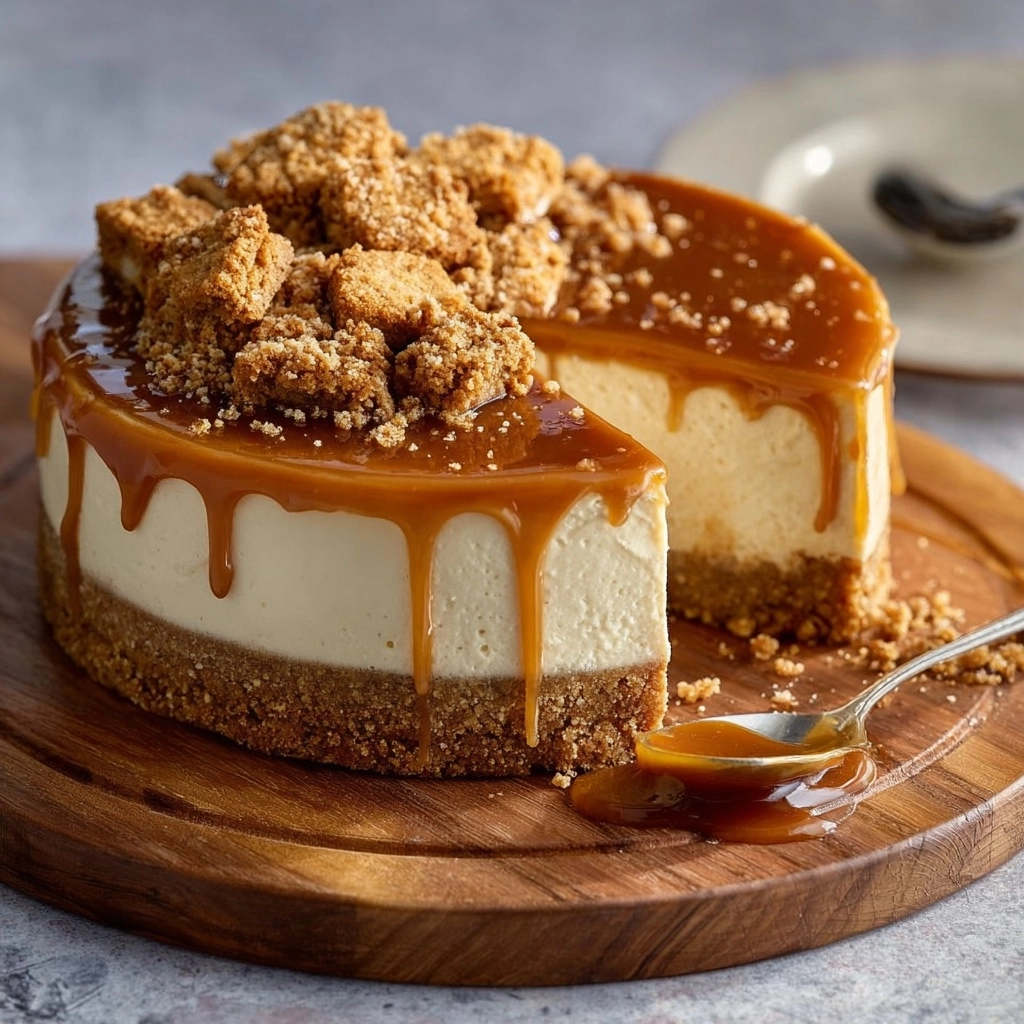
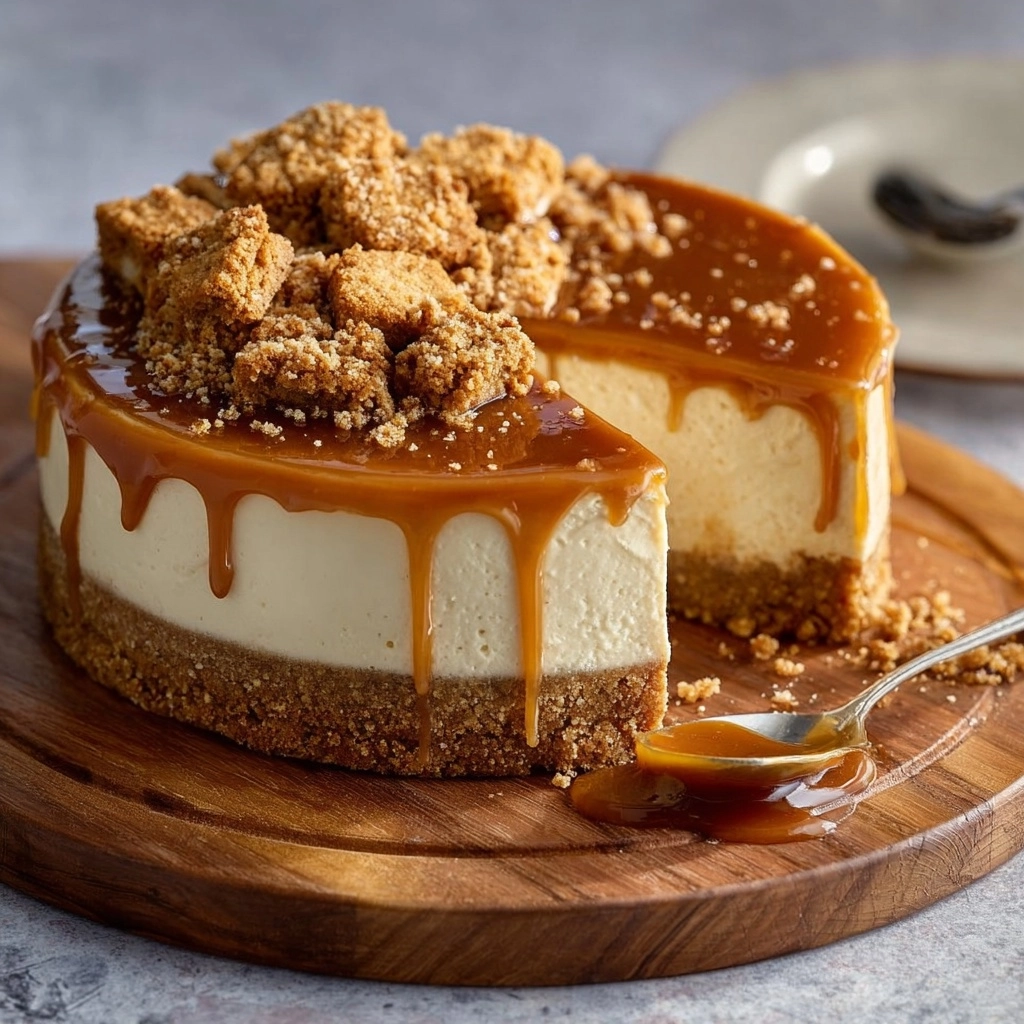
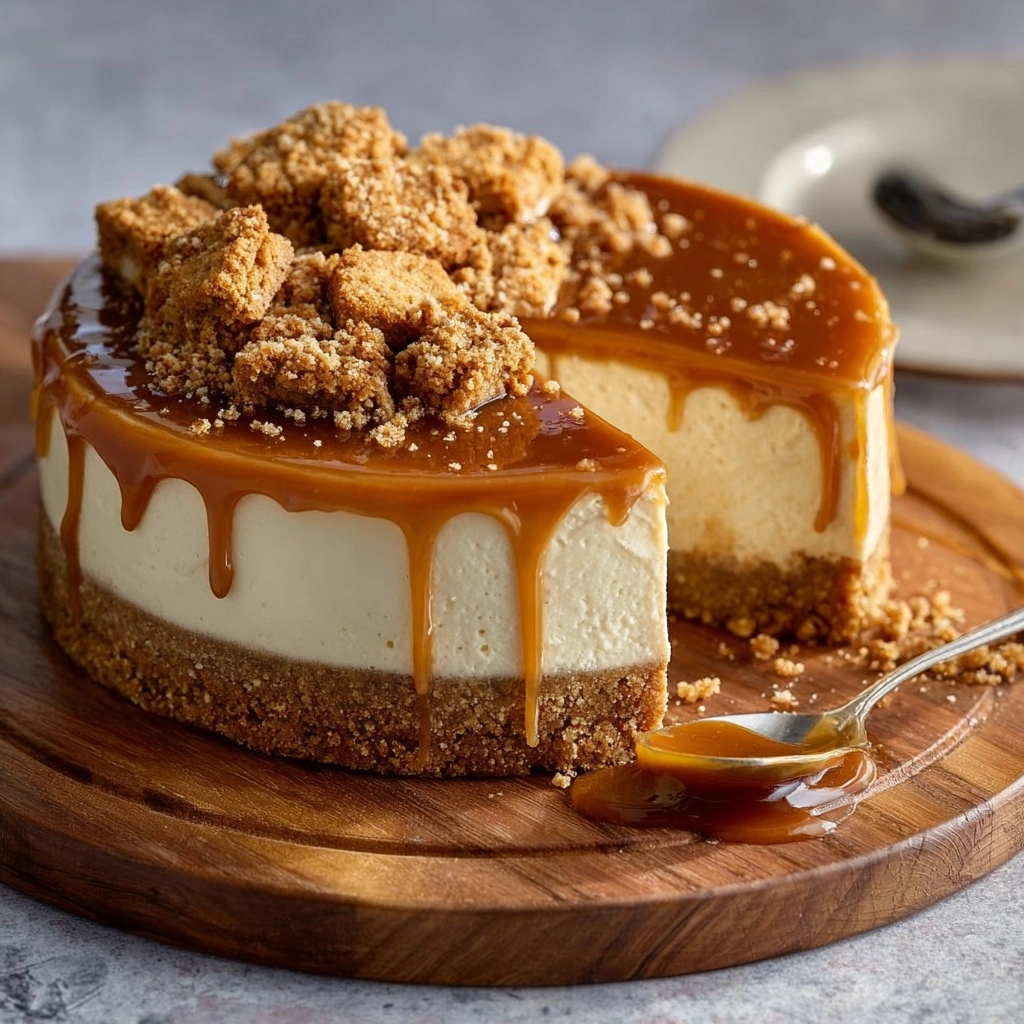
If you’re in the mood for a no-bake dessert that will truly dazzle your taste buds—while looking absolutely gorgeous on any table—the Creamy Biscoff Dream Cheesecake with Buttery Cookie Crust is the answer. This stunner combines the caramelized sweetness of Biscoff cookies and cookie butter with a silky, cloud-like cheesecake filling, all nestled on an irresistibly crunchy, buttery cookie base. It’s heavenly, crave-worthy, and ridiculously simple to make, making it a can’t-miss treat for any celebration… or just because you deserve something special!
Ingredients You’ll Need
The magic of this cheesecake lies in its handful of easy, pantry-friendly ingredients. Each one is key: from the intense Biscoff cookie flavor anchoring the crust, to the creamy filling that comes together in minutes. Here’s what you’ll need and why it matters:
- Lotus Biscoff cookies (300g): These spiced, caramelized cookies are the absolute star—turning into flavorful, crunchy crumbs for the base.
- Unsalted butter (150g, melted): Melted butter binds the cookie crumbs, making the perfect buttery, firm crust.
- Cream cheese (500g, softened): Soft, rich cream cheese provides a silky, tangy base for the cheesecake layer.
- Powdered sugar (100g): Adds gentle sweetness without any graininess, blending seamlessly into the filling.
- Heavy cream (300ml, chilled): Whipped into fluffy soft peaks, it gives the filling its trademark airy, creamy texture.
- Lotus Biscoff spread (200g, plus 50g extra for drizzle): The secret to double-layered Biscoff flavor, inside and on top of your dreamy cheesecake.
- Biscoff cookies (4–5, for garnish): Extra cookies create a delightful crunch and a pretty presentation—mash or leave whole for a finishing touch.
How to Make Creamy Biscoff Dream Cheesecake with Buttery Cookie Crust
Step 1: Prepare the Buttery Biscoff Cookie Crust
Start by crushing the Biscoff cookies into fine, sandy crumbs. You can blitz them in a food processor or pop them in a ziplock bag and get out some stress with a rolling pin—either way, you want an even texture throughout. Stir in the melted butter until every crumb is beautifully coated and glistening. Firmly press this mixture into the bottom of a 9-inch springform pan, making an even, compact crust. Take a moment to really press down with the back of a spoon or your fingers—this ensures each slice holds together perfectly. Pop the base into the fridge for a solid 30 minutes while you make the filling.
Step 2: Whip Up the Fluffy Cheesecake Layer
In a large mixing bowl, blend the softened cream cheese with the powdered sugar. You’re looking for a super-smooth, creamy texture—be sure to scrape the sides of your bowl as you go. In a separate bowl, whip the chilled heavy cream until lovely, soft peaks form. Gently fold your whipped cream into the cream cheese mixture, using a spatula and careful movements so you keep that airy texture. This is the secret to that dreamy, melt-in-your-mouth quality!
Step 3: Add the Biscoff Spread Magic
For maximum Biscoff goodness, warm the 200g of cookie spread in the microwave until just soft—about 15 seconds does the trick. Fold it right into your cheesecake mixture, swirling gently so every bite is infused with that luscious, spiced caramel flavor. Take a moment to admire how creamy and tempting this filling looks!
Step 4: Assemble and Chill
Retrieve your chilled crust from the fridge and pour in the cheesecake mixture, spreading it out with an offset spatula or the back of a spoon until the top is smooth and inviting. Tap the pan gently on the counter to knock out any air bubbles—this gives you that gorgeous, even top. Cover and refrigerate the cheesecake for at least 6 hours, or overnight if you can muster the patience. This chilling time brings everything together and makes slicing a breeze.
Step 5: Finish with Drizzle and Garnish
Once fully set, warm the extra 50g of Biscoff spread just enough so it’s perfectly pourable. Drizzle it generously over the cheesecake’s top, letting it pool and drip for a truly decadent look. Top off your masterpiece with whole or crushed Biscoff cookies. Each piece gets a little decorative crunch and a lot of wow factor!
How to Serve Creamy Biscoff Dream Cheesecake with Buttery Cookie Crust

Garnishes
The right garnish elevates this dreamy dessert even further. A drizzle of melted Biscoff spread on top is a must—then add whole cookies for drama or a sprinkle of crushed ones for crunch. For a little glittering flair, try a touch of gold dust or chocolate shavings. The visual contrast is stunning, and each bite feels extra special.
Side Dishes
This cheesecake is the star, but fresh berries—think raspberries or sliced strawberries—make a vibrant, tart contrast to the sweet, creamy richness. A hot cup of good coffee or strong black tea is also a wonderful pairing, balancing out those deep cookie butter flavors with something to sip.
Creative Ways to Present
Of course, slicing classic wedges is always a winner, but for parties, cut the Creamy Biscoff Dream Cheesecake with Buttery Cookie Crust into neat squares or mini bites and serve on a platter, each topped with a sliver of cookie. Or, make individual cheesecakes in small jars or glasses for a cute single-serving twist. Layer cookie crumbs, cheesecake, and a drizzle in each—perfect for picnics or dessert tables!
Make Ahead and Storage
Storing Leftovers
If you find yourself with extra Creamy Biscoff Dream Cheesecake with Buttery Cookie Crust (lucky you!), keep it covered in the refrigerator. It’ll stay fresh, creamy, and delicious for up to 4 days. Make sure it’s well-wrapped or in an airtight container to keep those flavors lively and the texture perfect.
Freezing
This cheesecake freezes beautifully! Simply wrap slices (or the whole cheesecake) tightly in plastic wrap and then foil, and tuck into the freezer for up to a month. For best results, let it thaw overnight in the fridge before serving. The flavor and texture remain as luscious as ever, making it a fantastic make-ahead dessert for holidays or gatherings.
Reheating
No need for reheating—this is a chilled dessert, so keep it cold for that creamy consistency we love. If serving from frozen, let it defrost in the fridge slowly to avoid any texture changes. You’ll end up with a soft, satin-smooth slice every single time.
FAQs
Can I use a different type of cookie for the crust?
Absolutely! While Biscoff cookies deliver the signature flavor, you can experiment with graham crackers or digestive biscuits for a different twist, though you’ll miss some of that spiced caramel depth that makes the Creamy Biscoff Dream Cheesecake with Buttery Cookie Crust so special.
Do I have to use a springform pan?
A springform pan is ideal for easy removal and neat slices, but you can use any 9-inch round pan—just line it with parchment paper for easier lifting. For mini versions, muffin tins with cupcake liners work great!
What’s the best way to prevent lumps in the cheesecake mixture?
Start with softened, room-temperature cream cheese and beat it thoroughly with powdered sugar before adding anything else. This ensures a smooth, seamless filling every time—no lumps, just pure creaminess!
Is it possible to make this cheesecake gluten-free?
You sure can! Just swap the Biscoff cookies for a gluten-free speculoos-style cookie (several brands make great options), and confirm your cookie butter is gluten-free. The rest of the Creamy Biscoff Dream Cheesecake with Buttery Cookie Crust recipe stays the same.
Can I add a chocolate layer or swirl?
Definitely! Melted white or milk chocolate drizzled over the top is incredibly tasty, or swirl some chocolate sauce into the cheesecake layer before chilling for a marbled effect. It’s a fun way to customize and make your Creamy Biscoff Dream Cheesecake with Buttery Cookie Crust even more memorable.
Final Thoughts
Whether you’re planning a party or simply need a sweet pick-me-up, the Creamy Biscoff Dream Cheesecake with Buttery Cookie Crust is a showstopper every single time. I truly hope you’ll give this recipe a try, because once you taste that creamy bite with buttery, spiced crumbs, you might just find a new favorite dessert. Happy baking—and treat yourself!


Your email address will not be published. Required fields are marked *