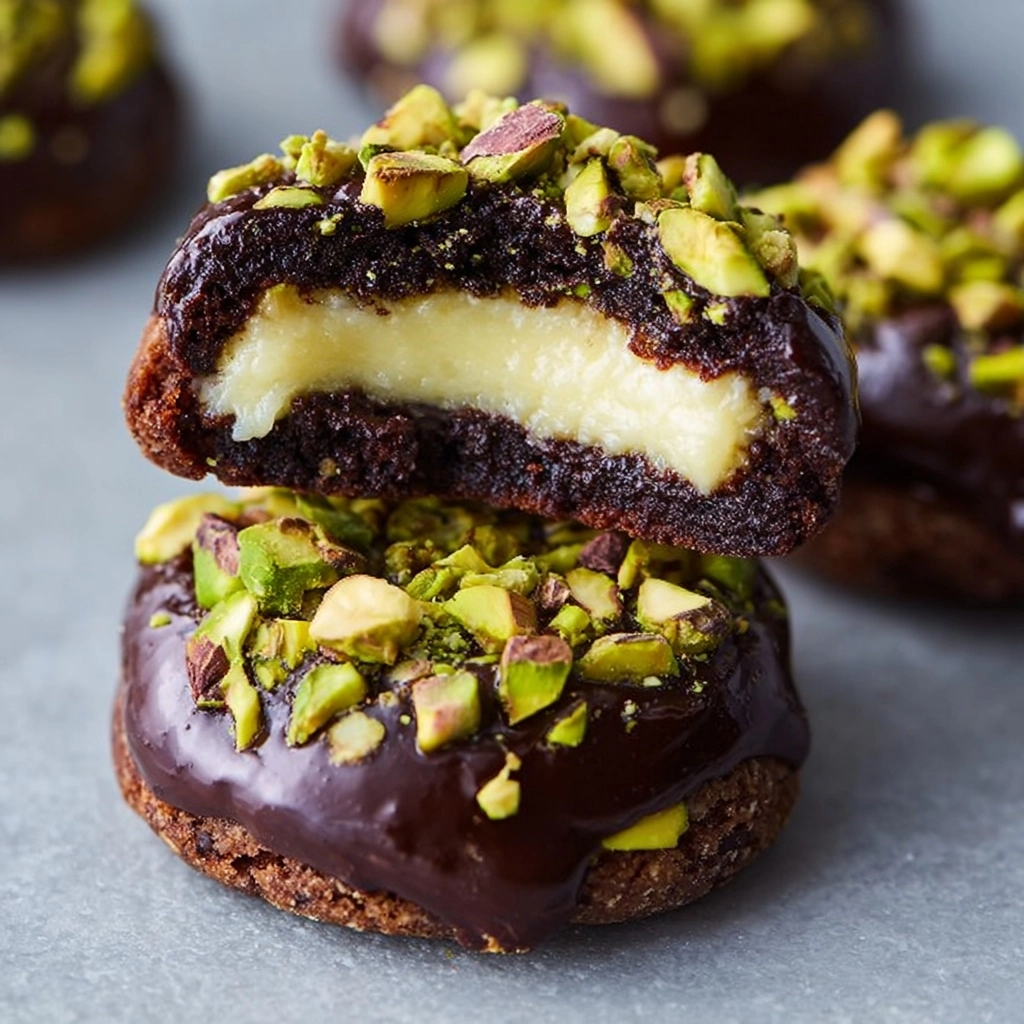
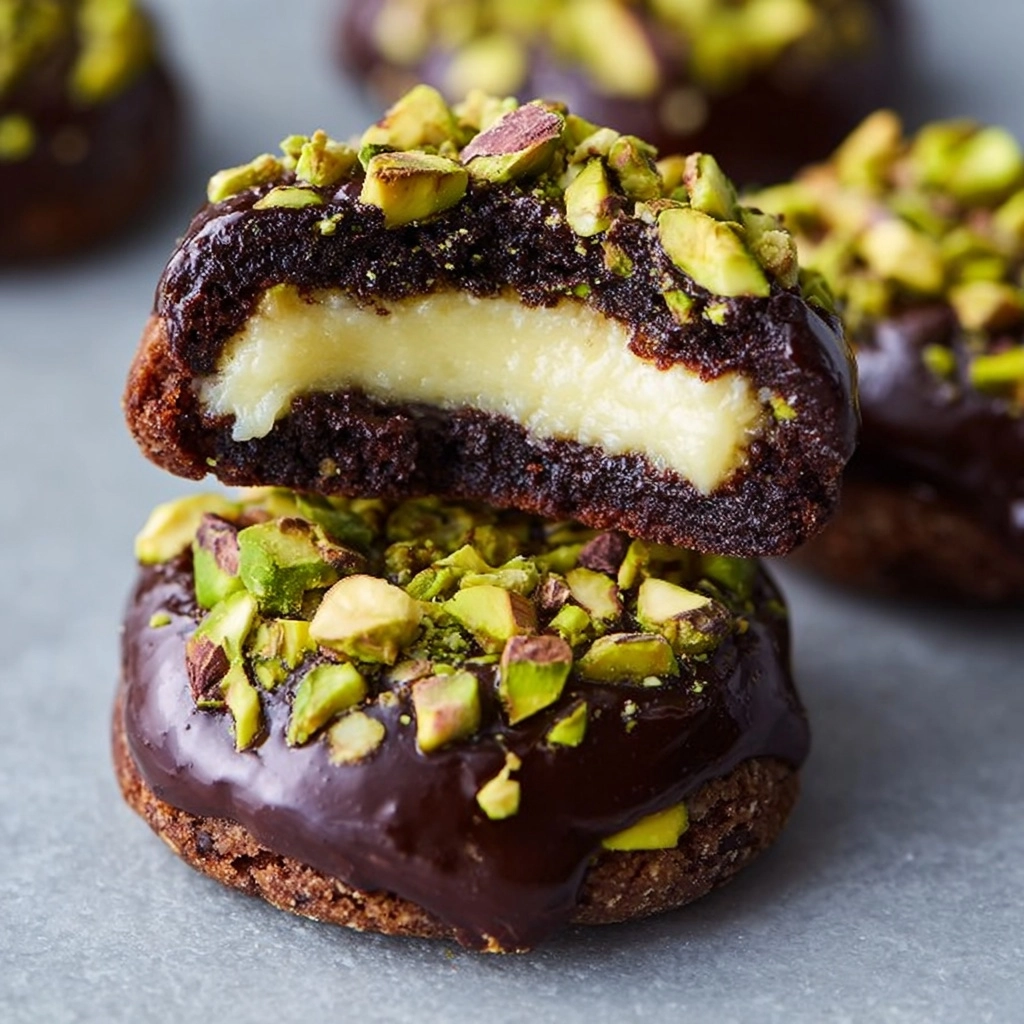
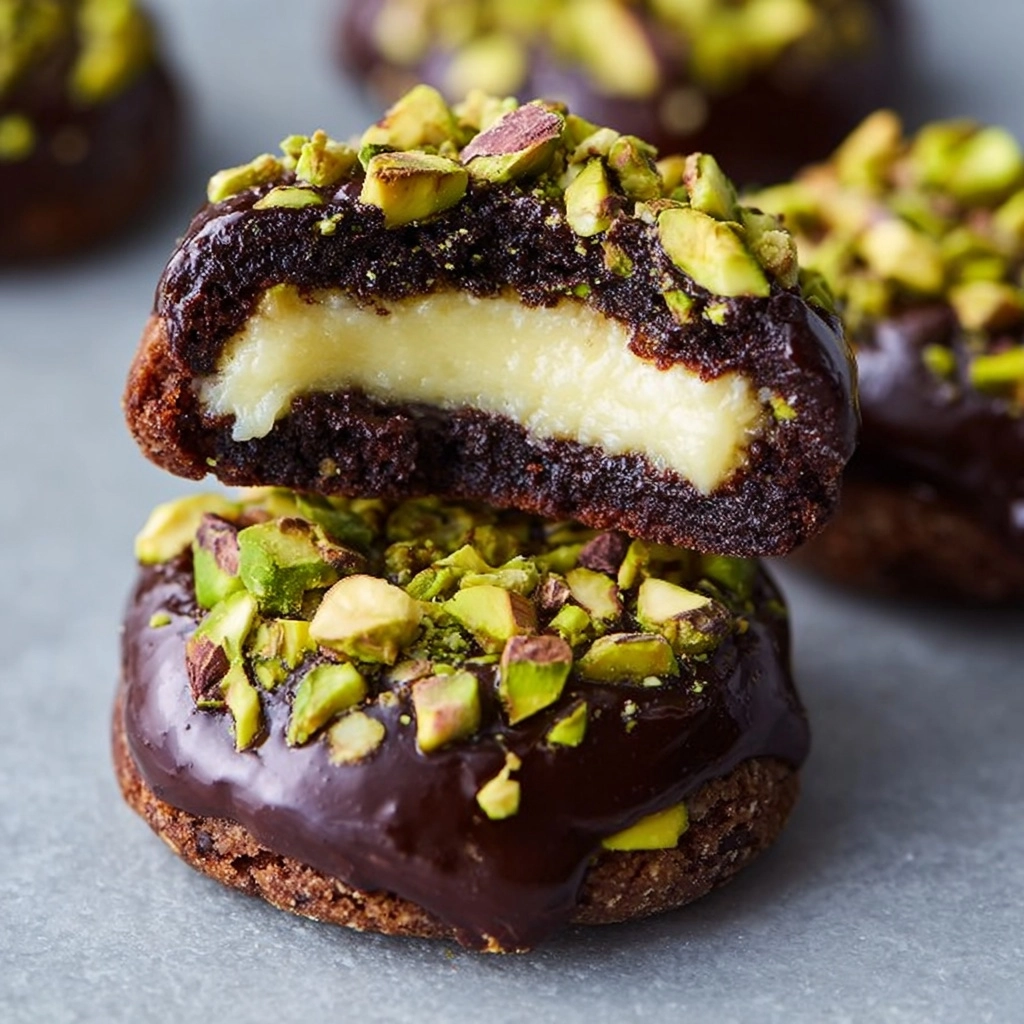
Meet your next obsession: Chocolate Pistachio Cream Thumbprint Cookies. Imagine a decadent chocolate cookie rolled in crunchy pistachios, just barely crisp at the edges, with a luscious, pistachio-studded cream nestled in the center—think soft, nutty, beautifully balanced, and altogether irresistible. This recipe was born out of a craving for something both elegant and comforting, making it the perfect treat to impress your friends or simply brighten up an afternoon with a cup of tea. It’s the kind of cookie that disappears from the plate before you can even set them down!
Ingredients You’ll Need
These Chocolate Pistachio Cream Thumbprint Cookies are made with a handful of pantry staples and a few fragrant extras. Every ingredient has a purpose, creating a delicate contrast of textures and flavors that will make each bite memorable.
- Unsalted butter (10 tbsp, softened): The backbone of a tender, melt-in-the-mouth cookie; be sure to let it come to room temperature for creamy mixing.
- Granulated sugar (⅔ cup): Adds just the right sweetness and helps create that perfect crumbly, almost sandy texture.
- Egg yolk (1): Adds richness, color, and that golden glow to your dough.
- Vanilla extract (1 tsp): A simple splash that pulls together the flavors and amps up the aroma.
- Pistachio extract (¼ tsp, optional): Use this if you want extra pistachio oomph throughout every layer; it really deepens the nutty profile.
- All-purpose flour (1¼ cups): Gives structure while keeping the cookie tender and soft-centered.
- Dutch-process cocoa powder (⅓ cup): Delivers deep chocolate flavor and a sophisticated dark color without harsh bitterness.
- Salt (½ tsp for dough, ¼ tsp for filling): Just enough to keep flavors lively—don’t skip it!
- Pistachio butter (½ cup): For nutty, creamy filling that feels both fancy and indulgent; high-quality makes a difference.
- White chocolate (2 oz, chopped): The secret to a velvety, sweet pistachio filling that sets just right in the cookie’s center.
- Sugar (2 tbsp for filling): Helps sweeten and smooth out the pistachio filling for a dessert-worthy finish.
- Egg white (1, beaten, for coating, optional): Helps chopped pistachios cling for a beautiful, crunchy crust.
- Finely chopped pistachios (½ cup, for coating, optional): Provides that irresistible salty crunch and stunning visual contrast—worth every extra second.
How to Make Chocolate Pistachio Cream Thumbprint Cookies
Step 1: Cream the Butter and Sugar
Start by beating the softened butter and sugar together in a large bowl. Go for light and fluffy—this could take about 2-3 minutes using an electric mixer. You want to see the mixture turn pale and increase in volume. If you’re making these Chocolate Pistachio Cream Thumbprint Cookies by hand, just keep up a steady pace; the end result is so worth it!
Step 2: Add Eggs and Aromatics
Mix in your egg yolk, vanilla extract, and the pistachio extract if you’re using it. Each one unlocks layers of richness and flavor. Keep scraping down the bowl to make sure everything’s well incorporated—this little step makes a big difference in the final texture.
Step 3: Combine Dry Ingredients
In a separate bowl, whisk together the flour, Dutch-process cocoa powder, and salt. Gradually add these dry ingredients to the butter mixture, beating just until combined. The dough will seem a little stiff, so don’t worry. Once combined, cover and chill the dough in the refrigerator for at least 30 minutes. This rest makes the cookies easier to shape and bakes them up extra tender.
Step 4: Make the Pistachio Cream Filling
While the dough chills, prepare that glorious pistachio cream. Gently melt the white chocolate in a microwave or over a double boiler, then stir in the pistachio butter, sugar, salt, and optional pistachio extract. Let the filling cool for a bit—it should be thick but still pipeable when it goes onto the cookies.
Step 5: Shape and Coat
Preheat your oven to 350°F (175°C). Scoop out tablespoon-sized portions of dough and roll them into neat 1-inch balls. If you want that extra pistachio crunch, dip each ball in beaten egg white, then roll in the finely chopped pistachios. Arrange on a lined baking sheet, leaving a little space between each. Press a deep thumbprint (or use the back of a ½ teaspoon) into each cookie—this will hold that dreamy filling.
Step 6: Bake and Perfect
Bake for 10-12 minutes, just until the edges are set. If the thumbprints puff up during baking, repress the centers gently while still warm. Let your Chocolate Pistachio Cream Thumbprint Cookies cool completely on the tray—this keeps them tender while the filling sets.
Step 7: Fill and Serve
Spoon or pipe the pistachio cream into the cooled centers of each cookie. For clean, pretty results, use a small piping bag or zip-top bag with the corner snipped off. Let the filling set for about 15 minutes, then dig in!
How to Serve Chocolate Pistachio Cream Thumbprint Cookies

Garnishes
A light dusting of powdered sugar or a sprinkle of extra chopped pistachios on top adds a lovely finishing touch. For a more decadent look, drizzle with a bit of melted dark chocolate. These details make your Chocolate Pistachio Cream Thumbprint Cookies not just delicious, but totally photo-worthy.
Side Dishes
Pair your cookies with strong coffee, creamy cappuccino, or a chilled glass of milk—the richness of chocolate meets the mellow nuttiness in the most comforting way. For a fancier gathering, serve alongside a bowl of fresh berries or a scoop of pistachio gelato.
Creative Ways to Present
Stack these beauties on a tiered dessert stand, tuck them into pretty gift boxes, or wrap small bundles in cellophane and tie with a ribbon for heartfelt homemade gifts. Chocolate Pistachio Cream Thumbprint Cookies are perfect for celebrations, edible holiday presents, or an impressive finish to a dinner party.
Make Ahead and Storage
Storing Leftovers
Once filled and set, store your Chocolate Pistachio Cream Thumbprint Cookies in an airtight container at room temperature for up to 3 days. Keep them in layers separated by parchment paper so the creamy centers stay neat and the cookies don’t stick together.
Freezing
For longer storage, freeze the unfilled cookies in a single layer, then transfer to a zip-top bag or airtight container. They’ll keep well for up to 2 months. When you’re ready to serve, defrost at room temperature and fill them fresh for maximum flavor and texture.
Reheating
If you want to revive cookies that have lost a touch of their softness, simply microwave each for 5-10 seconds to bring back that just-baked feel. Avoid oven reheating once filled, as the cream may melt out.
FAQs
Can I use regular cocoa powder instead of Dutch-process?
Yes, you can substitute natural cocoa powder, but the cookies will have a lighter color and slightly tangier flavor. Dutch-process is best for a deeply chocolatey cookie, but both work.
What’s the best way to store pistachio butter?
Keep it in an airtight jar in the fridge for freshness and to prevent the natural oils from going rancid. Stir before using to incorporate any separated oil, especially before making the cream filling.
Do I have to coat the cookies in pistachios?
Nope! The pistachio coating is optional but highly recommended for crunch. If you skip it, the cookies will still be delicious—just a bit less nutty and more about the chocolate.
Can I make the dough in advance?
Absolutely! Prepare the dough a day ahead, cover well, and chill until ready to shape and bake. In fact, a longer chill time develops deeper flavor.
Is there a substitute for pistachio extract?
If you don’t have pistachio extract, you can skip it or use a dash of almond extract, which compliments pistachios nicely. The cookies will still have great nutty flavor from the pistachio butter and nuts.
Final Thoughts
If you’re dreaming of a cookie that’s show-stopping to look at and pure joy to eat, you’ve found it in these Chocolate Pistachio Cream Thumbprint Cookies. I can’t wait for you to try them and see everyone’s faces light up at first bite. You’re in for a baking experience that’s as rewarding as it is delicious—don’t forget to save one for yourself!


Your email address will not be published. Required fields are marked *