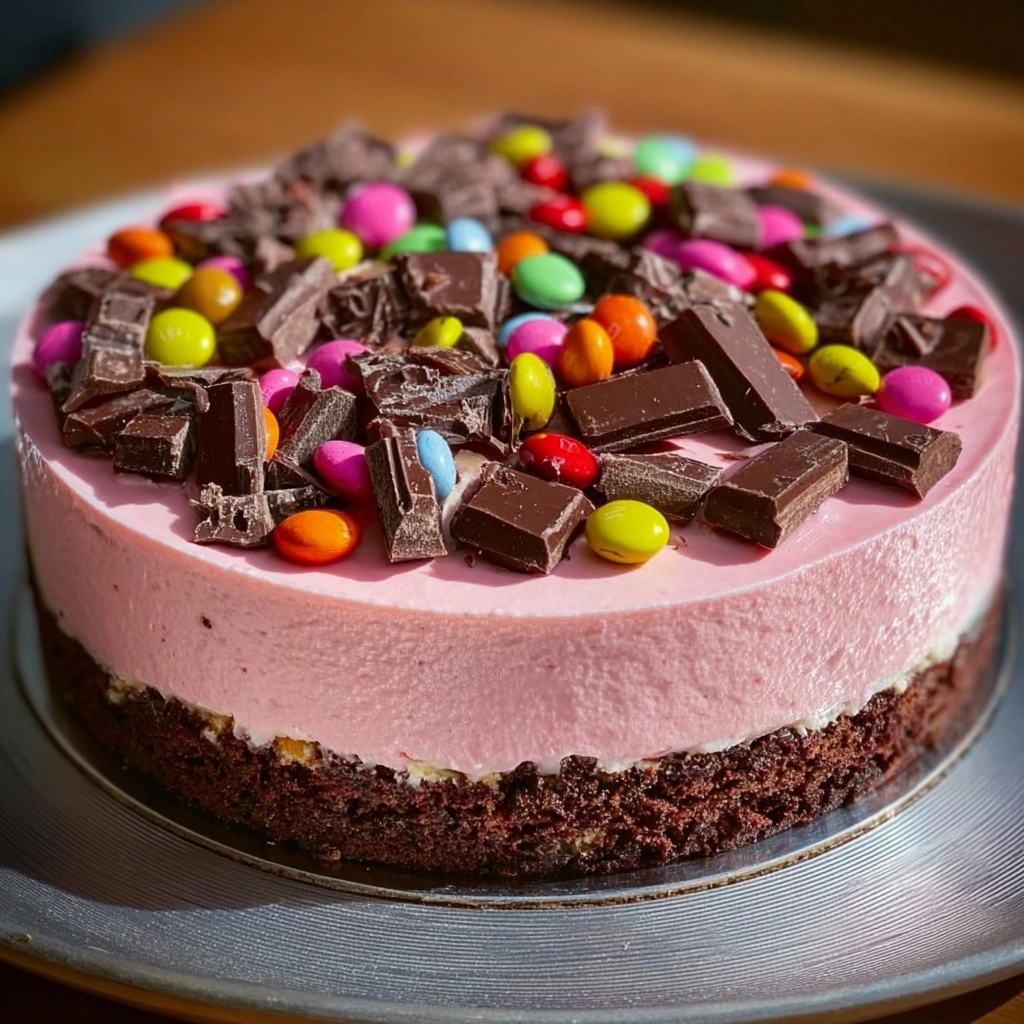
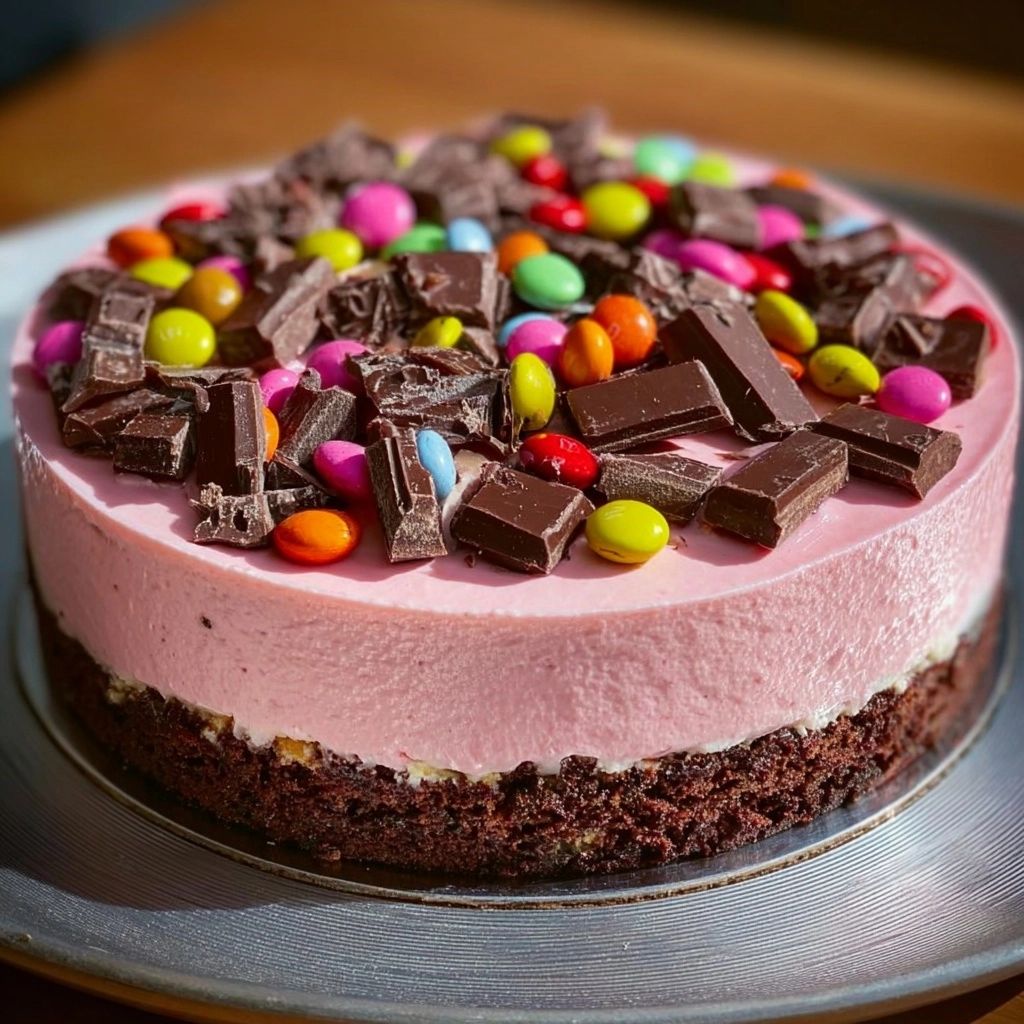
If you have a soft spot for all things chocolate and a passion for eye-catching desserts, this Chocolate Candy Cake is about to become your new obsession. Imagine layers of buttery crushed cookie crust, billowy pink cream cheese mousse, and a generous cloudburst of chocolate candies and rich chopped chocolate—all without ever turning on your oven. Whether you’re planning a party, a birthday surprise, or simply want to treat yourself, the Chocolate Candy Cake brings together intense chocolate flavor, creamy texture, and playful color in every single slice.
Ingredients You’ll Need
It’s amazing how a handful of everyday ingredients can come together to make such a show-stopping treat. Each one plays a special role, whether it’s adding crunch, creaminess, or that all-important chocolatey sparkle on top.
- Crushed chocolate cookies: The foundation of your crust, providing deep cocoa flavor and a sturdy base for all the layers.
- Melted butter: Binds the cookie crumbs, helping them set into the perfect sliceable bottom layer.
- Heavy cream, whipped: Brings a dreamy, airy decadence to the creamy filling, making every spoonful cloud-soft.
- Cream cheese, softened: Adds luxurious tang and body to balance out the sweetness, ensuring a perfectly spreadable filling.
- Powdered sugar: Dissolves beautifully into the filling, resulting in smooth sweetness without a gritty feel.
- Pink food coloring (optional): A fun way to give your Chocolate Candy Cake a playful pop of color—totally optional but highly recommended for the wow factor!
- Assorted chocolate candies: All about color, crunch, and whimsy. Pick your favorites—this is where the party happens!
- Chopped dark chocolate: For a finishing touch of bold, bittersweet richness that ties the whole cake together.
How to Make Chocolate Candy Cake
Step 1: Create the Cookie Crust Base
Start by mixing your crushed chocolate cookies with the melted butter, stirring until everything is deliciously coated and moistened. Pour this mixture into a springform pan, then firmly press it down to form an even layer. This will become the irresistible, slightly crunchy base of your Chocolate Candy Cake. Pop it into the fridge for 15 minutes, just long enough to set and hold together.
Step 2: Whip Up the Creamy Pink Filling
In a separate bowl, combine the whipped heavy cream, softened cream cheese, powdered sugar, and a few drops of pink food coloring if you’re feeling vibrant. Mix everything together until the batter is smooth, creamy, and beautifully pink (or keep it classic and skip the color). This luscious layer will sit gracefully atop your chilled cookie crust.
Step 3: Layer the Cream onto the Base
Gently spread the pink (or white) cream cheese mixture over the cookie base, smoothing it out with a spatula for an even layer. Take your time with this step—the silkier the top, the more gorgeous your Chocolate Candy Cake will look when it’s ready to serve.
Step 4: Decorate with Candies and Chocolate
Now for the best part! Scatter your favorite chocolate candies—think M&Ms, malted milk balls, or mini chocolate gems—all over the top of the cake. Sprinkle the chopped dark chocolate over everything for that extra grown-up touch. The pop of color paired with the glossy chocolate slivers is what sets this Chocolate Candy Cake apart from the rest.
Step 5: Chill and Set
Refrigerate your decorated cake for at least two hours. This step allows the cream cheese filling to firm up and the flavors to meld together. Resist the urge to slice in early—you want that perfect, clean piece when it’s time to serve!
How to Serve Chocolate Candy Cake

Garnishes
For a little extra magic, garnish each slice with a few extra chocolate candies, a light dusting of powdered sugar, or even a dollop of whipped cream on the side. You can also drizzle a bit of chocolate syrup over the top for decadent flair. The cake is already beautifully adorned, but these little extras make it utterly irresistible.
Side Dishes
Because the Chocolate Candy Cake is rich and sweet, balance it with fresh side options like a bowl of juicy berries, sliced fruit, or a light, tangy yogurt parfait. For a fancier touch, serve with espresso or a berry coulis—the hint of tartness will keep your tastebuds singing!
Creative Ways to Present
Thinking beyond the classic cake slice? Try making individual mini cakes using muffin tins or assembling in cute jars for a portable treat. If you’re celebrating, add themed candies on top to match any occasion—from birthdays to baby showers. This Chocolate Candy Cake is every bit as versatile as it is delicious!
Make Ahead and Storage
Storing Leftovers
If you’re lucky enough to have leftovers, cover the cake tightly in the fridge—it’ll stay fresh and delicious for up to 3 days. The cookie base will soften slightly but still offers a lovely contrast against the creamy filling.
Freezing
Chocolate Candy Cake freezes surprisingly well. Simply wrap slices in plastic wrap and store in an airtight container for up to a month. Thaw slices in the fridge when you’re ready for a sweet treat—just keep in mind the candy toppings may lose a bit of crunch after freezing.
Reheating
No reheating necessary for this no-bake wonder! Serve your cake chilled straight from the fridge or let it sit for a few minutes at room temperature to soften slightly. If freezing, let it thaw gently to keep the creamy filling silky and smooth.
FAQs
What kind of chocolate cookies work best?
Any dark, chocolatey cookie is perfect—think Oreos or chocolate wafer cookies. Avoid overly sweet cookies; you want the richness of real cocoa in the base to complement the cream and candies.
Can I make Chocolate Candy Cake ahead for a party?
Absolutely! In fact, this cake is even better when made in advance. Prepare it the day before, chill overnight, and you’ll have a party-ready dessert that slices beautifully and wows every guest.
Can I use different candies on top?
Of course! That’s half the fun. Change up the toppings to suit holidays, birthdays, or just your mood. Try nutty chocolates, colorful sprinkles, or even crushed toffee for a delightful twist on your Chocolate Candy Cake.
Is there a way to make this cake gluten-free?
Just swap the chocolate cookies for a gluten-free variety—many brands have delicious options. Double-check your candies to ensure they’re gluten-free, and you’re set!
Can I skip the food coloring?
Definitely! The cake is just as scrumptious with the natural white filling. The pink tint is all about fun presentation, so leave it out if you prefer or use other colors to match a special theme.
Final Thoughts
Whether you’re young or simply young at heart, there’s nothing quite like the magic of a Chocolate Candy Cake. It’s easy, playful, and downright delicious. Don’t wait for a special event—make one soon and see every smile it creates!


Your email address will not be published. Required fields are marked *