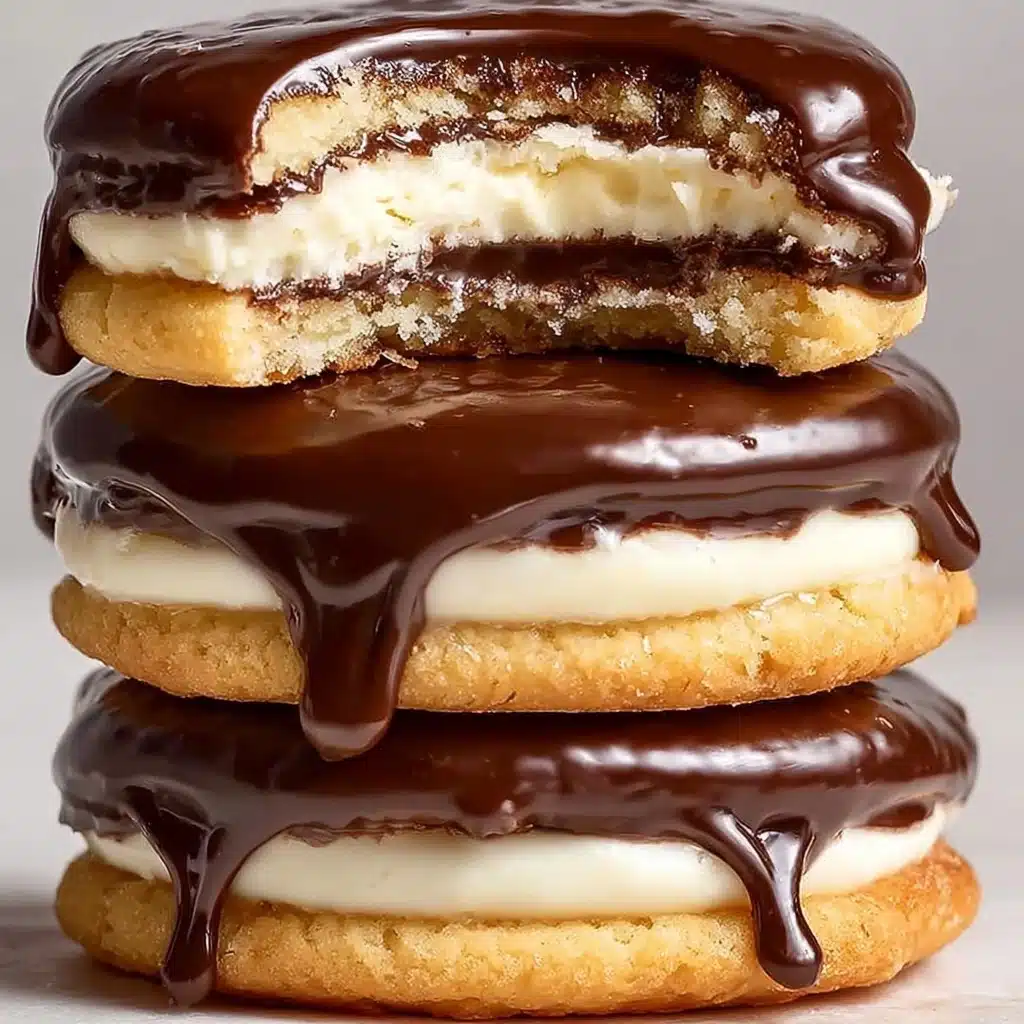
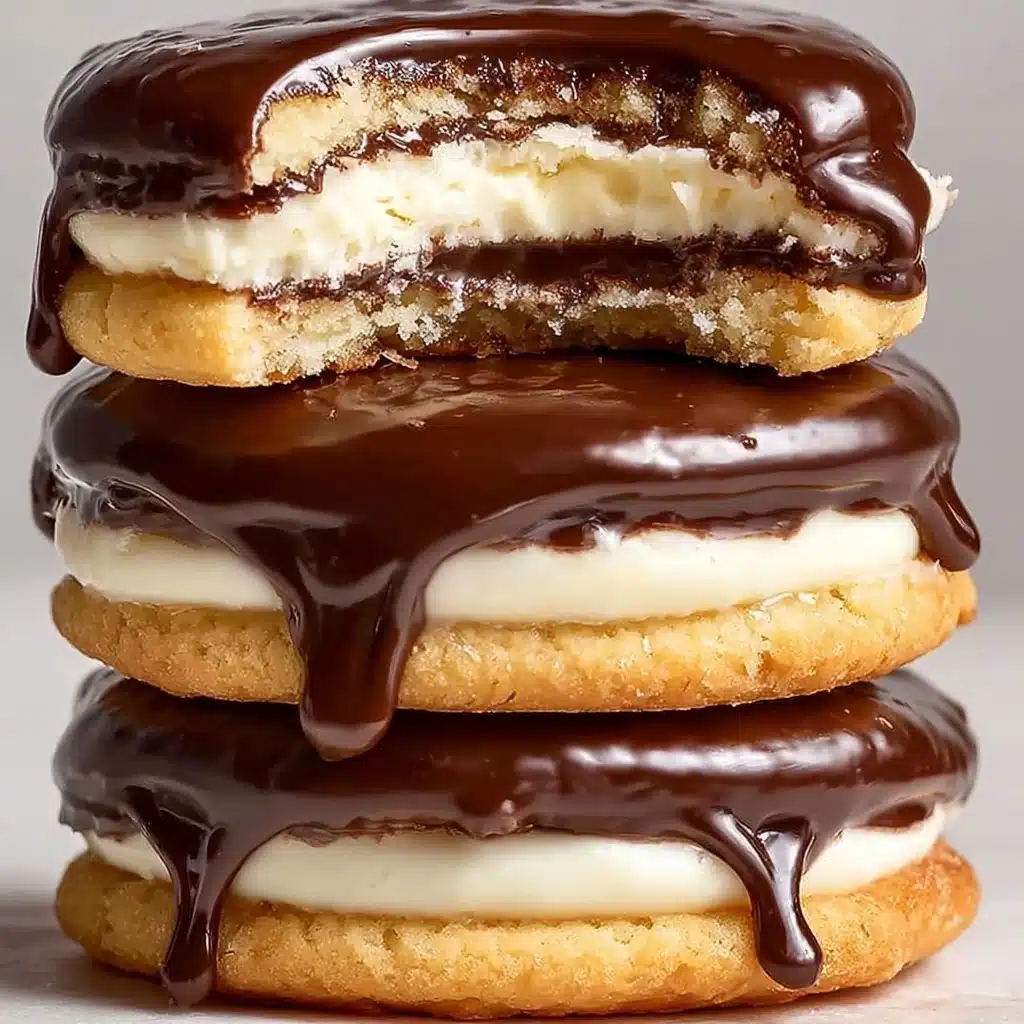
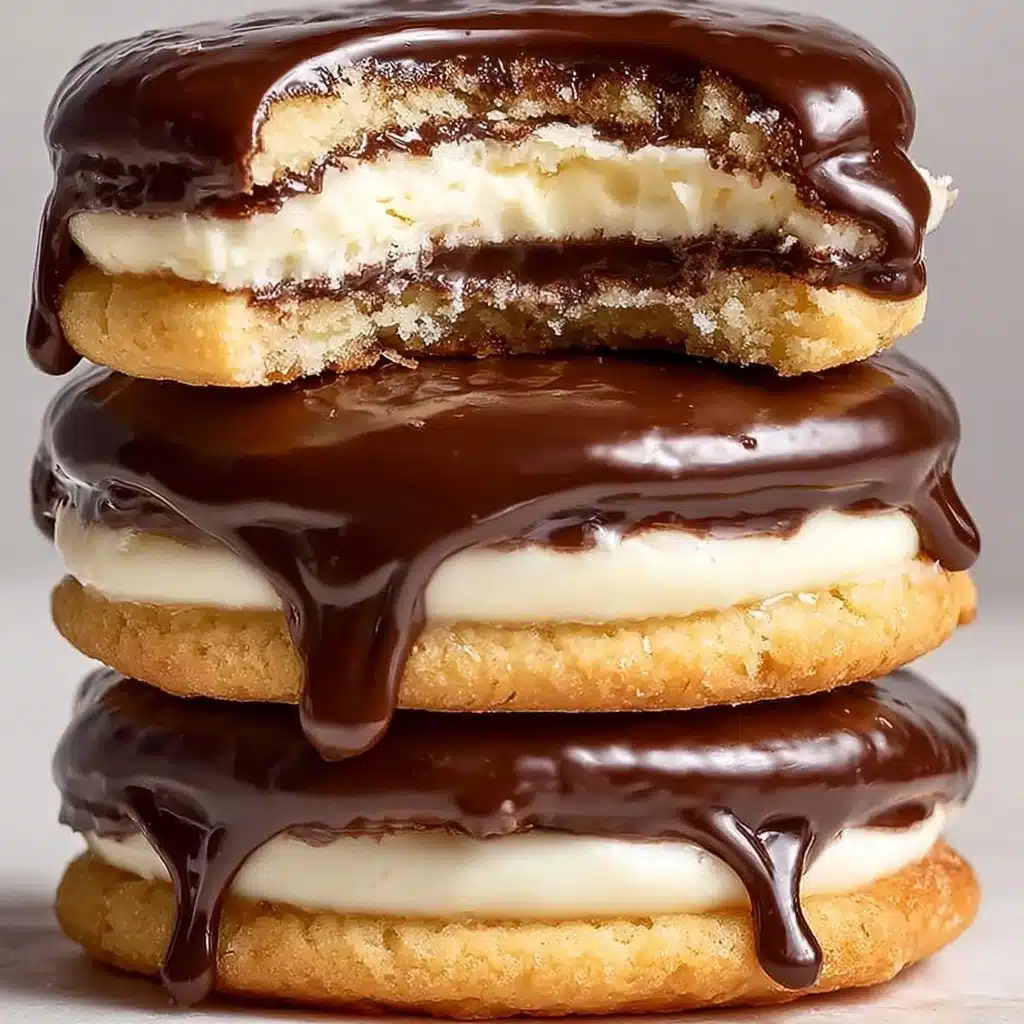
Get ready to fall in love with boston cream pie cookies — a dreamy fusion of soft, pillowy cookies, rich vanilla pastry cream, and glossy chocolate glaze. These beauties take the classic flavors of the iconic Boston cream pie and shrink them down into delightfully indulgent sandwich cookies. Each bite is the perfect collision of tender, buttery cookie, creamy filling, and that irresistible ribbon of silky chocolate. If you’ve ever craved the flavors of a bakery-style dessert in an easy-to-eat cookie form, this is your new go-to recipe for celebrations, gifting, or just treating yourself!
Ingredients You’ll Need
You won’t believe how everyday ingredients are transformed into such a show-stopping treat! Each item works its magic — whether it’s butter for richness, sugar for sweetness, or a dash of vanilla for that unmistakable warmth. Let’s see how each one earns its place in your next batch of boston cream pie cookies.
- Butter (1 cup, softened): Brings unrivaled flavor and guarantees those heavenly soft cookies.
- Sugar (1 1/2 cups): Adds just the right amount of sweetness and helps create a tender texture.
- Eggs (2 large): Give the cookies structure and a soft, cakey bite.
- Vanilla Extract (1 teaspoon): Essential for depth and that nostalgic, comforting aroma.
- All Purpose Flour (3 cups): The sturdy base that keeps everything together while staying light.
- Baking Powder (1 teaspoon): Ensures the cookies bake up beautifully thick and fluffy.
- Salt (1/2 teaspoon): Balances the sweetness and brightens every flavor note.
- Whole Milk (1 cup, for cream filling): Gives silkiness and body to the luxurious pastry cream.
- Granulated Sugar (1/2 cup, for cream filling): Sweetens the filling just enough for blissful bites.
- Cornstarch (1/4 cup, for cream filling): Naturally thickens the cream to dreamy perfection.
- Egg Yolks (2 large, for cream filling): Provide extra richness and that signature custard color.
- Butter (1 tablespoon, for cream filling): Makes the filling extra smooth and velvety.
- Vanilla Extract (1 teaspoon, for cream filling): Puts the finishing touch on the creamy center.
- Heavy Cream (1/2 cup, for chocolate glaze): Creates a luscious, pourable glaze for dipping.
- Semi Sweet Chocolate Chips (1 cup, for chocolate glaze): Melts down to a shiny, snappy finish.
How to Make boston cream pie cookies
Step 1: Prepare the Cookie Dough
Start by preheating your oven to 375°F (190°C) so it’s ready when you are. Cream together the softened butter and sugar in a large bowl until light and fluffy — this is key for melt-in-your-mouth texture. Beat in the eggs and vanilla until the mixture is creamy and pale. In a separate bowl, whisk together the flour, baking powder, and salt, then gradually incorporate those dry goods into the wet mixture until just combined. Don’t overmix; we want these cookies tender!
Step 2: Bake the Cookies
Scoop out rounded tablespoons of dough and place them on parchment-lined baking sheets, leaving a bit of space in between for those glorious cookies to puff up. Pop them in the oven and bake for 10 to 12 minutes, just until the edges have a hint of golden color. Move the cookies to a wire rack and let them cool completely—trust me, they need to be cool before assembling for the perfect boston cream pie cookies experience!
Step 3: Make the Cream Filling
While the cookies are cooling, let’s whip up the magic filling. In a saucepan, whisk together the milk, sugar, cornstarch, and egg yolks over medium heat. Keep stirring; as soon as it thickens and bubbles, you’ll know it’s ready! Remove from the heat and stir in the butter and vanilla extract for that extra silkiness. Press plastic wrap directly onto the surface of the filling to stop a skin from forming, then let it cool completely.
Step 4: Assemble the boston cream pie cookies
When your cookies and cream filling are at room temp, it’s assembly time! Flip half the cookies over and spread a generous dollop of that dreamy vanilla cream onto the flat side. Top with another cookie to make a sandwich. Pro tip: don’t skimp on the filling—it’s the star!
Step 5: Glaze with Chocolate
For the grand finale, heat the heavy cream in a small saucepan until it just simmers. Pour it over the chocolate chips in a bowl, let it sit for a minute or two, then whisk until glossy and completely smooth. Dip the top of each cookie sandwich into the chocolate glaze. Set them back on your rack to let the glaze firm up—no sneaky bites yet (I know, it’s tough). Now, your boston cream pie cookies are ready to steal the show!
How to Serve boston cream pie cookies

Garnishes
A touch of garnish adds sparkle to these already-deluxe boston cream pie cookies! Try a few chocolate shavings, a dusting of powdered sugar, or even a delicate sprinkle of gold leaf for a wow-worthy finish.
Side Dishes
These cookies are undeniably rich, so something light and refreshing works best on the side. Fresh berries, a scoop of vanilla ice cream, or a simple glass of cold milk will compliment every bite (and keep you coming back for more).
Creative Ways to Present
You can stack these sandwich cookies on a pretty pedestal for a gorgeous tea party centerpiece, wrap them up in clear cellophane bags as the ultimate homemade gift, or plate them as a playful twist on traditional Boston cream pie for dinner parties. However you display them, boston cream pie cookies are guaranteed to be the star of any dessert spread!
Make Ahead and Storage
Storing Leftovers
To keep your boston cream pie cookies at their absolute best, store them in an airtight container in the fridge. This preserves both the creamy filling and the soft texture of the cookies. They’ll stay delicious for up to 3 days, which is perfect for prepping ahead for gatherings—or secret midnight snacks!
Freezing
Want to stash some away for later? You can freeze the assembled boston cream pie cookies on a baking sheet until firm, then pop them into a freezer container. They’ll keep for up to a month. For best results, freeze before adding the chocolate glaze, and dip them after thawing for that just-fresh shine.
Reheating
These cookies don’t need reheating, but if you prefer a slightly warm experience, give them a minute at room temperature to soften up (especially if chilled or frozen). Avoid microwaving, as it can melt the filling and glaze—a gentle touch is the way to go!
FAQs
Can I make the cream filling ahead of time?
Absolutely! Feel free to make the cream a day in advance. Store it in the fridge with plastic wrap pressed against the surface to prevent skin from forming, then let it soften before assembling your boston cream pie cookies.
Do I have to use chocolate chips for the glaze?
Chocolate chips are convenient, but feel free to swap in chopped semi-sweet or dark chocolate bars for an even more decadent glaze. Just be sure to use chocolate you love, since that flavor is front and center!
What’s the best way to get uniform cookie size?
A cookie scoop works wonders for even portions, giving every boston cream pie cookie the perfect “sandwich” shape and look. You can also roll the dough gently between your hands for smooth, round cookies.
Can these be made gluten-free?
Yes! Substitute your favorite cup-for-cup gluten-free flour blend for the all purpose flour. The cookies may have a slightly different texture, but the taste and appeal will be just as delightful.
How do I prevent my filling from curdling or clumping?
Stir constantly and gently while heating the filling, and never walk away from the saucepan! If you do get a few small lumps, you can whisk them out or strain the filling before assembling your boston cream pie cookies.
Final Thoughts
Seriously, you need to try these boston cream pie cookies at least once—though I’m betting you’ll want to make them again and again! They make any day feel extra special, whether you’re baking for friends, family, or just yourself. Give them a whirl, and let those classic Boston cream flavors brighten your cookie tray!


Your email address will not be published. Required fields are marked *