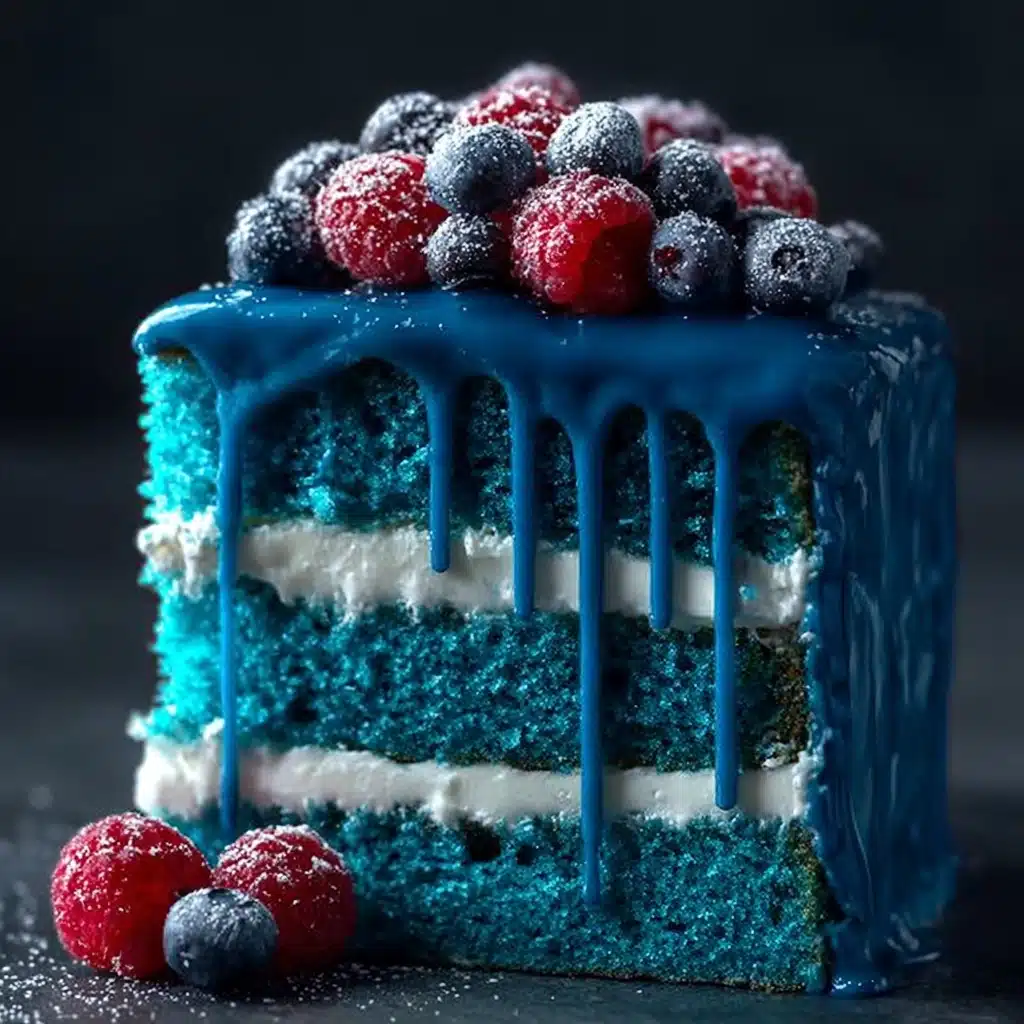
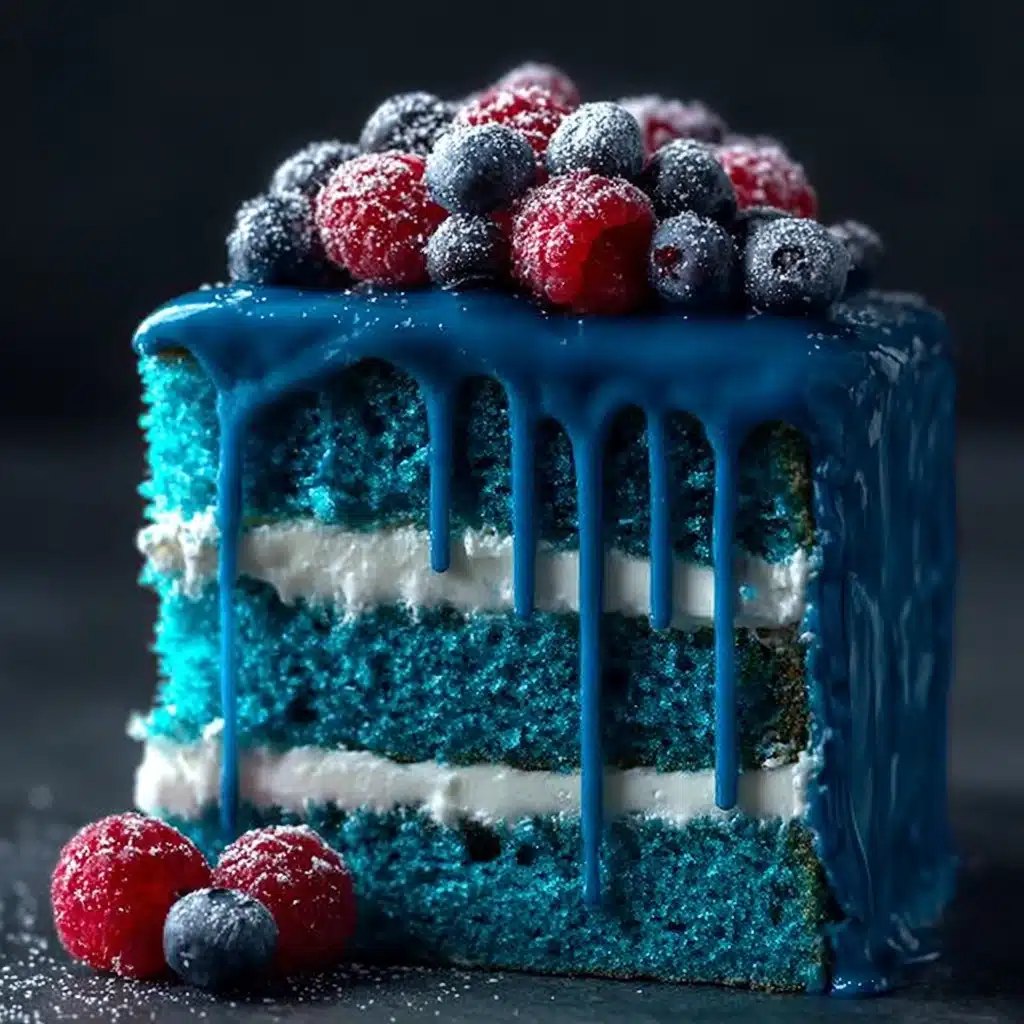
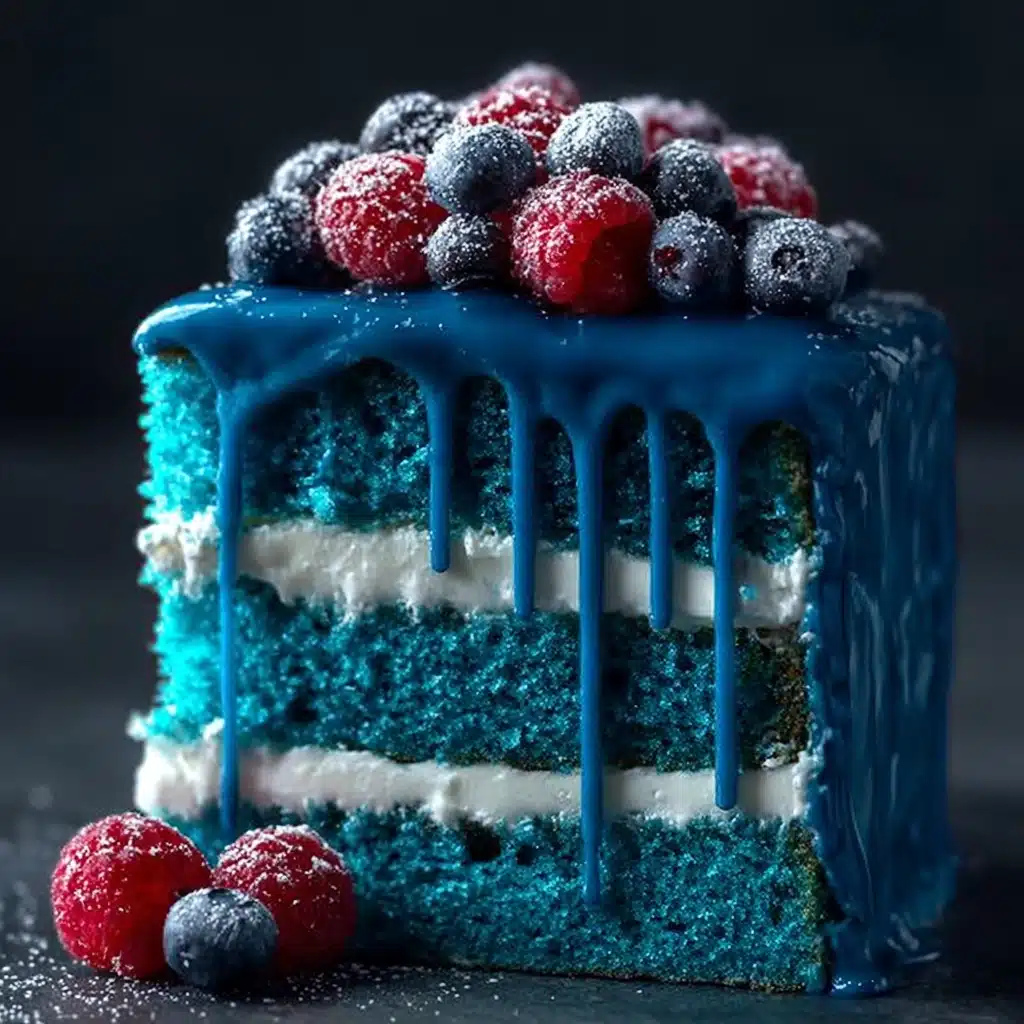
If you’re looking to wow your friends and family with a cake that’s both visually stunning and irresistibly delicious, let me introduce you to the Blue Velvet Cake. This dazzling dessert combines the rich tenderness of classic velvet cake with a vibrant twist of blue, making each slice look like a little celebration. The perfect balance of cocoa, buttermilk, and that unforgettable pop of blue food coloring creates a cake that’s as fun to make as it is to eat. Trust me, once you try this Blue Velvet Cake, it will quickly become your go-to for birthdays, special occasions, or any time you want to brighten up your day.
Ingredients You’ll Need
The ingredients for this Blue Velvet Cake are refreshingly straightforward, yet each plays a vital role in crafting the perfect texture and flavor. From the tangy buttermilk that keeps the crumb tender to the cocoa powder that adds chocolatey depth, every element contributes to this cake’s magic.
- All-purpose flour: The foundation of your cake’s structure, providing just the right amount of chewiness.
- Granulated sugar: Sweetens perfectly without overpowering the other flavors.
- Baking soda & baking powder: These leavening agents work hand-in-hand to create a light and fluffy crumb.
- Salt: Enhances and balances sweetness while intensifying flavor.
- Unsweetened cocoa powder: Adds a subtle chocolate background note that makes this Blue Velvet Cake unforgettable.
- Vegetable oil: Keeps the cake moist and tender so every bite melts in your mouth.
- Buttermilk: Provides acidity for that velvety texture and a slight tang that cuts through the sweetness.
- Eggs: Bind everything together and contribute to a rich crumb.
- Vanilla extract: Lifts all the flavors with its warm aromatic touch.
- White vinegar: Reacts with baking soda to give extra lift and enhances the cake’s vibrant color.
- Blue food coloring: The star of the show for that brilliant blue hue that transforms this cake.
- Cream cheese: Essential for the luscious and tangy frosting that complements the cake beautifully.
- Unsalted butter: Adds richness and smoothness to the frosting.
- Powdered sugar: Sweetens and stabilizes the frosting for easy spreading.
- Heavy cream: Adjusts the frosting consistency to silky perfection.
How to Make Blue Velvet Cake
Step 1: Prepare Your Cake Layers
Start by preheating your oven to 350°F (175°C) and prepping three 8-inch round cake pans by greasing and lining them with parchment paper. This ensures your cake layers come out clean and intact every time. Next, sift your dry ingredients—flour, cocoa powder, baking soda, baking powder, and salt—into a medium bowl. This not only removes lumps but also evenly distributes everything, setting you up for a smooth batter.
Step 2: Mix the Wet Ingredients
In a large bowl, whisk together the vegetable oil, granulated sugar, eggs, buttermilk, white vinegar, vanilla extract, and blue food coloring. The vibrant color will seize your heart at this stage, hinting at the delightful cake to come. This combination ensures that your Blue Velvet Cake will maintain its moist, tender texture and that signature bright shade.
Step 3: Bring It All Together
Gradually add your sifted dry ingredients into the wet mixture, stirring gently until the batter is smooth and velvety. Be careful not to overmix; a little patience here results in a beautifully tender crumb. Then, divide your vibrant blue batter evenly between the prepared pans, spreading it out so it bakes evenly.
Step 4: Bake to Perfection
Place your pans in the oven and bake for 25 to 30 minutes. To check if the cakes are done, insert a toothpick in the center; it should come out clean or with just a few moist crumbs. Once baked, allow your layers to cool in the pans for about 15 minutes before transferring them to a wire rack to cool completely. This step is crucial for your frosting to glide on smoothly later.
Step 5: Make the Cream Cheese Frosting
While your cake layers cool, beat together softened cream cheese and unsalted butter until luxuriously creamy. Slowly add the powdered sugar, making sure to mix well after each addition, then stir in the vanilla and enough heavy cream to get the frosting to a fluffy, spreadable consistency. This frosting is pure bliss—tangy, sweet, and silky all at once, a match made in heaven for the Blue Velvet Cake.
Step 6: Assemble the Cake
Now for the fun part. Place one cake layer on your serving plate and spread a generous dollop of frosting evenly on top. Repeat with the next layers, stacking them carefully. Once your layers are stacked, cover the entire cake with the remaining frosting. Take your time smoothing the sides and top for a professional look that also feels warm and homemade.
Step 7: Decorate and Enjoy
To finish your Blue Velvet Cake, sprinkle blue sprinkles, add white chocolate curls, or scatter fresh blueberries across the top. Each garnish adds an extra pop of color and texture, transforming your cake into a true centerpiece. Now step back and admire your masterpiece before slicing in for the delicious reveal.
How to Serve Blue Velvet Cake

Garnishes
Simple garnishes like fresh blueberries or white chocolate curls complement the Blue Velvet Cake’s vibrant look and moist texture beautifully. They add a hint of freshness and an element of elegance that can easily elevate this cake from everyday treat to show-stopping dessert.
Side Dishes
Pair your Blue Velvet Cake with a light fruit salad or a dollop of freshly whipped cream. The lightness balances the richness of the cake and the cream cheese frosting, creating a perfect harmony of flavors and textures on your palate.
Creative Ways to Present
For an eye-catching presentation, try serving your Blue Velvet Cake on a cake stand with a few fresh flowers or berries around the base. You could also cut it into dainty mini cakes for parties or use edible glitter on top for a whimsical touch that will delight kids and adults alike.
Make Ahead and Storage
Storing Leftovers
Leftover Blue Velvet Cake keeps wonderfully in the fridge for up to four days. Make sure to cover it tightly with plastic wrap or store it in an airtight container to maintain moisture and prevent the frosting from drying out. This way, each next-day slice is just as delightful as the first.
Freezing
You can freeze the Blue Velvet Cake layers or the fully assembled cake. Wrap cake layers individually in plastic wrap and aluminum foil to avoid freezer burn. Thaw in the fridge overnight before frosting or serving. For a pre-frosted cake, freeze uncovered for about an hour to harden the frosting, then wrap gently. This method keeps your cake tasting freshly baked even weeks later.
Reheating
While you generally enjoy Blue Velvet Cake chilled, if you prefer it slightly warm, let slices sit at room temperature for about 20 minutes before serving. Avoid microwaving as it can alter the frosting’s texture. Instead, a gentle warming from the ambient room temperature preserves the cake’s perfect moisture and flavor balance.
FAQs
What makes Blue Velvet Cake different from Red Velvet Cake?
The Blue Velvet Cake swaps traditional red food coloring for blue, creating a strikingly beautiful variation, but it maintains the same moist, tender crumb and tangy cream cheese frosting that Red Velvet enthusiasts love.
Can I use natural food coloring for the blue color?
Natural blue food coloring options exist, like butterfly pea powder, but they might not give you the vibrant blue you expect. For that classic Blue Velvet Cake pop, gel or liquid blue food coloring is recommended.
Is the cocoa powder necessary in the recipe?
Yes! The unsweetened cocoa powder adds a subtle chocolate undertone that enhances the cake’s depth and supports the velvet texture. Omitting it would change the flavor profile significantly.
How do I prevent my Blue Velvet Cake from being dry?
The combination of vegetable oil and buttermilk ensures the cake stays moist. Be careful not to overbake, and always measure your ingredients precisely for the best results.
Can I make this cake dairy-free?
You could substitute plant-based milk with a bit of vinegar for buttermilk and use dairy-free cream cheese and butter alternatives. However, texture and taste might differ slightly from the classic Blue Velvet Cake.
Final Thoughts
There is something truly special about a Blue Velvet Cake: the way it combines charming color with tender, rich flavors that comfort and delight. Whether you’re baking it for a birthday, a weekend treat, or just because, this cake promises smiles and sweet satisfaction. So grab those ingredients and get ready to bake a Blue Velvet Cake that will become everyone’s new favorite. Trust me, you’re going to love it!


Your email address will not be published. Required fields are marked *