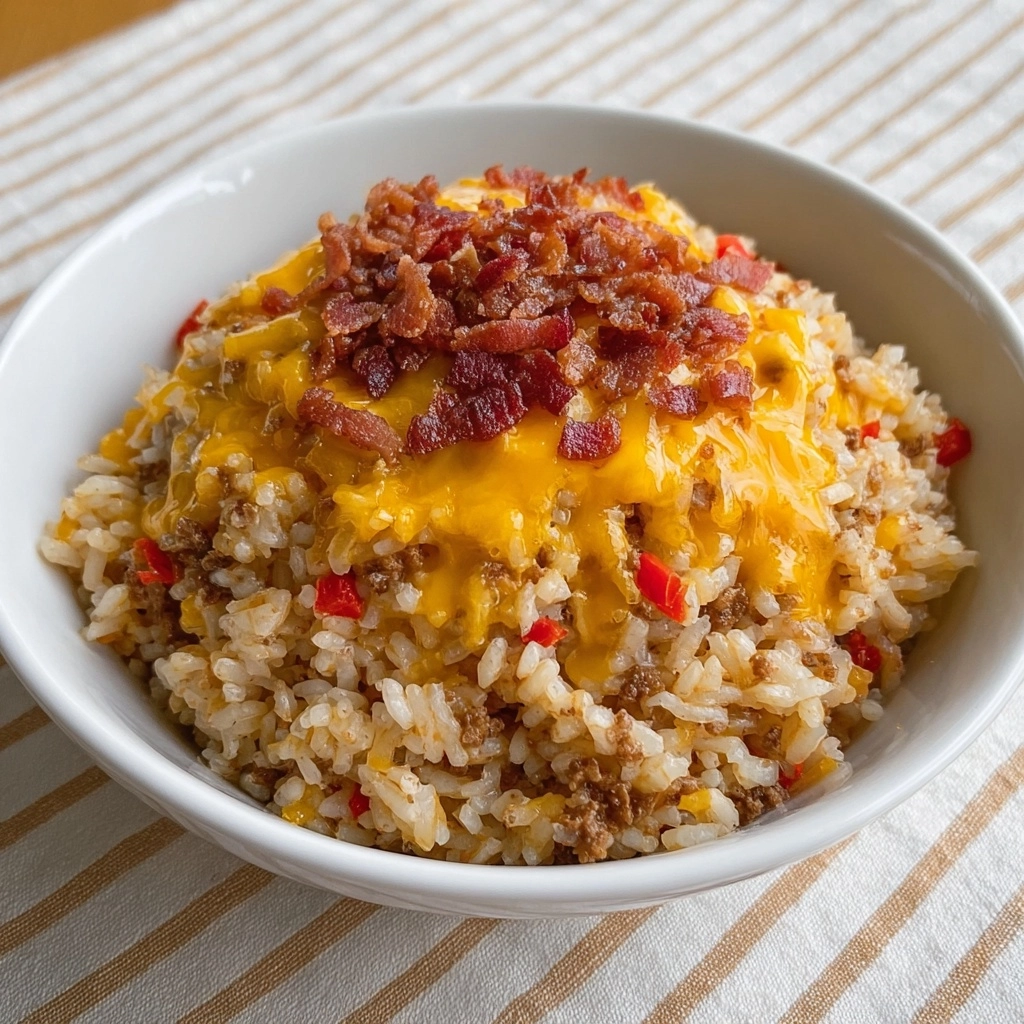
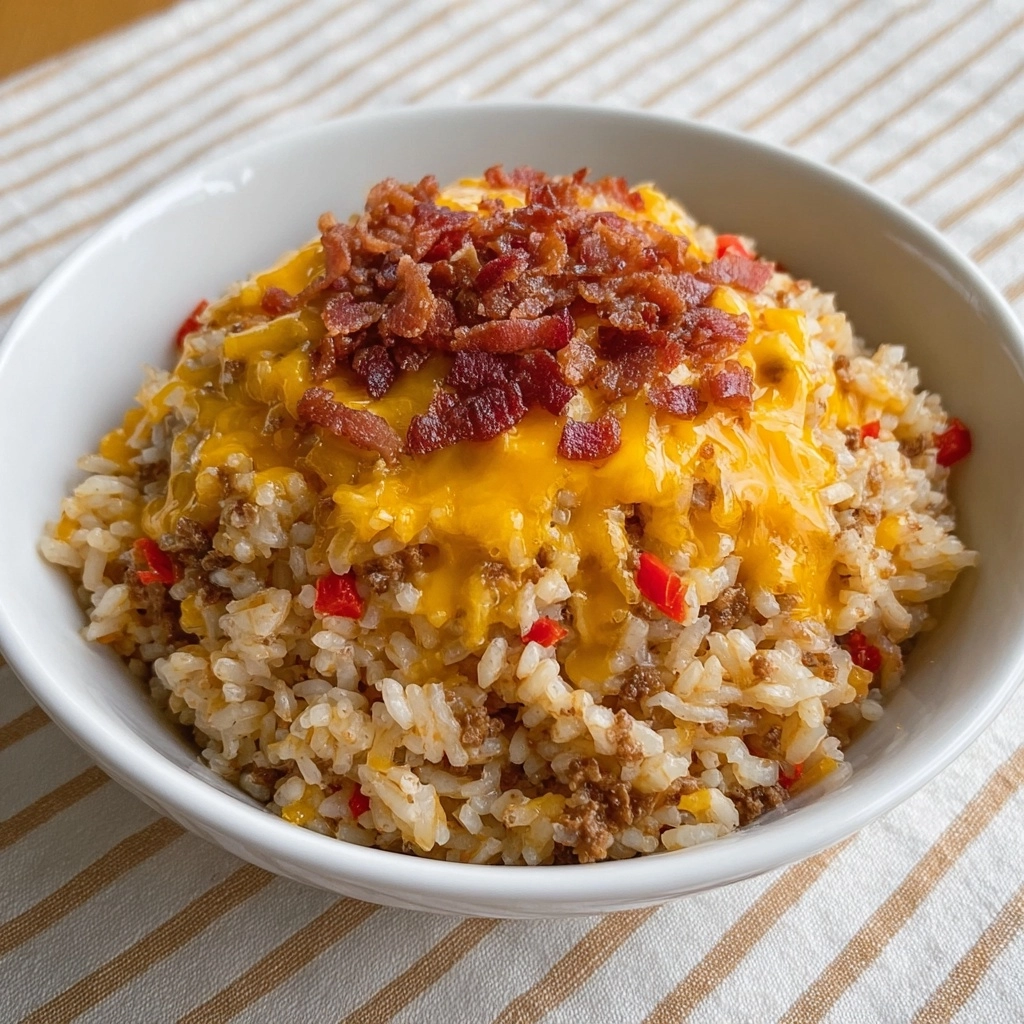
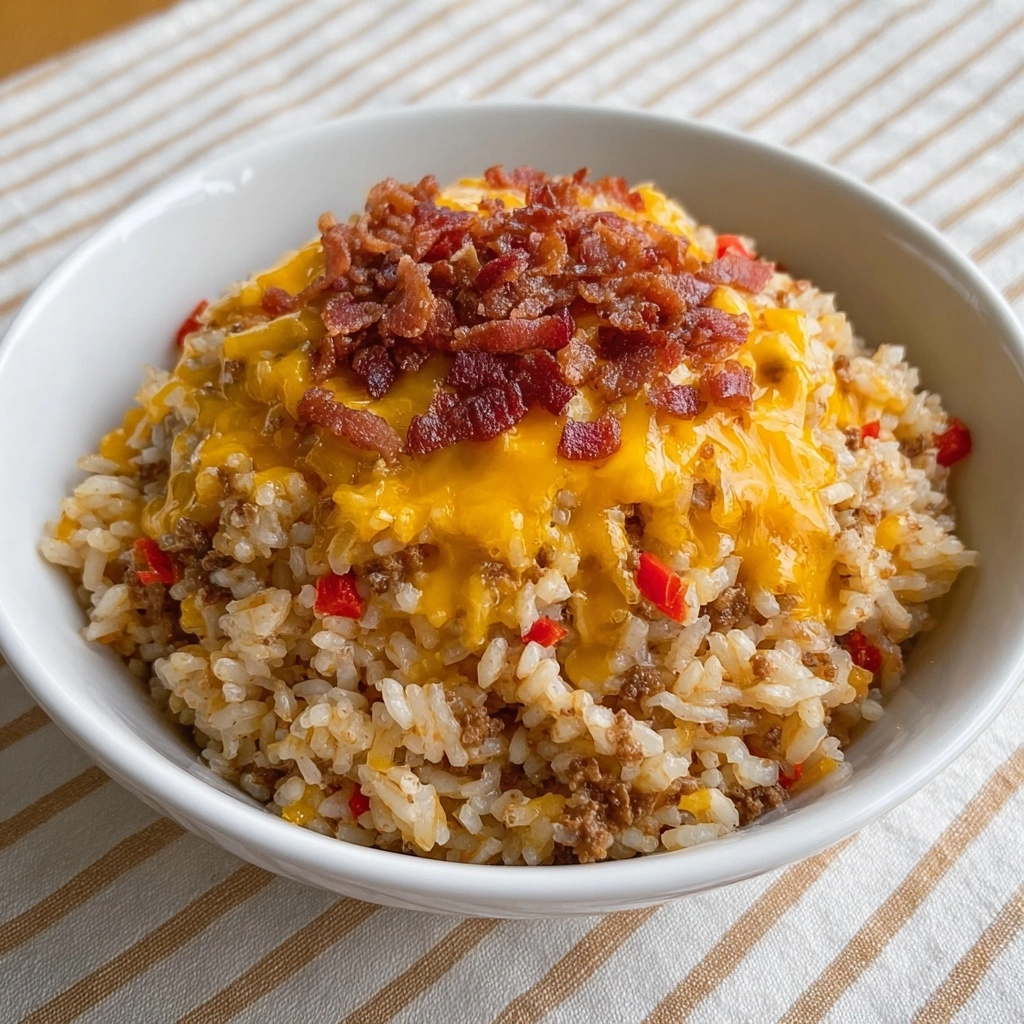
Craving the classic taste of a loaded cheeseburger but want something easy enough for weeknights? The Bacon Cheeseburger Rice Skillet takes all your favorite parts of a burger—bacon, cheese, savory beef, tangy pickles—and wraps them into a one-pan wonder you can whip up in minutes. Imagine the aroma of sizzling bacon, melty cheese, and perfectly seasoned beef coming together in a hearty rice dish. It’s weeknight gold that brings comfort food joy to your table with zero fuss.
Ingredients You’ll Need
Every component in this skillet pulls its weight: the beef gives you heartiness, the bacon adds its irresistible smokiness, and those classic cheeseburger flavors come alive with tangy condiments and gooey cheese. The best part? Nothing fancy here—just pantry staples and a few fresh ingredients for a meal that’s as easy as it is delicious.
- Ground beef (450 g / 1 lb): The star protein, giving richness and that classic burger base.
- Smoked bacon (150 g): Adds irresistible smoky flavor and crispy texture throughout the dish.
- Medium onion (½, diced): A must for sweetness and depth—skip it and you’ll miss the flavor foundation.
- Minced garlic (1 tbsp): Brings in a savory edge that lifts all the other flavors.
- Instant rice (2 cups): Cuts way down on cooking time and soaks up all those meaty juices.
- Beef broth (480 ml / 2 cups): Infuses the rice with extra beefy flavor—use low sodium if you prefer.
- Shredded cheddar cheese (120 g / 1 cup): Melts into gooey pockets and gives that signature cheeseburger vibe.
- Ketchup (2 tbsp): Brings sweetness and acidity, just like your favorite burger sauce.
- Yellow mustard (1 tbsp): Gives a subtle tang that wakes up the entire dish.
- Smoked paprika (½ tsp): Bumps up the smokiness so every bite tastes grill-kissed.
- Salt and black pepper: Season to your liking—it’s the balance that makes the whole skillet pop.
- Chopped pickles (2 tbsp, for topping): Optional, but that crunchy tang is pure cheeseburger heaven.
- Fresh parsley, chopped (for garnish): Adds a fresh pop of color and a little herby brightness.
How to Make Bacon Cheeseburger Rice Skillet
Step 1: Crisp Up the Bacon
Start by adding your chopped smoked bacon straight into a large skillet over medium heat. Let it sizzle, stirring often, until every piece is golden and crisp. This step infuses the pan with smoky bacon drippings that set the stage for maximum flavor. Once the bacon’s done, scoop it onto a paper towel-lined plate and keep about a tablespoon of that tasty fat in the pan—trust me, you’ll be grateful for every drop.
Step 2: Brown the Beef and Onion
Add your ground beef right into that bacon-infused skillet, followed by the diced onion. Stir and break up the beef so it cooks evenly. You’re looking for crumbled, browned beef and onions turning soft and translucent—about 4 to 5 minutes. This combo is the backbone of your Bacon Cheeseburger Rice Skillet, giving it that heartiness and irresistible aroma.
Step 3: Add Garlic and Seasonings
Once the beef mixture is almost done, stir in the minced garlic. Let it cook for just 30 seconds—garlic burns fast but you want that big flavor punch. Next, spoon in the ketchup, squirt in the mustard, sprinkle the smoked paprika, and shower over some salt and black pepper. Give everything a thorough stir so every bite is deeply seasoned just like your favorite burger.
Step 4: Cook the Rice
Now for the magic—stir in the instant rice and pour over the beef broth. Turn the heat down a bit, bring everything to a gentle simmer, then cover the skillet. Let it all bubble together for 5 to 7 minutes. The rice soaks up the broth, juices, and seasoning, getting delightfully tender while the house starts to smell like a burger joint in the best possible way.
Step 5: Bring It All Together
Uncover the skillet and scatter in half of your crispy bacon and half the shredded cheddar. Gently fold everything to mix and let it rest for about 2 minutes so the cheese gets perfectly melty. Taste and adjust salt or pepper if needed—it’s all about making it your own Bacon Cheeseburger Rice Skillet masterpiece.
Step 6: Finish and Serve
Top it off by sprinkling the rest of the cheese and bacon over the skillet. Cover again briefly, just to let the cheese melt into dreamy, stretchy puddles. Before serving, shower over those chopped pickles and a sprinkle of parsley for that bright, fresh finish. Serve your Bacon Cheeseburger Rice Skillet piping hot and watch the magic happen!
How to Serve Bacon Cheeseburger Rice Skillet

Garnishes
Go wild with garnishes! A scattering of chopped pickles on top is classic—think of them as the zesty, tangy crown that cuts through all that richness. Fresh parsley or even a sprinkle of green onions add color and freshness, making your Bacon Cheeseburger Rice Skillet pop both visually and flavor-wise.
Side Dishes
This skillet is a meal in itself, but pairing it with something fresh never hurts. A crisp green salad is a natural fit, balancing the creamy, cheesy goodness of the rice. If you want a classic diner feel, serve with crunchy slaw, oven-roasted potatoes, or even sweet corn on the cob for a little sweetness and crunch alongside your Bacon Cheeseburger Rice Skillet.
Creative Ways to Present
For fun twists, scoop the Bacon Cheeseburger Rice Skillet into individual ramekins and top with extra cheese for a cozy mini bake. Or use the leftovers to fill bell pepper halves or stuff into wraps for an inventive lunch the next day. Don’t be afraid to set up a build-your-own burger bowl bar—let everyone doctor up their servings with favorite fixings like tomatoes, jalapeños, or sriracha for extra wow.
Make Ahead and Storage
Storing Leftovers
Life gets busy—luckily, your leftover Bacon Cheeseburger Rice Skillet will keep beautifully in an airtight container in the fridge for up to three days. Let it cool before storing to keep everything tasting fresh, and you’ll have a ready-made meal just waiting to be reheated on a hectic night.
Freezing
If you want to stretch your efforts even further, you can absolutely freeze this skillet! Portion cooled Bacon Cheeseburger Rice Skillet into freezer-safe containers or zip bags (squeeze out as much air as possible), then freeze for up to two months. Thaw in the fridge overnight for best texture before reheating.
Reheating
For a quick reheat, microwave individual portions with a splash of water or broth to loosen things up, stirring halfway through. If you’re warming a bigger batch, a covered skillet over low heat does wonders—just stir often and top with extra cheese or a little fresh parsley before serving to bring things back to life.
FAQs
Can I use regular rice instead of instant?
Absolutely! Just keep in mind that regular rice will take longer to cook—plan for at least 15 to 20 minutes of simmering, and add more beef broth if needed to keep it saucy as it cooks through.
Is there a way to make this Bacon Cheeseburger Rice Skillet healthier?
You can lighten things up by using lean ground beef or ground turkey, opting for turkey bacon, reducing the cheese, and adding extra veggies like bell peppers or spinach. The flavors still shine, and you’ll feel great about a lighter option.
What’s the best cheese to use for this recipe?
Sharp cheddar is classic for that bacon cheeseburger flavor, but feel free to use Colby-Jack, Monterey Jack, or even a smoky gouda for a fun twist. Choose a cheese that melts nicely for the ultimate gooey texture.
Can I prep Bacon Cheeseburger Rice Skillet in advance for a party?
Yes! Prepare everything except the final garnish of pickles and parsley. Reheat gently on the stove or in the oven, then add your toppings just before serving for the freshest flavors and best textures.
Will leftovers still taste good the next day?
You bet! The flavors deepen overnight and make fantastic next-day lunches. Add a tiny splash of broth during reheating to refresh the rice, and don’t skip a little extra cheese on top.
Final Thoughts
The Bacon Cheeseburger Rice Skillet proves weeknight dinners can be craveable, fun, and completely fuss-free. If you’re looking for something to impress the family or simply treat yourself to classic comfort, give this skillet a try—you’ll be going back for seconds without a doubt!


Your email address will not be published. Required fields are marked *