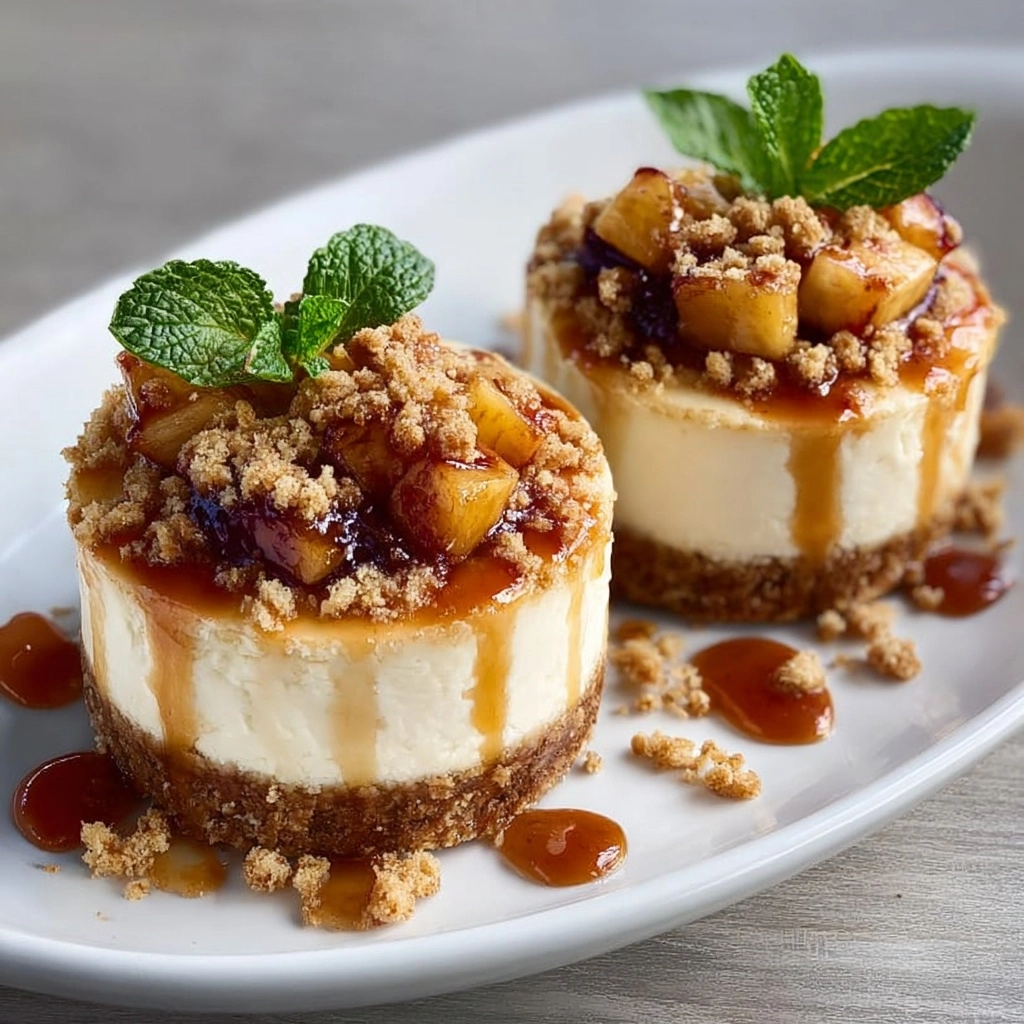
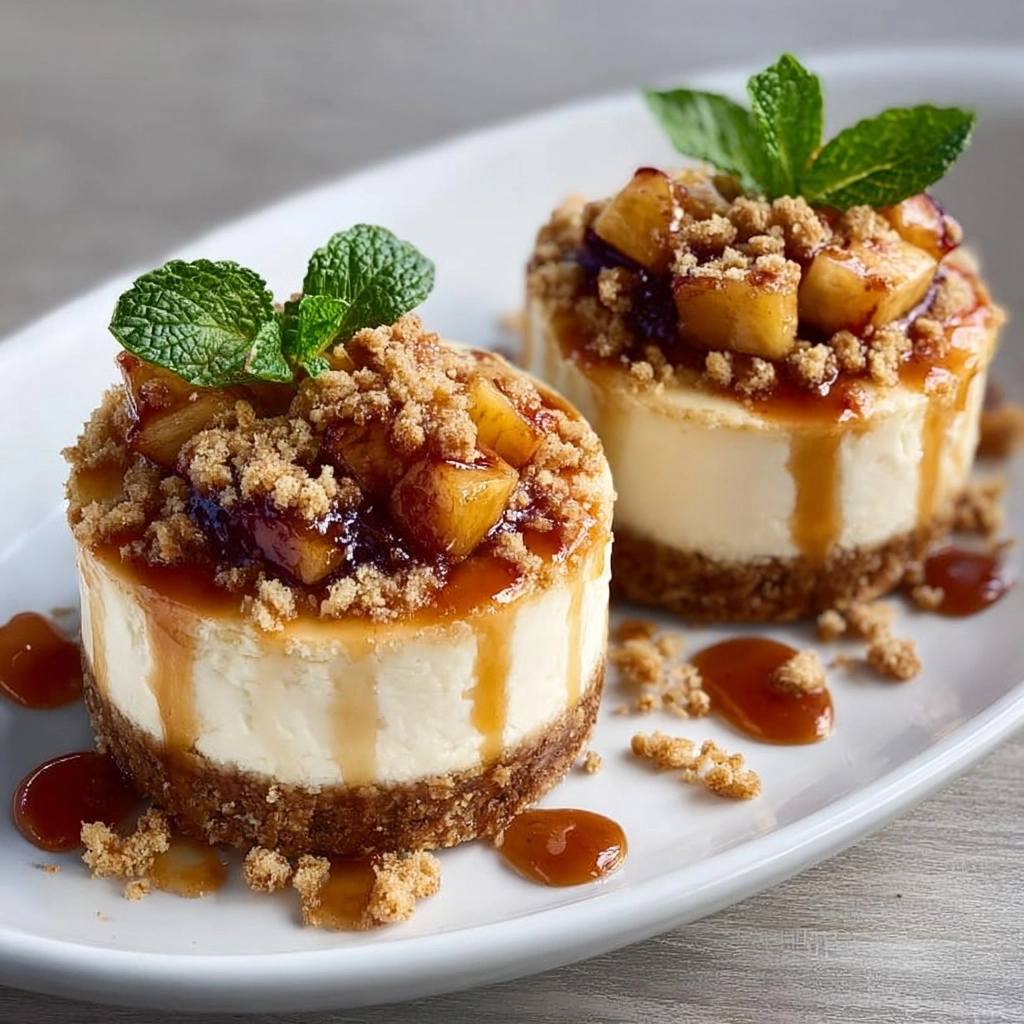
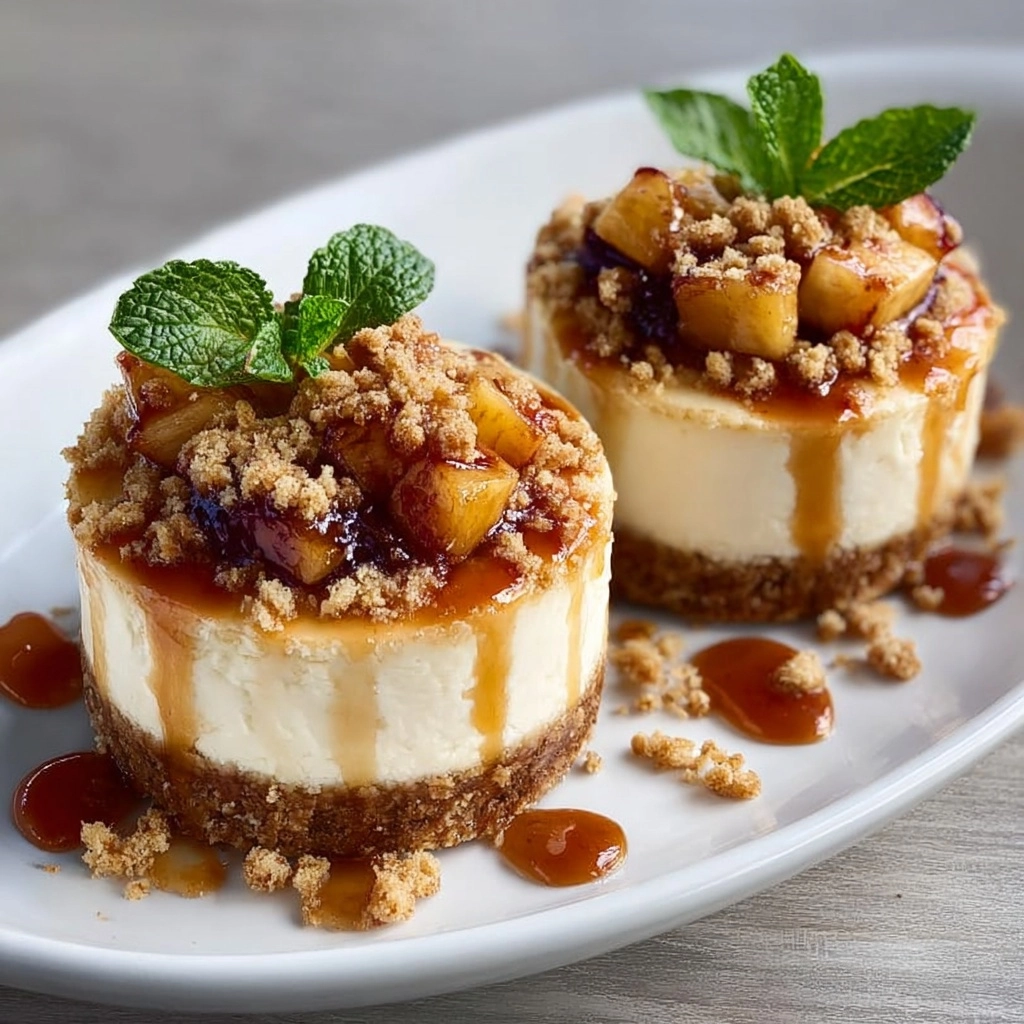
If you’re craving a dessert that feels like a warm hug in every bite, then these Banana Pudding Cheesecake Cups are about to become your new obsession. Combining the creamy richness of cheesecake with the nostalgic charm of classic banana pudding, these individual treats are perfect for any occasion—from casual family dinners to fancy get-togethers. With layers of buttery vanilla wafer crust, luscious cheesecake filling, and sweet banana pudding topped with fresh bananas, each spoonful offers a beautiful harmony of flavors and textures that will have you coming back for seconds (or thirds) without a second thought.
Ingredients You’ll Need
Making these Banana Pudding Cheesecake Cups is simpler than it sounds, and each ingredient plays a star role in the final result. From the crunchy crust to the airy cheesecake and creamy pudding layers, everything comes together effortlessly to deliver that perfect bite.
- Vanilla wafer crumbs (1 1/2 cups): They provide that classic, buttery crunch that’s essential for a sturdy and delicious crust.
- Melted butter (3 tbsp): Binds the crumbs together and adds richness to the base layer.
- Cream cheese (8 oz, softened): The heart of the cheesecake layer, bringing a smooth, tangy creaminess.
- Sweetened condensed milk (1/2 cup): Adds sweetness and a silky texture to the cheesecake filling.
- Vanilla extract (1 tsp): Enhances the overall flavor with warm, aromatic notes.
- Whipped cream (1 cup): Lightens the cheesecake mixture, making it fluffy and airy.
- Prepared banana pudding (1 cup): You can use store-bought or homemade—this layer brings that authentic banana pudding flavor.
- Ripe bananas (2, sliced): Fresh slices provide natural sweetness and a soft bite.
- Optional toppings: Extra whipped cream, wafer crumbs, or banana slices for that final decorative flourish.
How to Make Banana Pudding Cheesecake Cups
Step 1: Prepare the crust
Start by mixing the vanilla wafer crumbs with melted butter until everything is well combined and crumbly. This mixture will form the crunchy base that anchors your Banana Pudding Cheesecake Cups. Spoon the mixture into the bottom of each serving cup or jar and press down firmly—it should be compact but not overly dense. This step ensures a buttery, crisp foundation for the creamy layers to come.
Step 2: Make the cheesecake layer
Next, in a mixing bowl, beat the softened cream cheese until it is perfectly smooth and creamy—no lumps here. Gradually add the sweetened condensed milk and vanilla extract, blending until the mixture becomes silky and fragrant. Gently fold in the whipped cream to lighten the texture, turning the cheesecake filling into a dreamy, fluffy layer that melts in your mouth. Spoon this over the crust in each cup, spreading evenly.
Step 3: Add the banana pudding layer
Now it’s time to bring on the banana pudding! Spoon a generous layer of your chosen prepared banana pudding over the cheesecake layer. Then, carefully arrange the fresh banana slices on top—this not only adds fresh flavor but also a lovely visual appeal that makes these cups incredibly inviting.
Step 4: Chill and set
Refrigerate the Banana Pudding Cheesecake Cups for at least two hours. This chilling time allows the layers to set beautifully and the flavors to marry, resulting in a luscious, spoonable dessert that holds its shape but feels delightfully soft on every bite.
Step 5: Serve and enjoy
Before serving, feel free to garnish with extra whipped cream, a sprinkle of crushed vanilla wafers, or a few more banana slices. These thoughtful touches elevate the presentation and provide extra texture contrasts that make every spoonful a joy.
How to Serve Banana Pudding Cheesecake Cups

Garnishes
Garnishing your Banana Pudding Cheesecake Cups is an opportunity to personalize and dress up this already stunning dessert. Whipped cream adds a fluffy lightness that complements the dense layers below, while extra wafer crumbs contribute crunch and a nostalgic touch. Fresh banana slices not only enhance the flavor but also bring natural color and freshness that makes each cup look irresistible.
Side Dishes
While these cups are perfectly satisfying on their own, pairing them with complementary treats can make your dessert table even more exciting. Consider serving alongside a simple fruit salad or a crisp cookie to provide a contrast in textures. For something heartier, fresh brewed coffee or iced tea balance the sweetness beautifully.
Creative Ways to Present
Banana Pudding Cheesecake Cups are quite versatile when it comes to presentation. Try layering them in clear mason jars for an adorable casual vibe, or use small glass dessert dishes for a more elegant touch. For parties, setting them up in a tiered display or adding colorful paper straws can make them the centerpiece of any celebration. Don’t be afraid to get playful with presentation—these cups are made for sharing smiles as well as deliciousness.
Make Ahead and Storage
Storing Leftovers
If you find yourself with leftovers (which can happen if you don’t sneak bites while assembling), store the Banana Pudding Cheesecake Cups in an airtight container in the refrigerator. They will keep well for up to 3 days without losing their fresh flavor or texture, allowing you to enjoy that creamy goodness over the next few days.
Freezing
While these cups are best enjoyed fresh for optimal texture, you can freeze them if needed. Cover the cups tightly with plastic wrap and store them in a freezer-safe container. Freeze for up to one month, but keep in mind that the fresh banana slices may brown slightly and the texture may change a bit upon thawing. For best results, freeze before adding the fresh banana slices and add those fresh when serving.
Reheating
Since Banana Pudding Cheesecake Cups are meant to be served cold, reheating is not recommended. Instead, simply thaw frozen cups in the refrigerator overnight and enjoy chilled. This keeps the texture creamy and the flavors bright without any compromise.
FAQs
Can I use homemade banana pudding for this recipe?
Absolutely! Homemade banana pudding adds a personal touch and often tastes even better than store-bought. Just make sure it’s fully cooled before layering it into your Banana Pudding Cheesecake Cups to keep everything set properly.
What can I substitute for vanilla wafer crumbs?
If you can’t find vanilla wafer crumbs, graham cracker crumbs or digestive biscuits make a great substitute. They provide a similar texture and buttery flavor that works well with the cheesecake and banana layers.
Can these cups be made vegan or dairy-free?
With some ingredient swaps—like using dairy-free cream cheese, coconut whipped cream, and vegan-friendly pudding—you can absolutely create a vegan or dairy-free version of Banana Pudding Cheesecake Cups. It might require a bit of experimentation, but the result will still be delicious and satisfying.
How long should I chill the cups before serving?
At least two hours of chilling is essential to allow the cheesecake layer to set and the flavors to meld nicely. If you have more time, chilling overnight will only improve the texture and taste even further.
Can I prepare these cups in advance for a party?
Yes! These Banana Pudding Cheesecake Cups are perfect for making ahead. Assemble them a day before your event, keep them chilled, and add any fresh garnishes right before serving to impress your guests with minimal last-minute effort.
Final Thoughts
There’s something truly special about the way Banana Pudding Cheesecake Cups bring together layers of nostalgia, indulgence, and simplicity all at once. Whether you’re sharing them with friends or treating yourself after a long day, these little cups of blissful dessert never fail to delight. So grab your ingredients, get layering, and enjoy every creamy, crunchy, banana-filled bite—you’re going to love every moment of making and eating this dessert!


Your email address will not be published. Required fields are marked *