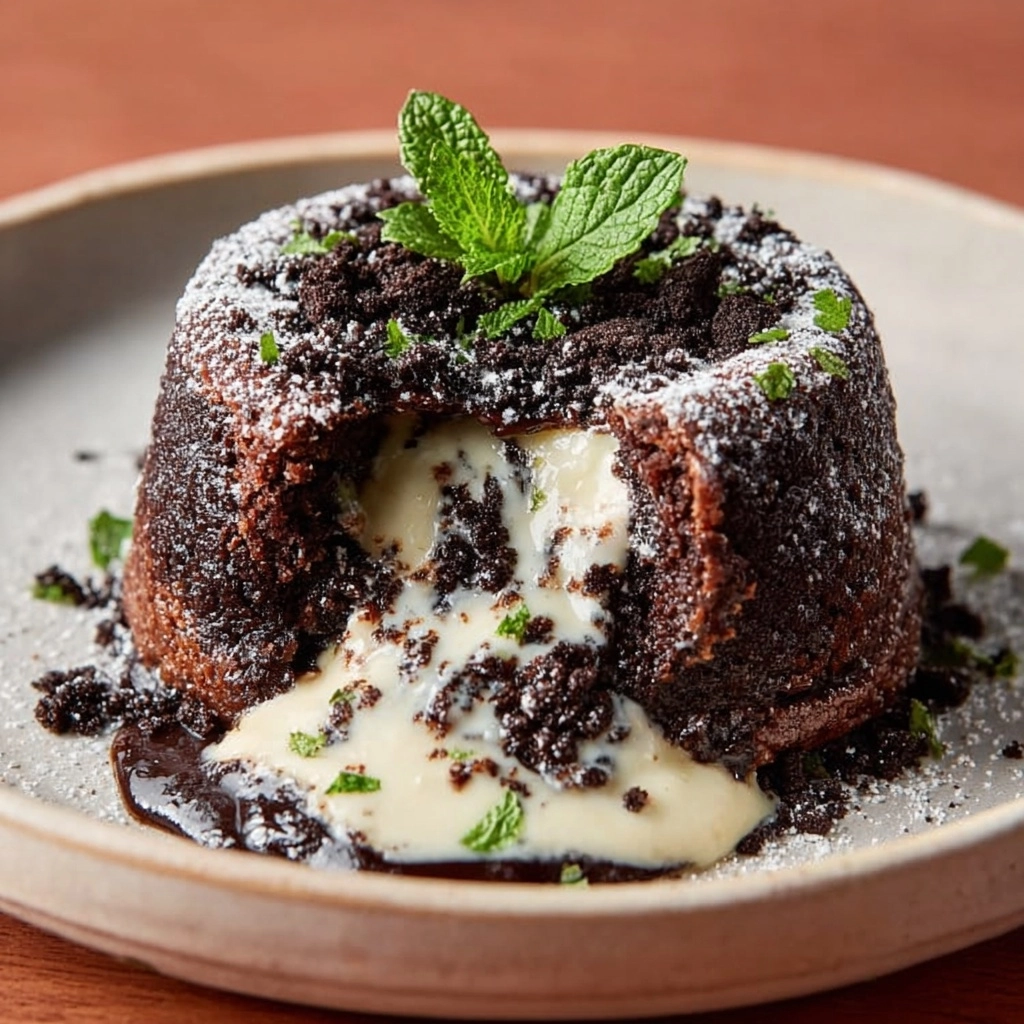
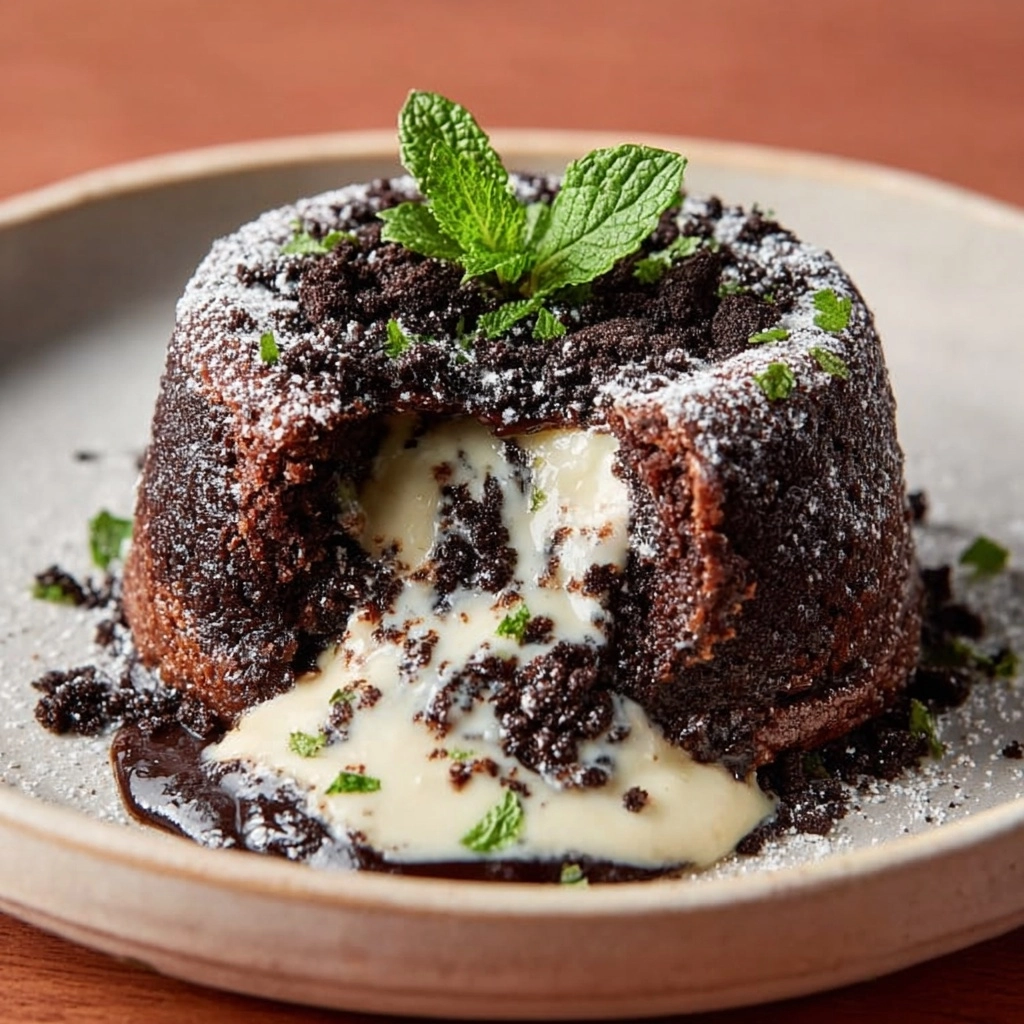
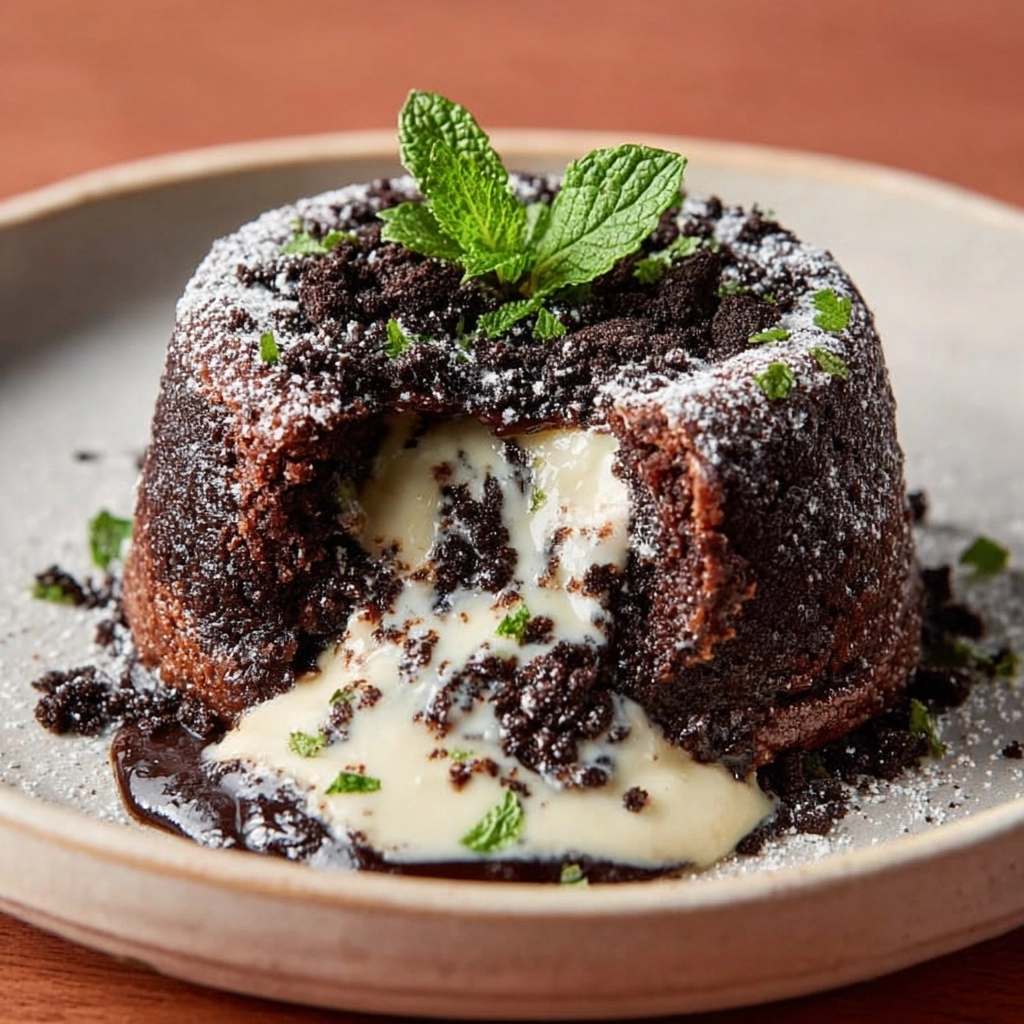
If you are craving a quick and indulgent dessert that feels like a little celebration in a cup, the Oreo Mug Cake is your new best friend. This delightful treat transforms a few simple pantry staples and a handful of Oreo cookies into a warm, fudgy cake that’s ready in just minutes. Perfect for those moments when you want something sweet without any fuss or fussing in the kitchen, this Oreo Mug Cake delivers rich chocolatey flavor with a moist, tender crumb that melts in your mouth. Whether you’re a dessert veteran or just discovering the magic of microwave mug cakes, this recipe is bound to become a go-to favorite.
Ingredients You’ll Need
The beauty of this Oreo Mug Cake lies in how straightforward and accessible the ingredients are. Each one plays a crucial role, from building structure to adding moisture and that unmistakable Oreo essence we all adore.
- Oreo cookies: Four crushed Oreos provide that iconic chocolate-and-cream flavor and add texture to the batter.
- All-purpose flour: Just three tablespoons create the base and give the cake its soft, cakey consistency.
- Sugar: Two tablespoons sweeten the cake, balancing the bitterness of the chocolate cookie.
- Milk: Two tablespoons keep the crumb tender and moist.
- Vegetable oil or melted butter: About one tablespoon adds richness and ensures the cake stays soft.
- Baking powder: A quarter teaspoon helps the cake rise slightly for that perfect mug cake fluffiness.
- Optional toppings: Chocolate chips, whipped cream, or ice cream add an extra layer of indulgence and visual appeal when serving.
How to Make Oreo Mug Cake
Step 1: Prepare the Oreos
Start by placing your four Oreo cookies in a microwave-safe mug and crushing them roughly with a spoon or fork. You want some larger chunks for delightful bursts of cookie in the cake, not just fine crumbs. This step ensures your cake is packed with that unmistakable Oreo texture and flavor from the very first bite.
Step 2: Mix the Batter
Once your Oreos are crushed, add the flour, sugar, milk, vegetable oil or melted butter, and baking powder right into the mug. Stir everything together thoroughly until you see a smooth batter with Oreo bits evenly distributed throughout. This simple mix brings together the dry and wet ingredients perfectly without any mess, making your prep time a breeze.
Step 3: Microwave
Pop your mug into the microwave and heat on high for between 60 and 90 seconds. Keep an eye on the cake so it is set on top but remains moist in the center—overcooking can dry it out. The microwave does all the hard work here, magically turning that batter into a tender, warm cake in no time.
Step 4: Serve
Let your Oreo Mug Cake cool just a bit before diving in. This resting time helps the flavors settle and keeps you from burning your tongue (though I admit it’s tempting!). Add your favorite toppings like whipped cream, ice cream, or chocolate chips for a decadent finish. And then, enjoy immediately for the ultimate in speedy dessert gratification.
How to Serve Oreo Mug Cake

Garnishes
While the Oreo Mug Cake is delicious all on its own, a sprinkle of chocolate chips or a dollop of fluffy whipped cream takes it from simple to spectacular. A scoop of vanilla ice cream adds a wonderful contrast of temperature and texture that’s impossible to resist. Even a drizzle of chocolate sauce or a few crushed Oreos on top can turn your mug cake into a dessert worthy of any dinner party.
Side Dishes
Since this cake is meant to be enjoyed as a single-serve indulgence, pairing it with a fresh fruit salad or a small espresso balances out the sweetness beautifully. A handful of berries or some tangy yoghurt also offer a refreshing counterpoint to the rich Oreo taste and keep your palate excited with each bite.
Creative Ways to Present
Why not get playful with presentation? Try serving the Oreo Mug Cake in a clear glass mug for layers of color and texture visible from the side, or top it with a bright maraschino cherry for a classic dessert look. You can also layer the batter with extra cookie crumbles before microwaving for a chunkier surprise inside. The possibilities are endless and all delicious.
Make Ahead and Storage
Storing Leftovers
If you happen to have any leftover Oreo Mug Cake, cover it tightly with plastic wrap or transfer it to an airtight container and place it in the refrigerator. It’s best eaten within a day or two to maintain freshness and flavor.
Freezing
Freezing isn’t ideal for this particular dessert because mug cakes tend to lose their soft texture after thawing. For the best taste and texture, it’s better to enjoy each Oreo Mug Cake fresh from the microwave.
Reheating
If you do refrigerate leftovers, a quick zap in the microwave for about 20 seconds can revive the warmth and soften the cake back up. Keep a close eye on it to avoid overheating, which can make the cake tough.
FAQs
Can I use milk alternatives in the Oreo Mug Cake?
Absolutely! Almond milk, oat milk, or any plant-based milk works just as well. They keep the cake moist and add a slight unique flavor depending on your choice.
What if I don’t have a microwave?
You can bake the Oreo Mug Cake in a preheated oven at 350°F (175°C) for about 12-15 minutes in an oven-safe mug or ramekin. Just watch carefully so you don’t overbake it.
Can I add nuts or other mix-ins?
Yes, feel free to toss in chopped nuts, peanut butter swirls, or extra chocolate chips to customize your Oreo Mug Cake. Just fold them into the batter before microwaving.
How do I know when the cake is done?
The cake should be set on top but still slightly moist in the center when you touch it gently. If it looks wet or jiggles a lot, microwave for a few more seconds—but very carefully to avoid drying out.
Is it possible to make this recipe vegan?
By substituting plant-based milk and using vegetable oil instead of butter, plus ensuring the Oreos you use are vegan-friendly, you can easily turn this into a vegan Oreo Mug Cake.
Final Thoughts
There is something truly magical about whipping up an Oreo Mug Cake when you want instant dessert happiness. It combines simplicity and nostalgia with rich flavor and warm sweetness in a way that feels both indulgent and comforting. I hope this recipe inspires you to enjoy your own quick sweet treat anytime the craving strikes. Grab those Oreos, fire up your microwave, and get ready to experience one of the easiest desserts that still feels like a little moment of joy.


Your email address will not be published. Required fields are marked *