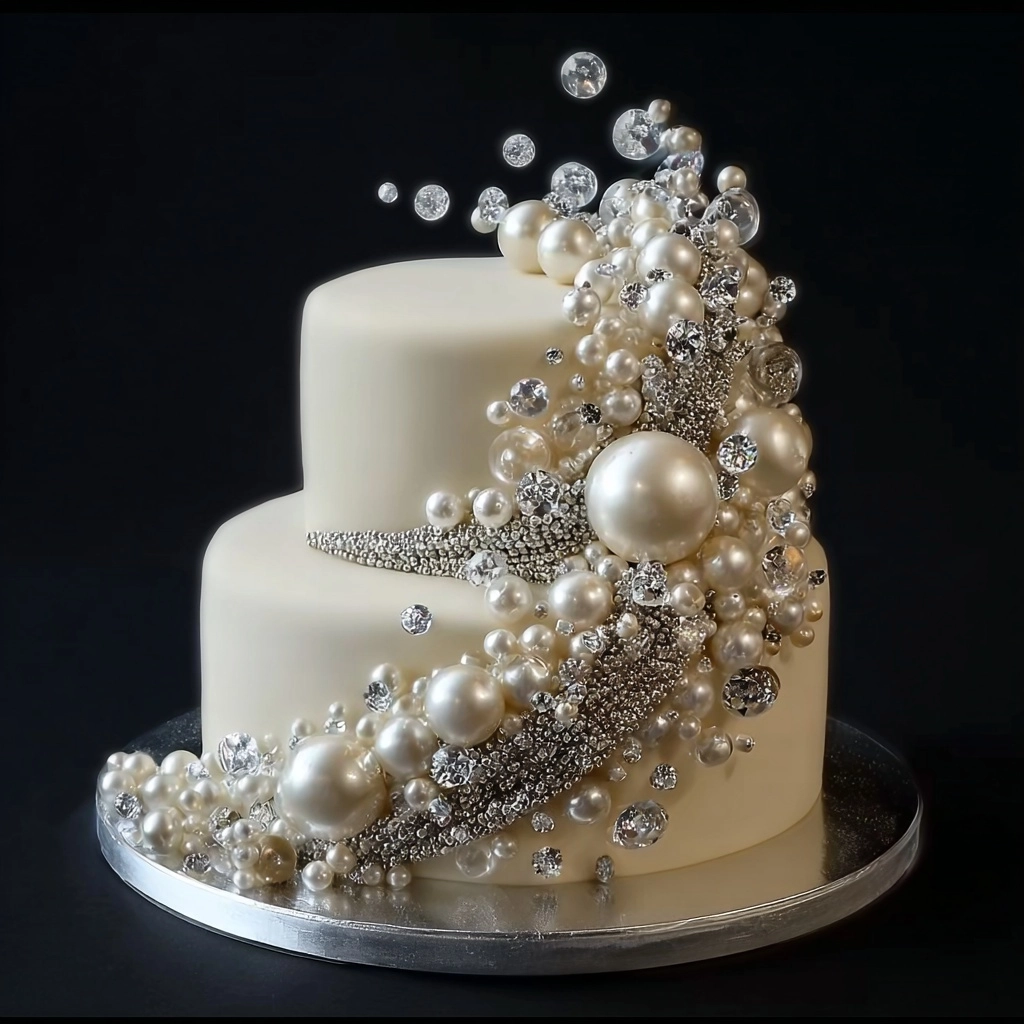
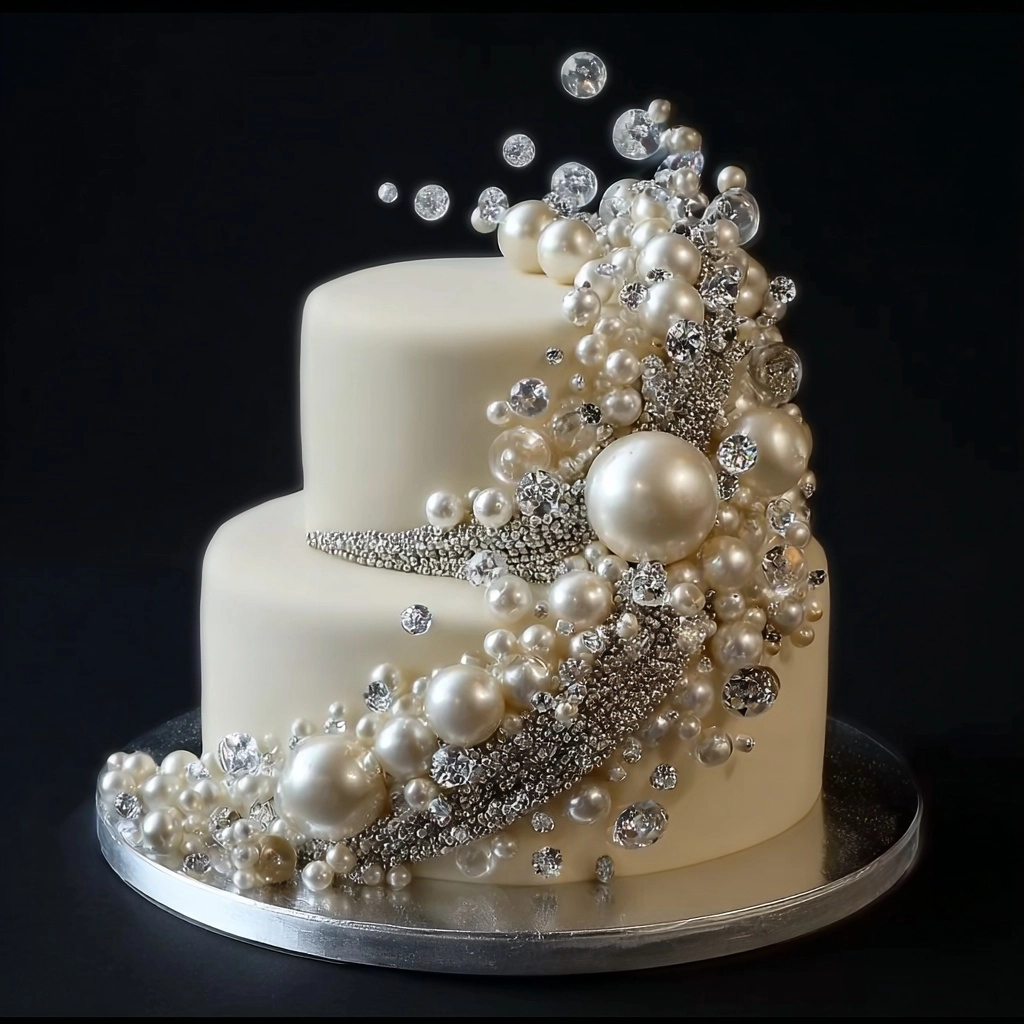
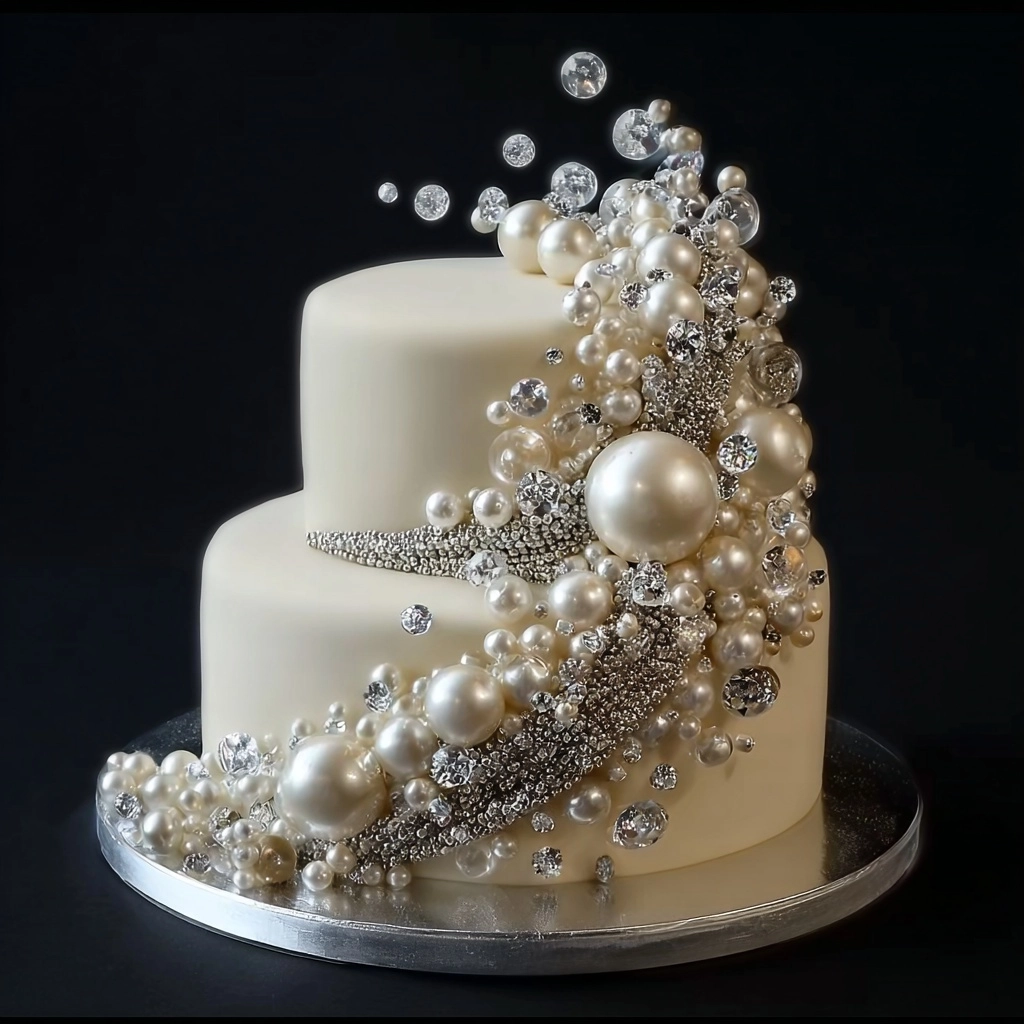
If you’re searching for a breathtaking centerpiece that will steal the show at any celebration, the Glamorous Pearl & Diamond Cake is exactly what your dessert table needs. This luxurious creation dazzles with its delicate vanilla sponge, pillowy Swiss meringue buttercream, and its showstopping embellishment of edible pearls and glistening diamonds. Each luscious bite is as refined as it looks, making it the ultimate treat for weddings, milestone birthdays, or whenever you feel like throwing a seriously glamorous party! Let me walk you through baking, assembling, and decorating this beauty—the Glamorous Pearl & Diamond Cake isn’t just delicious, it’s pure edible artistry.
Ingredients You’ll Need
The beauty of the Glamorous Pearl & Diamond Cake lies in its balance of simple pantry staples and a handful of specialty adornments. Every ingredient has its role, from the perfect crumb of the vanilla sponge to the ethereal lightness of the buttercream, and finally the sparkling, glamorous decorations that transform the cake into a jewel box on your table.
- All-purpose flour: The foundation of a perfect crumb—make sure to measure carefully for fluffy, tender layers.
- Baking powder: Gives your sponge a lovely lift, making every forkful light as air.
- Salt: Just a pinch heightens all the sweet, creamy, and buttery flavors.
- Unsalted butter, softened: Beat until dreamy and smooth for that melt-in-your-mouth texture.
- Granulated sugar: Not just for sweetness—this is key to the cake’s soft, moist crumb and shiny meringue.
- Large eggs: Bring everything together and lend that rich, golden hue to the layers.
- Whole milk: Adds moisture and a delightful, rich finish to each bite.
- Vanilla extract: The heart of the cake’s indulgent aroma and flavor—go for the real stuff if you can!
- Egg whites (for buttercream): Essential for airy, satiny Swiss meringue that holds up beautifully under fondant.
- Edible pearl sprinkles: These give the cake its signature pearlescent effect—mix sizes for natural glamour.
- Edible sugar diamonds or candies: Scattered for sparkle, they make your cake glint like fine jewels.
- White fondant: Drapes your cake in velvety smoothness and ties together the pearl & diamond theme.
- Edible silver or clear glitter: Adds a magical shimmer—be generous for extra drama!
- Edible silver luster dust (optional): For that runway-ready gleam on special occasions.
- Edible glue or clear piping gel: Holds every beautiful decoration right where you want it.
How to Make Glamorous Pearl & Diamond Cake
Step 1: Prepare and Bake the Vanilla Sponge Layers
Start by preheating your oven to 350°F (175°C) and generously grease and flour two 8-inch pans and one 6-inch pan—these create our lovely two-tiered look. Whisk together the flour, baking powder, and salt in one bowl. In another, cream the softened butter and sugar until pale and airy; this can take 3 to 5 minutes but is the secret to a light, tender crumb. Add eggs one at a time, mixing well after each. Then, alternately add your dry ingredients and milk (plus that glorious vanilla) to keep the batter smooth and even. Pour the mixture into your pans and bake the 8-inch cakes for 30-35 minutes, and the 6-inch for 25-30 minutes, until a skewer comes out clean. Let them cool briefly in the pans, then invert onto racks and cool completely—patience here pays off!
Step 2: Whip Up the Swiss Meringue Buttercream
For the silkiest, most glamorous finish, combine the egg whites and sugar in a heatproof bowl set over simmering water. Whisk constantly until the sugar dissolves and the mixture hits 160°F (71°C)—no graininess allowed! Transfer to a stand mixer and whip on high until glossy, stiff peaks form and the bowl is cool to touch. Switch to the paddle attachment, and on medium-low, slowly add the softened butter, one piece at a time. Don’t worry if it looks curdled—just keep beating until it miraculously smooths out. Add salt and vanilla, then whip until billowy, ethereal, and irresistible.
Step 3: Assemble the Tiers
Level your cooled cakes, if needed, to stack evenly—nothing ruins the glamorous look like a wobbly cake! Fill and stack the two 8-inch cakes with generous swirls of buttercream. Repeat with the 6-inch cakes. Give both tiers a thin crumb coat, then chill for 15-20 minutes. This helps lock in loose crumbs and makes the final coat pristine. After chilling, add a luxuriously smooth, thick layer of buttercream to both. It’s worth taking your time for a flawless finish!
Step 4: Fondant Covering for the Glamorous Pearl & Diamond Cake
Gently knead your white fondant until soft and pliable. Dust your work surface with icing sugar and roll out fondant into large, even circles. Drape one over each tier, smoothing from the top down with your hands or a fondant smoother—no air bubbles, please! Trim the snugly fitting excess from the base. Fondant can seem intimidating, but be gentle and patient, and you’ll get a flawless, professional look.
Step 5: Stacking and Decorating the Glamorous Pearl & Diamond Cake
Insert dowels or cake supports into the larger tier for stability if stacking. Carefully center the smaller tier atop the larger one. Now, the fun part: take your edible glue or piping gel and start adhering pearls and diamonds in beautiful, cascading clusters. Concentrate the sparkle along one side, let it trail off naturally, and fill the base with a scattering of edible glitter or pearls. Add a dusting of silver luster dust or extra glitter for a breathtaking final touch. Step back and admire—your Glamorous Pearl & Diamond Cake is now ready to wow!
How to Serve Glamorous Pearl & Diamond Cake

Garnishes
For that signature finishing touch, pile extra pearl sprinkles and edible sugar diamonds around the cake base, and give the surface a confident flick of silver luster dust. A few true-to-theme fondant roses or delicate white chocolate bows make striking garnishes without overwhelming the cake’s elegance. Remember: sometimes more is more with a Glamorous Pearl & Diamond Cake!
Side Dishes
This cake is rich and celebratory, so serve it with light, fresh accompaniments. Bowls of fresh berries provide tart contrast, while flutes of sparkling wine or a fragrant fruit punch make toasts even sweeter. A scoop of berry sorbet or vanilla bean gelato is the perfect chilly complement to every sparkling slice.
Creative Ways to Present
Set the Glamorous Pearl & Diamond Cake on a mirrored or metallic cake stand to amplify the sparkle. Encircle the base with loose pearls, rhinestones, or a scatter of edible glitter for a dramatic reveal. If you’re celebrating at night, position candles or fairy lights around the table—the shimmering cake will literally glow, enchanting every guest.
Make Ahead and Storage
Storing Leftovers
Wrap leftover slices snugly in plastic wrap and store in an airtight container at room temperature for up to 2 days, or refrigerate for up to 5 days. The fondant will protect the cake, keeping it soft and moist—just be sure to press out any air to keep everything as fresh as the day it was served.
Freezing
The Glamorous Pearl & Diamond Cake freezes beautifully, even with its decorations. For best results, freeze individual slices or entire tiers (well wrapped in plastic and foil). Thaw overnight in the fridge. If saving for a special occasion, wait to add delicate pearls, diamonds, and luster dust until after the cake is thawed for best sparkle and texture.
Reheating
There’s no need to reheat this cake (and please don’t microwave it, as decorations may melt or fade!). If you prefer a softer crumb, let chilled slices come to room temperature before serving—about 30 to 40 minutes brings out the buttercream’s silky texture and the full bouquet of vanilla flavors.
FAQs
Can I make the Glamorous Pearl & Diamond Cake ahead of time?
Absolutely! Bake the cakes and prepare the buttercream a day or two before. Assemble, cover with fondant, and decorate it the day before serving for optimal flavor and structure. This makes entertaining much less stressful and gives the decorations time to set.
How do I prevent the cake from drying out under fondant?
The classic buttercream crumb coat seals the cake and protects it from drying. Wrap any cut portions tightly in plastic. Odds are, the Glamorous Pearl & Diamond Cake will disappear so quickly that leftovers are a happy rarity!
Can I flavor the cake or buttercream differently?
Certainly! While classic vanilla is gorgeous and crowd-pleasing, you can swap in almond, lemon, or even a hint of Champagne extract for the sponge or buttercream. Just keep the colors soft to let the pearls and diamonds shine.
What if I don’t have edible diamonds or pearl sprinkles?
No worries—get creative! Clear rock candy, sugar pearls, and even piped dots of white chocolate can give a similar effect. The key is variety in shape and plenty of sparkle for that signature Glamorous Pearl & Diamond Cake look.
Is this cake difficult for beginners?
While decorating with fondant and edible jewels does require patience, the steps aren’t hard if you take your time. Start with neat, level cakes and a smooth buttercream base, and the rest is pure fun. If you practice (and don’t sweat the small imperfections), you’re sure to impress!
Final Thoughts
If you’re ready to embrace your inner pastry artist and wow your friends, the Glamorous Pearl & Diamond Cake is the perfect project. This recipe is a beautiful way to turn a special occasion into a sparkling celebration—one slice, and you’ll see just how magical baking can be!


em2wgq