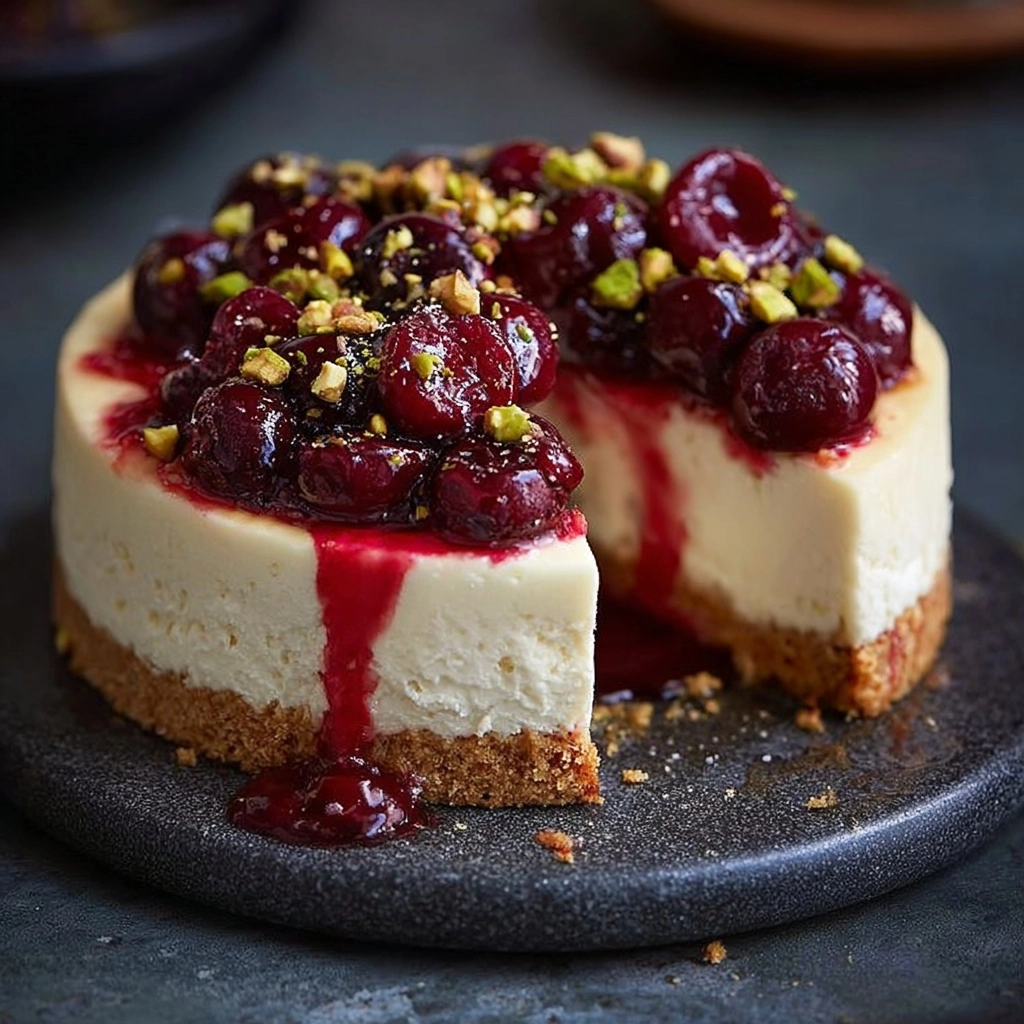
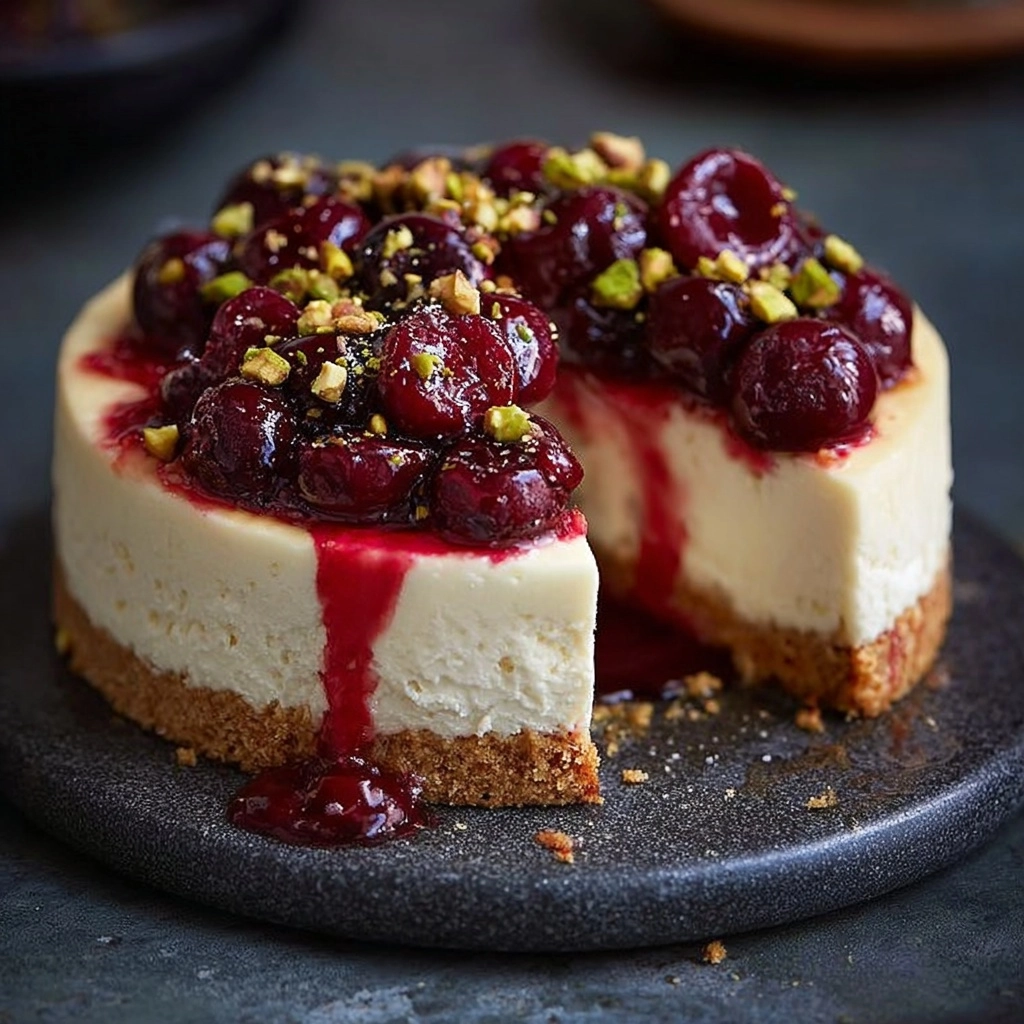
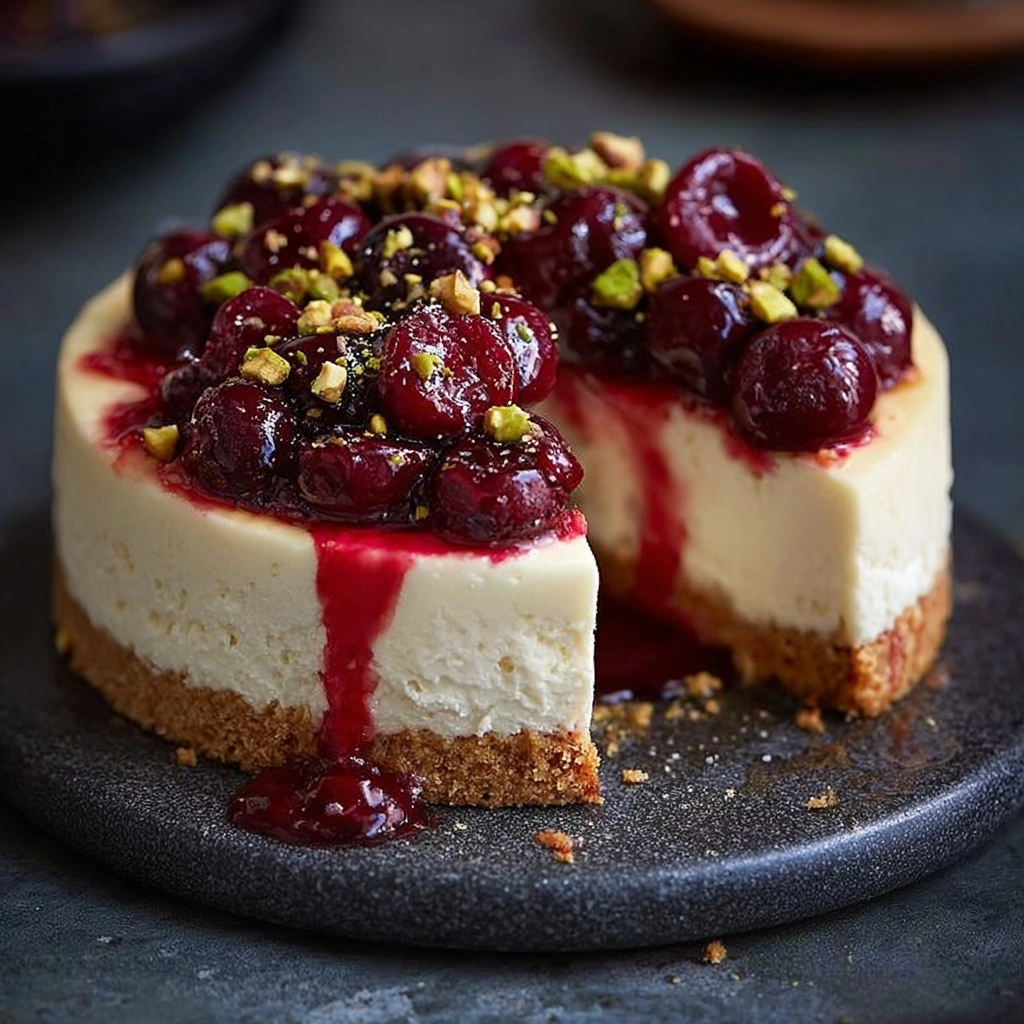
Cherry Pistachio Cheesecake is truly a show-stopping dessert that manages to balance lush creaminess, bright cherry flavor, and the irresistible crunch of pistachios—all in every forkful! This recipe brings together a buttery graham cracker crust, silky cream cheese filling, homemade cherry compote, and a beautiful pistachio garnish for a dessert that tastes as joyful as it looks. Whether you’re celebrating something special or just want to treat yourself, Cherry Pistachio Cheesecake absolutely lights up any occasion.
Ingredients You’ll Need
This Cherry Pistachio Cheesecake is built from simple, accessible ingredients, but each plays a pivotal role in making the final result taste incredible. The crust gives a toasty base, the filling provides that beloved velvety richness, and the sweet-tart cherry topping pairs perfectly with a sprinkle of vibrant pistachios.
- Graham cracker crumbs: The classic base for cheesecakes, these create a crisp, buttery foundation.
- Granulated sugar: Adds sweetness to both crust and filling, keeping each bite balanced.
- Unsalted butter: Melted and mixed with the crumbs to help the crust hold together.
- Cream cheese (full fat): Absolutely essential for the rich, tangy, ultra-creamy filling you crave in a cheesecake.
- Sour cream: Provides a subtle tang and makes the cheesecake filling silky and smooth.
- Lemon juice: Lifts both the filling and cherry topping with brightness and freshness.
- Vanilla extract: Rounds out the flavors, giving warmth and depth.
- Large eggs: Bind the filling together and create that cherished, luscious cheesecake texture.
- Pitted cherries (fresh or frozen): The hero of your homemade topping; choose the ripest cherries you can find.
- Water: Helps create the perfect consistency for your cherry compote.
- Cornstarch: Thickens the cherry topping so it stays beautifully atop the cheesecake.
- Shelled pistachios, chopped: Sprinkle just before serving for gorgeous color and irresistible crunch.
How to Make Cherry Pistachio Cheesecake
Step 1: Prepare the Crust
Start by preheating your oven to 175°C (350°F). In a medium bowl, mix the graham cracker crumbs, sugar, and melted butter until everything looks like wet sand—trust me, this step sets the whole mood. Pour it all into a 9-inch springform pan and press firmly so you get a dense, even layer that won’t crumble later. Bake for 10 minutes, then cool. Don’t forget to reduce the oven temperature to 160°C (325°F) after this!
Step 2: Make the Filling
Now for the creamy magic! In a large bowl, beat together softened cream cheese and sugar until you have a pillowy, lump-free mixture. Add in the sour cream, lemon juice, and vanilla extract, mixing until combined. Then, gently beat in the eggs one by one—each just until they’re incorporated. This slow approach guarantees your Cherry Pistachio Cheesecake filling stays ultra-smooth and never dense.
Step 3: Bake the Cheesecake
Pour that luscious filling over your cooled crust. For even baking and maximum silkiness, set the springform pan in a roasting pan and fill it with about an inch of hot water. This water bath is the secret to avoiding cracks! Bake for 60-75 minutes; the edges should look set while the center gives a slight, wobbly jiggle when jostled.
Step 4: Cool and Chill
When the baking’s done, patience becomes your greatest friend. Turn off the oven, crack the door, and let the cheesecake cool inside for an hour—this helps prevent sudden temperature shocks. Afterward, move the pan out of the water bath and let it finish cooling on a wire rack. Once it hits room temperature, tightly cover and chill in the fridge for at least six hours, but overnight is even better for that signature Cherry Pistachio Cheesecake texture.
Step 5: Make the Cherry Topping
While your cheesecake chills, create the topping by simmering pitted cherries with sugar, water, and lemon juice. Once nice and juicy, stir in a quick cornstarch slurry and cook for 2-3 minutes, just until the sauce thickens and glistens. Let it cool to room temperature so the topping spreads easily.
Step 6: Assemble and Serve
Gently release your chilled cheesecake from the springform pan and transfer to your favorite serving plate. Spoon the glossy cherry topping over the top, letting some juice cascade down the sides—it’s the best part! Finish with a generous sprinkle of crunchy chopped pistachios. Slice, serve, and watch the delight on everyone’s faces as you share your Cherry Pistachio Cheesecake masterpiece.
How to Serve Cherry Pistachio Cheesecake

Garnishes
Don’t be shy with those finishing touches! For a truly breathtaking Cherry Pistachio Cheesecake, add even more chopped pistachios just before serving, a few extra whole cherries, and a light dusting of powdered sugar. If you have some fresh mint around, a sprinkle of tiny leaves adds a pop of freshness and color.
Side Dishes
Cherry Pistachio Cheesecake pairs wonderfully with a hot cup of coffee, espresso, or even a glass of dessert wine. For a summery vibe, serve alongside a crisp berry salad or a scoop of tart lemon sorbet—the contrast is heavenly!
Creative Ways to Present
For special occasions, you can try slicing the Cherry Pistachio Cheesecake into thin bars and serving them as elegant finger food. Alternatively, use mini springform pans to make adorable individual cheesecakes, perfect for parties or gifting. If you want a truly luxe effect, serve each slice on a swirl of cherry sauce and top with crushed pistachio brittle for crunch.
Make Ahead and Storage
Storing Leftovers
Cover your Cherry Pistachio Cheesecake tightly with plastic wrap or transfer slices into airtight containers. Keep it in the refrigerator, where it stays fresh for 4 to 5 days—the flavor actually deepens as it sits, making those leftovers even more tempting!
Freezing
If you need to make the cheesecake far in advance, freeze it (without any topping) by wrapping the whole cake or individual slices tightly in plastic wrap and then aluminum foil. Store for up to 2 months. Thaw overnight in the fridge, then add your cherry topping and pistachios just before serving.
Reheating
Cheesecake is best served chilled or at cool room temperature, so there’s usually no need to reheat. If you prefer a softer, custardy texture, let a slice sit out for 15 to 20 minutes before eating. Avoid microwaving, as it can affect the creamy consistency.
FAQs
Can I use low-fat cream cheese for this recipe?
For the creamiest, most indulgent Cherry Pistachio Cheesecake, full-fat cream cheese is highly recommended. Low-fat versions may result in a less rich texture and the cheesecake might not set as beautifully.
What if I don’t have fresh cherries—can I use another fruit?
Absolutely! While cherries make this cheesecake shine, feel free to swap with strawberries, raspberries, or even a mixed berry blend. Just adjust sugar to taste, since different fruits vary in tartness.
How do I keep the cheesecake from cracking?
A water bath is your best friend here, as it gently bakes the cheesecake and provides humidity. Also, be careful not to overmix the filling and let it cool gradually to prevent cracks from forming.
Can I make Cherry Pistachio Cheesecake gluten-free?
Yes! Swap the graham cracker crumbs for your favorite gluten-free cookie crumbs or gluten-free graham crackers, and make sure the rest of your ingredients are certified gluten-free.
How far ahead can I make this cheesecake?
You can whip up Cherry Pistachio Cheesecake up to two days ahead and keep it chilled in the fridge. For the freshest texture, add the cherry topping and pistachios just before serving.
Final Thoughts
There’s something just a little magical about making and sharing a homemade Cherry Pistachio Cheesecake—it’s pure delight from first glance to last bite. Invite your favorite people, treat yourself, and enjoy every slice of this special dessert. I hope you absolutely love it!


Your email address will not be published. Required fields are marked *