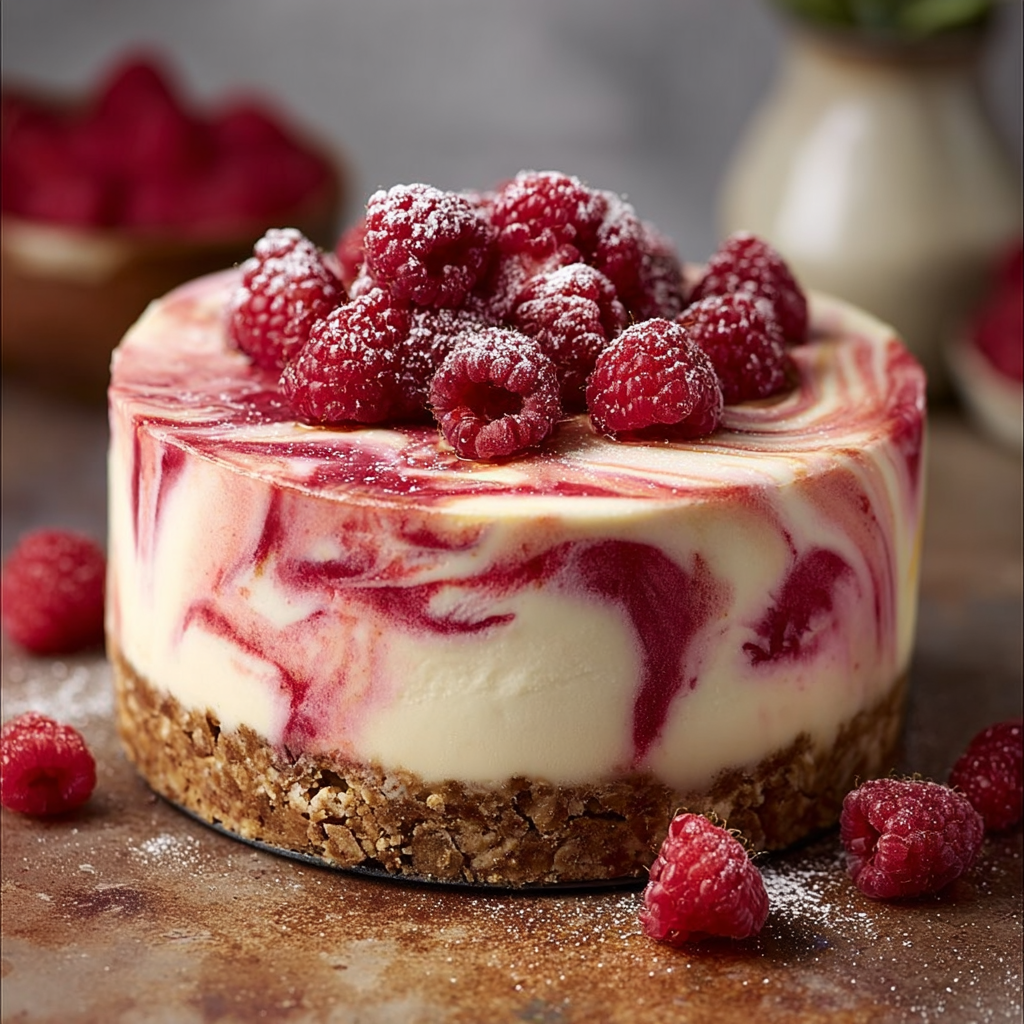
If you’ve ever wished for a showstopping dessert that’s equal parts rich, indulgent, and irresistibly chocolatey, then the Decadent Chocolate Layer Slice Cake is about to become your new favorite. Imagine velvety-soft cake layers, dreamy chocolate buttercream, and a sheet of glossy ganache draping the whole creation—this cake is what every chocolate lover dreams of and deserves. Whether you’re making it for a special occasion or just because, every slice is a celebration of pure chocolate bliss.
Ingredients You’ll Need
This recipe uses straightforward, readily available ingredients, yet each one plays a starring role in building the ultimate chocolate slice. The harmony of deep cocoa, creamy butter, and rich buttermilk is what transforms these essentials into a truly unforgettable dessert.
- All-purpose flour: The backbone of the cake, it creates a soft, tender crumb that holds everything together beautifully.
- Sugar: Sweetens the batter and helps tenderize the cake, making every bite melt-in-your-mouth delicious.
- Cocoa powder: For that bold, chocolatey depth; use a good-quality cocoa for maximum flavor.
- Baking powder and baking soda: These leaveners make sure your layers rise perfectly, so each forkful is airy yet rich.
- Salt: Enhances all the other flavors and keeps the sweetness in check—don’t skip it!
- Buttermilk: The secret to extra-moist cake; it creates a lovely, tender texture and balanced tang.
- Vegetable oil: Brings unbeatable moisture and makes the cake beautifully soft, even after chilling.
- Eggs: Add structure and richness, helping the cake rise and set with a perfect crumb.
- Vanilla extract: Rounds out the chocolate flavors and adds an inviting, warming aroma.
- Hot coffee: Don’t worry, you won’t taste it! The coffee simply deepens the chocolate’s intensity.
- Unsalted butter (for frosting): Whipped into the buttercream for the silkiest, creamiest frosting ever.
- Powdered sugar (for frosting): Gives the buttercream its soft, melt-in-your-mouth sweetness and structure.
- Heavy cream (for frosting and ganache): Makes both the buttercream and ganache luscious and smooth.
- Dark chocolate (for ganache): Chopped and melted for the shiniest, most decadent finishing touch.
How to Make Decadent Chocolate Layer Slice Cake
Step 1: Prepare and Preheat
Begin by prepping your baking pans: grease and line three cake pans with parchment paper to guarantee the easiest release. Preheat your oven to 350°F (175°C)—having everything ready now sets you up for smooth baking later.
Step 2: Mix the Dry Ingredients
In a large bowl, sift together the all-purpose flour, sugar, cocoa powder, baking powder, baking soda, and salt. Sifting is worth the extra minute—it prevents lumps and ensures your Decadent Chocolate Layer Slice Cake is feather-light and perfectly even.
Step 3: Combine Wet Ingredients
In a separate bowl, whisk together the buttermilk, vegetable oil, eggs, and vanilla extract. This combination creates the foundation of flavor and moisture that makes every slice so satisfying.
Step 4: Build the Batter
Pour the wet ingredients into your dry mixture and gently mix until just combined. Now comes the magic: slowly stir in the hot coffee. The batter will look thin, but don’t worry—this is the secret to that incredible, fudgy texture in each layer of your Decadent Chocolate Layer Slice Cake.
Step 5: Bake the Layers
Divide the batter evenly among your prepared cake pans. Bake for 25 to 30 minutes, or until a toothpick comes out clean. Let the layers cool completely in the pans before removing—you want them firm for easy stacking and decorating.
Step 6: Make the Chocolate Buttercream Frosting
With your cakes cooling, whip up the buttercream: beat together softened unsalted butter, powdered sugar, cocoa powder, and heavy cream until the mixture is fluffy and lighter in color. Add vanilla extract and beat a few more seconds—this will be the creamy glue between each luscious slice.
Step 7: Assemble and Frost the Layers
Place the first cake layer on your platter, then swipe on a thick layer of chocolate buttercream. Repeat with the second and third layers, then smother the entire cake in more frosting. Smooth the sides and top for that signature decadent look.
Step 8: Prepare and Pour the Ganache
Heat the heavy cream until it just begins to simmer and pour it over the chopped dark chocolate. Let it sit a moment, then whisk until silky and smooth. Let the ganache cool just slightly—pouring it over your cake while it’s still fluid will give that perfect, glossy finish. Watch as it gently cascades down the sides!
Step 9: Decorate and Slice
For a bakery-worthy touch, sprinkle chocolate shavings or curls on top of your Decadent Chocolate Layer Slice Cake. Allow the ganache to set before slicing in for that gorgeous, layered reveal.
How to Serve Decadent Chocolate Layer Slice Cake

Garnishes
The simplest way to make this cake look as impressive as it tastes is with a shower of chocolate curls or shavings on top. Fresh berries, a dusting of powdered sugar, or a sprinkle of flaky sea salt are also fabulous for contrast and a pop of color.
Side Dishes
Pair each decadent slice with a scoop of vanilla ice cream, a dollop of freshly whipped cream, or even a handful of tart raspberries. The creamy, cool, or tangy sides balance the richness of your cake perfectly.
Creative Ways to Present
If you’re feeling playful, try serving the Decadent Chocolate Layer Slice Cake in generous cubes parfait-style with layers of whipped cream and crushed cookies. Or, cut into slender strips and serve on a platter for a party-friendly treat that’s as easy to eat as it is beautiful.
Make Ahead and Storage
Storing Leftovers
To keep your Decadent Chocolate Layer Slice Cake fresh, store any leftovers in an airtight container at room temperature for up to two days or refrigerate for up to five days. The flavors continue to meld, and the cake stays irresistibly moist.
Freezing
This cake freezes beautifully! Wrap individual slices or the whole cake (without garnishes) tightly in plastic wrap and aluminum foil. Store in the freezer for up to two months, and when cravings hit, you’re just a thaw away from chocolate bliss.
Reheating
If you prefer your slice slightly warm, pop a piece in the microwave for about 15 seconds to soften the buttercream and ganache. Just be sure not to overheat, as the cake is best enjoyed with its tender crumb and creamy icing intact.
FAQs
Can I make the Decadent Chocolate Layer Slice Cake ahead of time?
Absolutely! You can bake the cake layers one or two days ahead. Wrap them well in plastic wrap, and they’ll stay fresh and ready to frost. Assembling and decorating the day you plan to serve makes the presentation extra special.
What if I don’t have buttermilk?
No buttermilk? No problem! Just add a tablespoon of lemon juice or white vinegar to a cup of regular milk, stir, and let it sit for five minutes to create an easy substitute. Your cake will stay moist and flavorful.
How do I prevent the layers from sticking to the pans?
The secret is to both grease your pans and line the bottoms with parchment paper. When ready to unmold, run a knife around the edge and the layers should pop right out, leaving you with tidy, intact cakes for stacking.
Can I use milk chocolate for the ganache instead of dark chocolate?
You certainly can swap in milk chocolate if you prefer a sweeter, creamier finish. The ganache will be slightly lighter in color and taste but no less delicious—perfect for anyone who loves a mild chocolate flavor.
Why is my buttercream too thick or too thin?
If your buttercream is too thick, simply add a splash of heavy cream and beat again. If it’s too thin, mix in a little more powdered sugar. The goal is a spreadable, fluffy frosting that holds its shape but glides over the cake effortlessly.
Final Thoughts
If you’re searching for a cake that delivers drama, decadence, and true chocolate satisfaction, look no further than the Decadent Chocolate Layer Slice Cake. It’s a wonderful project for anyone who wants to treat loved ones (or themselves!) to a slice of sheer chocolate magic—so gather your ingredients and let the baking joy begin!


Your email address will not be published. Required fields are marked *