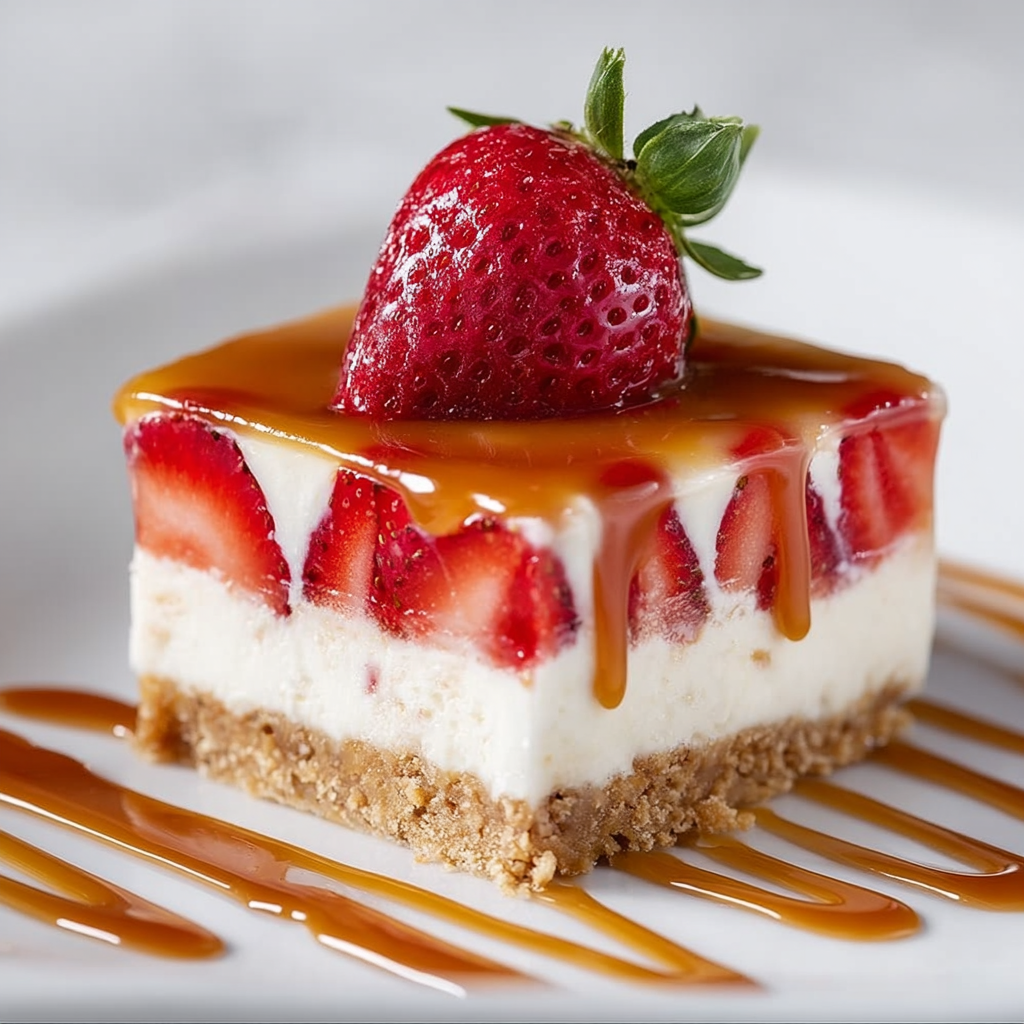
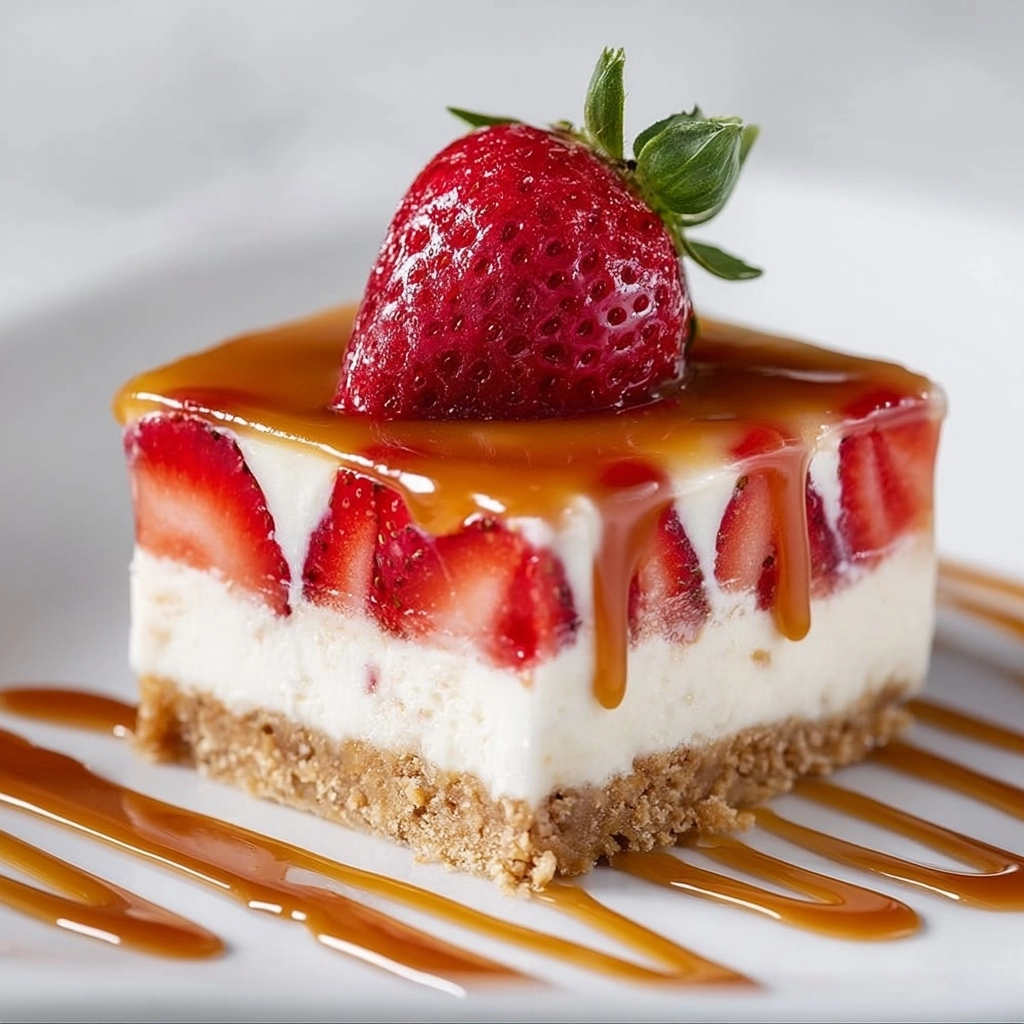
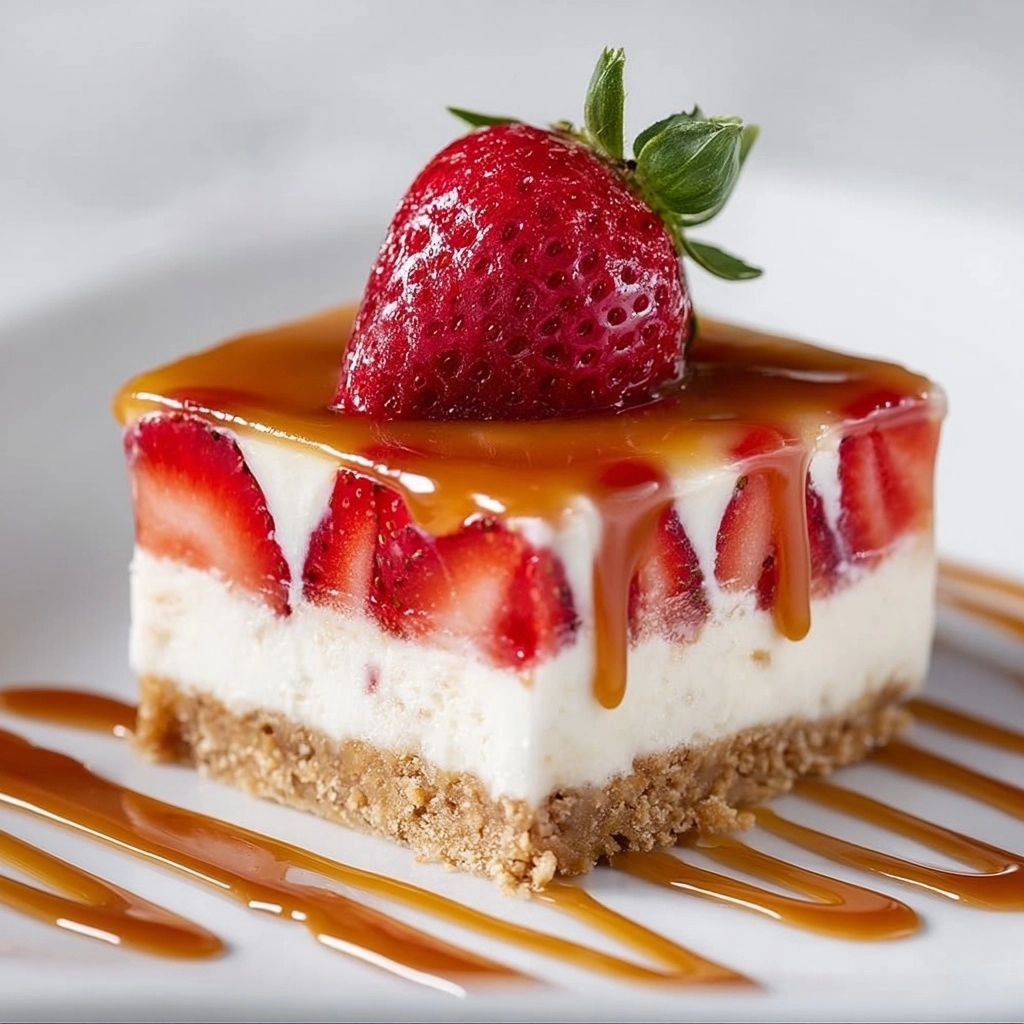
Imagine a slice of pure delight: moist chocolate layers sandwiched with clouds of fluffy cream and laden with fresh strawberries. That’s exactly what you’ll find waiting in this Chocolate Strawberry Layer Cake with White Cream Filling. It’s a cake that feels as special as it looks, full of rich cocoa notes, juicy berries, and dreamy cream—each bite a celebration! Whether you’re baking for a birthday or simply want to treat yourself, this is the cake you’ll want to share with your favorite people.
Ingredients You’ll Need
The list is blissfully straightforward, but every ingredient plays its own starring role in the taste, texture, and beauty of this Chocolate Strawberry Layer Cake with White Cream Filling. Each has its purpose, from creating a deeply chocolatey base to a pillow-soft white cream and those gorgeous, lively strawberries on top.
- All-purpose flour: Gives the cake its structure and tender crumb, ensuring the layers hold together beautifully.
- Cocoa powder: Brings that deep, satisfyingly rich chocolate flavor—go for unsweetened for best results.
- Sugar: Sweetens both the cake and balances the cocoa’s natural bitterness.
- Baking powder: Helps the cakes rise evenly and get nice and fluffy.
- Baking soda: Adds an extra lift, making the crumb lighter.
- Salt: Don’t skip it! Salt sharpens the chocolate and balances sweetness.
- Eggs: Bind the batter and add richness and moisture.
- Milk: Provides softness and helps create a smoother batter.
- Vegetable oil: Gives the layers their ultra-moist, velvety texture that stays fresh for days.
- Vanilla extract: Boosts aroma and flavor in both the cake and cream filling.
- Hot water or hot coffee: Deepens the chocolate taste and keeps the cake moist—coffee really enhances the cocoa if you want to try it!
- Heavy cream (cold): Whips up into that dreamy, silky filling we all love.
- Powdered sugar: Sweetens the cream without any grittiness.
- Fresh strawberries: Choose plump, ripe berries for bright color and a burst of fruity flavor in every forkful.
How to Make Chocolate Strawberry Layer Cake with White Cream Filling
Step 1: Preheat and Prep
Set the stage by preheating your oven to 175°C (350°F). Grease two 20cm (8-inch) round cake pans and line the bottoms with parchment for easy release. Taking this prep time now ensures your cake layers will come out perfectly and save you stress later.
Step 2: Mix the Dry Ingredients
In a big mixing bowl, sift together the flour, cocoa powder, baking powder, baking soda, and salt. Sifting helps avoid lumps and creates a delicate, even crumb in your finished cake—trust me, it makes all the difference!
Step 3: Combine the Wet Ingredients
In a separate bowl, whisk together the eggs, sugar, milk, vegetable oil, and vanilla extract. This mixture forms the delicious backbone of the batter, keeping the cake irresistibly moist and giving it a lovely subtle flavor.
Step 4: Create the Batter
Now gradually add the dry ingredients into the wet mixture, stirring gently. This step keeps the batter smooth and helps prevent overmixing, which can make your cake tough. Aim for a lusciously thick but pourable batter.
Step 5: Add the Hot Liquid
Slowly pour in the hot water or coffee, stirring until just combined. This magical step deepens the chocolate flavor and gives the cake an ultra-tender, melt-in-your-mouth crumb. The batter will look thin, but that’s exactly how you want it!
Step 6: Bake the Cakes
Divide the chocolate batter evenly between your prepared pans. Bake for 30 to 35 minutes, or until a toothpick poked into the center comes out clean. Let the cakes cool completely; a cooled cake makes the assembly so much easier and keeps the cream from melting.
Step 7: Whip Up the White Cream Filling
Grab your cold heavy cream and whip it together with powdered sugar and vanilla until stiff peaks form—think of soft clouds that hold their shape! An electric mixer will make this step a breeze and ensure your filling is gorgeously smooth and fluffy.
Step 8: Assemble the Cake
Place one cake layer on your serving plate. Generously spread on half of the white cream filling, then cover with a layer of sliced fresh strawberries. Add the second cake layer, then repeat with more cream and an extra helping of strawberries on top for a pretty finish.
Step 9: Decorate and Chill
The beauty of this cake is in the finishing touches. Decorate with extra whole strawberries or a sprinkle of chocolate shavings, then chill the whole cake for at least 30 minutes before serving. This helps everything set and makes for cleaner slices.
How to Serve Chocolate Strawberry Layer Cake with White Cream Filling

Garnishes
There’s no such thing as overdoing it when it comes to decorating! For the Chocolate Strawberry Layer Cake with White Cream Filling, try topping with glossy whole strawberries, a dusting of powdered sugar, or elegant chocolate curls. A few mint leaves also add a fresh, vibrant pop.
Side Dishes
Pair each slice with a scoop of vanilla ice cream or a dollop of whipped cream for the ultimate treat. For a lighter touch, fresh berries or a hot espresso balance the richness perfectly and make every mouthful feel extra special.
Creative Ways to Present
Turn this cake into a showstopper at your next gathering! Slice it into tall wedges and serve on dazzling dessert plates, or go mini by assembling single-serving portions in glasses. If you’re feeling artistic, drizzle plates with a swirl of berry coulis or chocolate sauce before placing each slice.
Make Ahead and Storage
Storing Leftovers
Leftover Chocolate Strawberry Layer Cake with White Cream Filling stays fresh and delicious if you wrap it tightly in plastic wrap or store it in an airtight container in the fridge. It’ll keep for up to three days, but honestly, slices tend to disappear long before then!
Freezing
If you want to get ahead, you can freeze the undecorated cake layers for up to two months. Just wrap them well in plastic and foil. The whipped cream filling doesn’t freeze well, so assemble with fresh cream and berries just before serving for best results.
Reheating
This cake is truly at its best when served cold or at cool room temperature. If you like a softer bite, let slices stand out at room temp for about 15–20 minutes before serving, but there’s no need to reheat in the oven or microwave.
FAQs
Can I make the Chocolate Strawberry Layer Cake with White Cream Filling in advance?
Absolutely! Bake the cake layers a day ahead, store them wrapped at room temperature, and whip the cream and assemble the cake a few hours before serving for the freshest flavor and texture.
Can I use frozen strawberries?
Fresh strawberries are best for flavor and visual appeal, but if that’s all you have, thaw and drain frozen strawberries well before layering to keep your cake from getting soggy.
What’s the best way to slice the cake cleanly?
Chilling the cake before slicing helps the layers hold together. Use a long serrated knife, wiping it between cuts for neat, bakery-worthy slices!
Can I substitute the white cream filling with another frosting?
Certainly! While the airy whipped cream is dreamy, you can swap in stabilized whipped cream or even mascarpone for a richer touch. Just remember, the lightness of the cream is part of what makes this cake so special.
Will coffee make the cake taste like coffee?
Nope! Adding hot coffee simply intensifies the chocolate flavor, without making the cake taste like coffee. If you prefer, hot water works beautifully too.
Final Thoughts
If you love cakes that are both stunning and absolutely delectable, give this Chocolate Strawberry Layer Cake with White Cream Filling a place of honor at your table. There’s so much joy in every forkful, and sharing it is half the fun. I can’t wait for you to try it—let me know how it turns out!


Your email address will not be published. Required fields are marked *