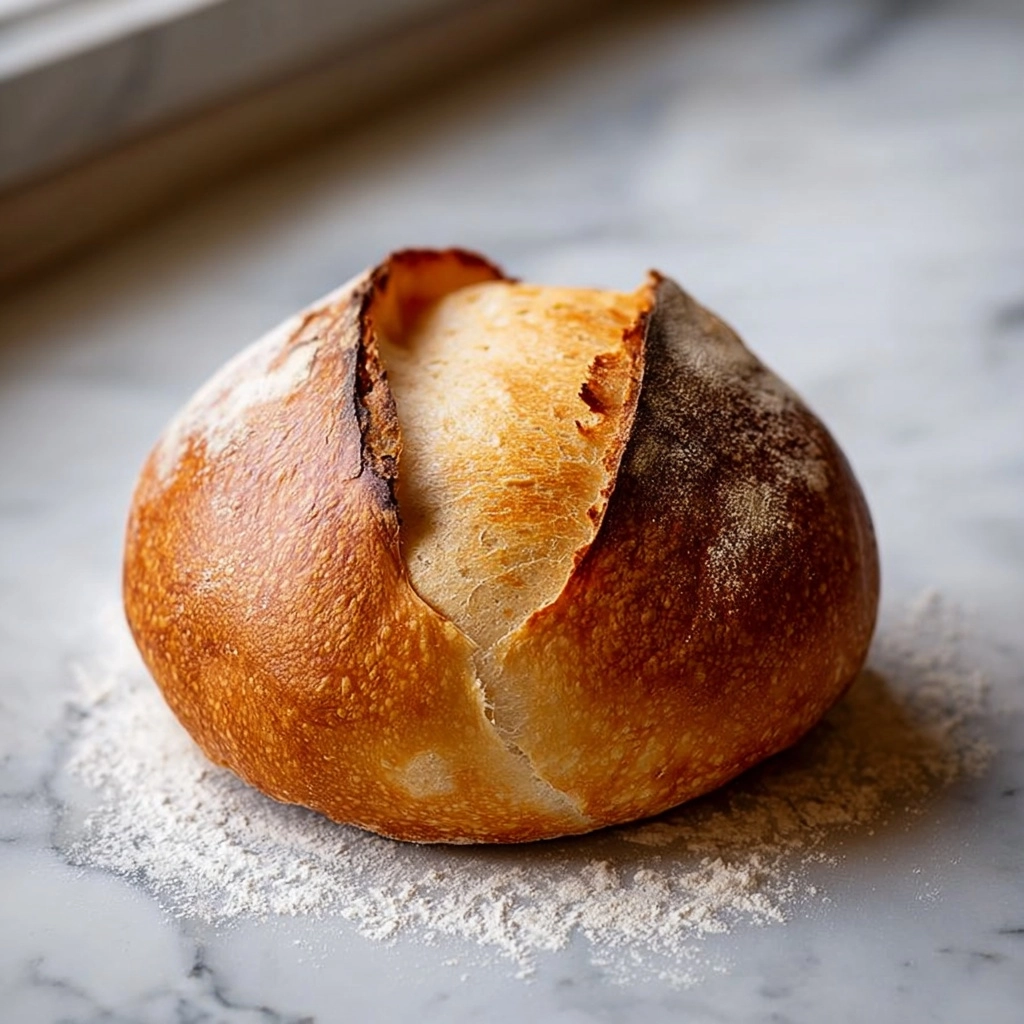
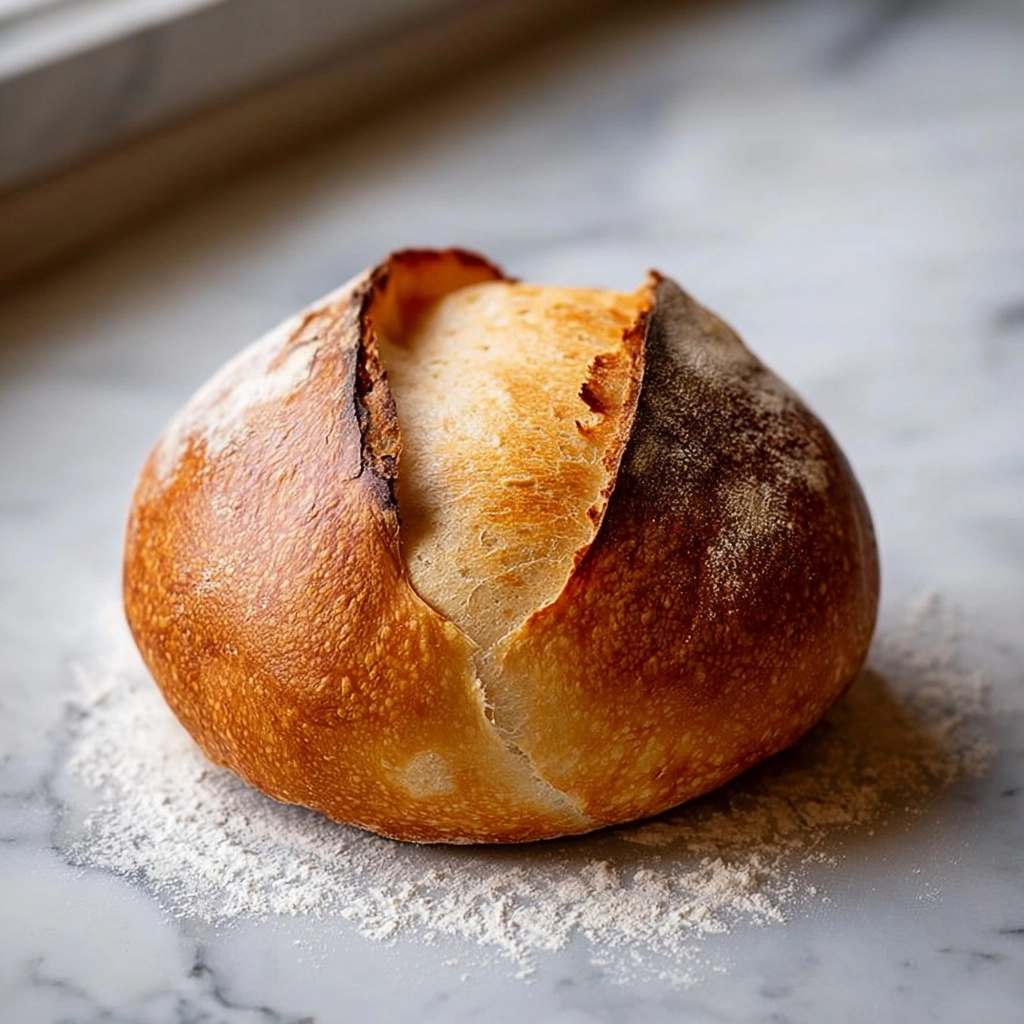
Trust me, if you’ve never enveloped your kitchen in the heavenly aroma of Homemade Bread fresh from your own oven, you’re in for a treat! This crusty, golden loaf is surprisingly achievable, with each bite marrying pillowy softness inside and a wonderful crunch outside. Using just a handful of ingredients, Homemade Bread turns an ordinary day into a memorable one—perfect for slathering with butter, dipping in soup, or simply savoring warm all by itself. Whether you’re looking for a cozy baking project, a crowd-pleasing addition to dinner, or a new family staple, this recipe is about to become your go-to favorite.
Ingredients You’ll Need
Everything you need for this bread is probably already waiting in your pantry, and every ingredient plays a vital role in creating gorgeous color, flavor, and that irresistible scent. Don’t worry, there’s nothing fancy—just straightforward, essential building blocks for stellar Homemade Bread.
- All-purpose flour: The backbone of our bread, it gives structure and that classic soft crumb.
- Salt: Not just for flavor—salt also helps strengthen the dough and control the yeast’s activity.
- Sugar: Feeds the yeast and supports a lovely golden-brown crust.
- Active dry yeast: The magic behind the rise, it’s what brings airy lightness to your loaf.
- Warm water: Perfectly temped to activate the yeast, transforming simple ingredients into Homemade Bread goodness.
- Olive oil (optional): A dash adds a hint of richness, a tender crumb, and a nice sheen on your finished bread.
How to Make Homemade Bread
Step 1: Activate the Yeast
Start things off by combining the warm water, sugar, and yeast in a small bowl. Give it a quick stir and set it aside for 5–10 minutes. You’ll know it’s ready when it’s frothy and bubbly—this is the yeast telling you it’s alive and ready to do its job! Skipping this step can mean flat, dense bread, so don’t rush it.
Step 2: Prepare the Dough
In a large mixing bowl, blend together the flour and salt. Then, pour in the activated yeast mixture and the olive oil. Stir with a sturdy spoon or your hands until a shaggy dough forms. Now comes the fun part—transfer it onto a floured surface and knead it for a solid 8–10 minutes. With every push and fold, you’re developing gluten, which is the secret behind that elastic, chewy texture we all dream of in Homemade Bread.
Step 3: First Rise
Once your dough is smooth and elastic, place it into a lightly greased bowl. Cover with a clean towel or plastic wrap, and leave it somewhere nice and warm (but not hot!). Over the next hour or so, it should double in size, thanks to the hardworking yeast. This wait is essential, so let yourself enjoy the anticipation!
Step 4: Shape the Bread
Punch down your risen dough to release some of the air. Now gently shape it—whether into a single loaf or a handful of rolls, the choice is yours. Set them onto a greased or parchment-lined baking sheet, arranging as desired. This is where your Homemade Bread starts to look the part!
Step 5: Second Rise
Cover those shaped doughs again and let them rest for another 30–40 minutes. They’ll puff up beautifully, promising a final loaf that’s light and airy inside. A second rise refines the bread’s structure, helping you get that delicate, open crumb.
Step 6: Bake
While your dough finishes rising, preheat your oven to 180°C (350°F). Slide in your tray and bake for 25–30 minutes, enjoying the tantalizing aroma that fills your kitchen. You’ll know your Homemade Bread is done when the crust is golden and it sounds hollow when tapped. If you love extra crunch, leave it in for a couple more minutes—but keep a close eye!
Step 7: Cool and Serve
Set your freshly baked bread on a wire rack and let it cool at least a little (if you can resist!). Cooling allows the crumb to set, so slices come out beautiful and neat. Once cooled, slice, spread with creamy butter, and enjoy your triumph!
How to Serve Homemade Bread

Garnishes
Sometimes, a sprinkling of herbs or crunchy seeds brushed on before baking can turn ordinary Homemade Bread into a show-stopper. For a finishing touch, you can brush the warm loaf with melted butter and dust it with flaky salt, or drizzle with olive oil and scatter fresh rosemary. Each bite gets a little more character and fragrance this way!
Side Dishes
Homemade Bread is the ideal companion for just about anything on your table. Pair thick slices with a steaming bowl of soup, dunk into olive oil and balsamic vinegar as a simple appetizer, or serve alongside a colorful salad for a light lunch. Its flavor is robust enough to stand with hearty stews, yet delicate enough not to outshine simple spreads and cheeses.
Creative Ways to Present
Don’t limit yourself to basic slices! Try making mini rolls for dinner parties, braiding your dough for a decorative centerpiece, or turning slightly stale Homemade Bread into croutons or French toast. Sometimes, simply baking it in a pretty loaf pan elevates the presentation to rustic perfection. This bread’s versatility means you can always surprise your guests in new ways.
Make Ahead and Storage
Storing Leftovers
If you’re lucky enough to have any Homemade Bread left, keep it fresh by wrapping it tightly in plastic wrap or storing in a bread box at room temperature. It should stay soft and flavorful for up to three days—though, let’s be honest, it rarely lasts that long!
Freezing
Homemade Bread freezes beautifully. Let your loaf cool completely, then wrap it snugly in a double layer of plastic wrap or foil. You can freeze the whole loaf or individual slices, making it easy to enjoy fresh-baked taste anytime. When ready, let it thaw at room temperature—no need to pre-slice unless you like extra convenience!
Reheating
To recapture that just-baked magic, reheat Homemade Bread in a 160°C (325°F) oven for 10–15 minutes until warmed through. If it’s sliced, a quick pop in the toaster does wonders. A light brush of butter or olive oil before reheating adds extra richness and a beautifully revived crust.
FAQs
Can I use whole wheat flour instead of all-purpose?
Absolutely! Whole wheat flour brings a nutty flavor and more fiber. Swap up to half the flour for whole wheat without changing the texture too much, or go for 100% whole wheat if you don’t mind a denser, heartier loaf. You may need to add a touch more water, as whole wheat absorbs more liquid.
How can I tell if my yeast is still good?
If your yeast foams vigorously when mixed with warm water and sugar, it’s alive and kicking. If after 10 minutes it sits flat and lifeless, it’s time to buy a fresh packet. This quick test is a surefire way to avoid dense, disappointing bread.
Can I make Homemade Bread without a stand mixer?
Definitely! This recipe is as hands-on or hands-off as you like. The dough comes together perfectly with just your hands, a wooden spoon, and a little elbow grease. In fact, kneading by hand is a wonderfully soothing experience that lets you connect with your food.
Why do I need to let the bread rise twice?
The first rise builds flavor and structure, while the second rise ensures your Homemade Bread has that light, tender interior. Skipping the second rise can leave your loaf underdeveloped, so let patience work its magic for the fluffiest results.
What’s the best way to slice Homemade Bread?
Use a long, sharp serrated knife and let the loaf cool before cutting. This helps preserve the crumb and prevents crushing, resulting in clean, even slices ready for your favorite spreads.
Final Thoughts
If you’ve ever dreamed of warm, fragrant Homemade Bread gracing your table, now’s your chance—there’s nothing quite as rewarding or comforting. Gather your simple ingredients, give it a try, and watch how easily this recipe finds its way into your regular rotation. Here’s to full bellies, warm kitchens, and the joy of sharing homemade goodness!


Your email address will not be published. Required fields are marked *