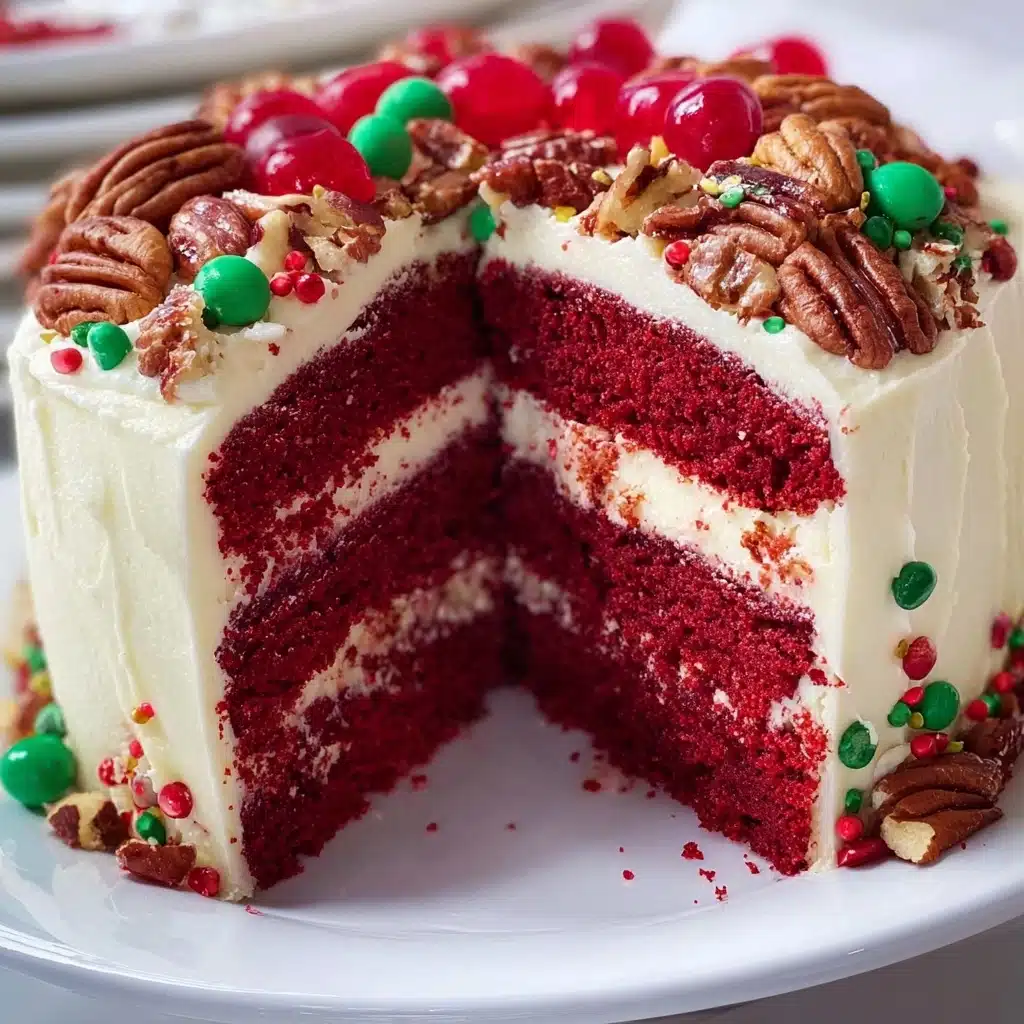
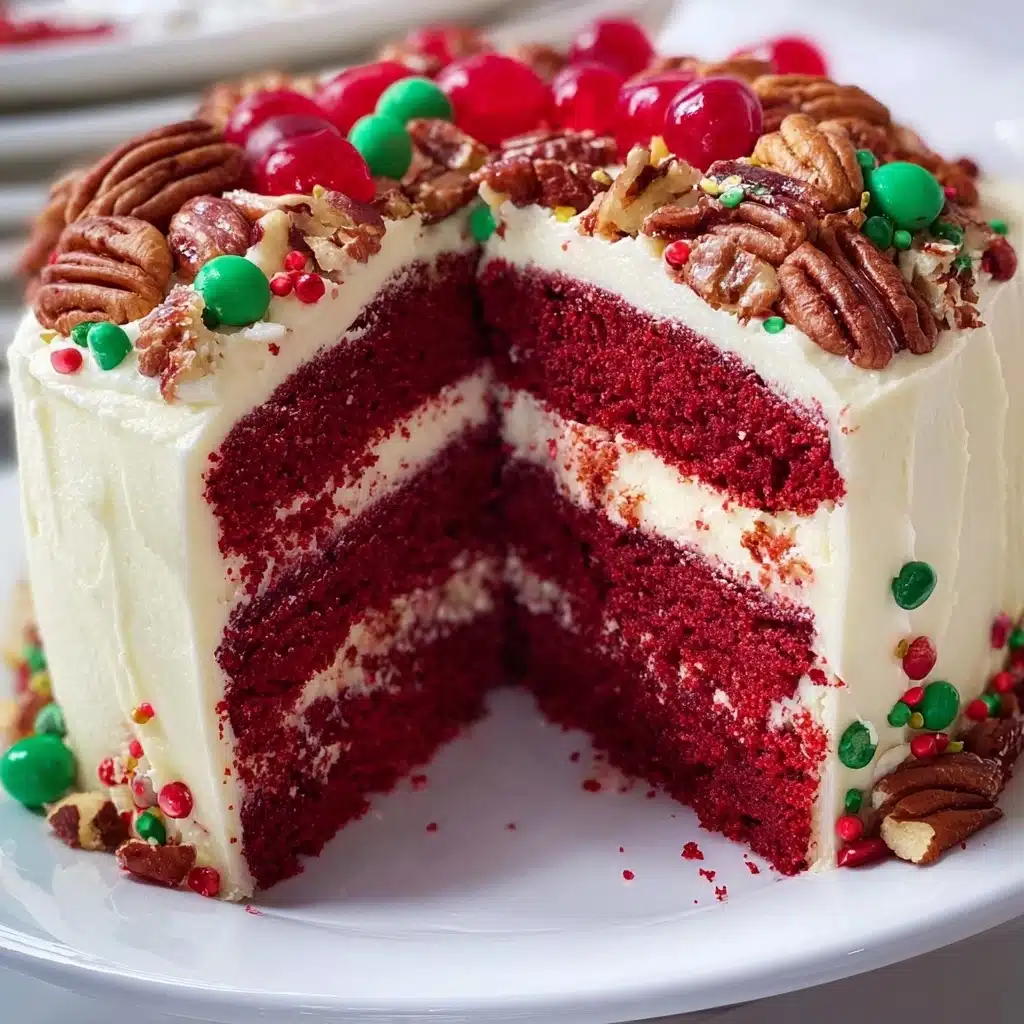
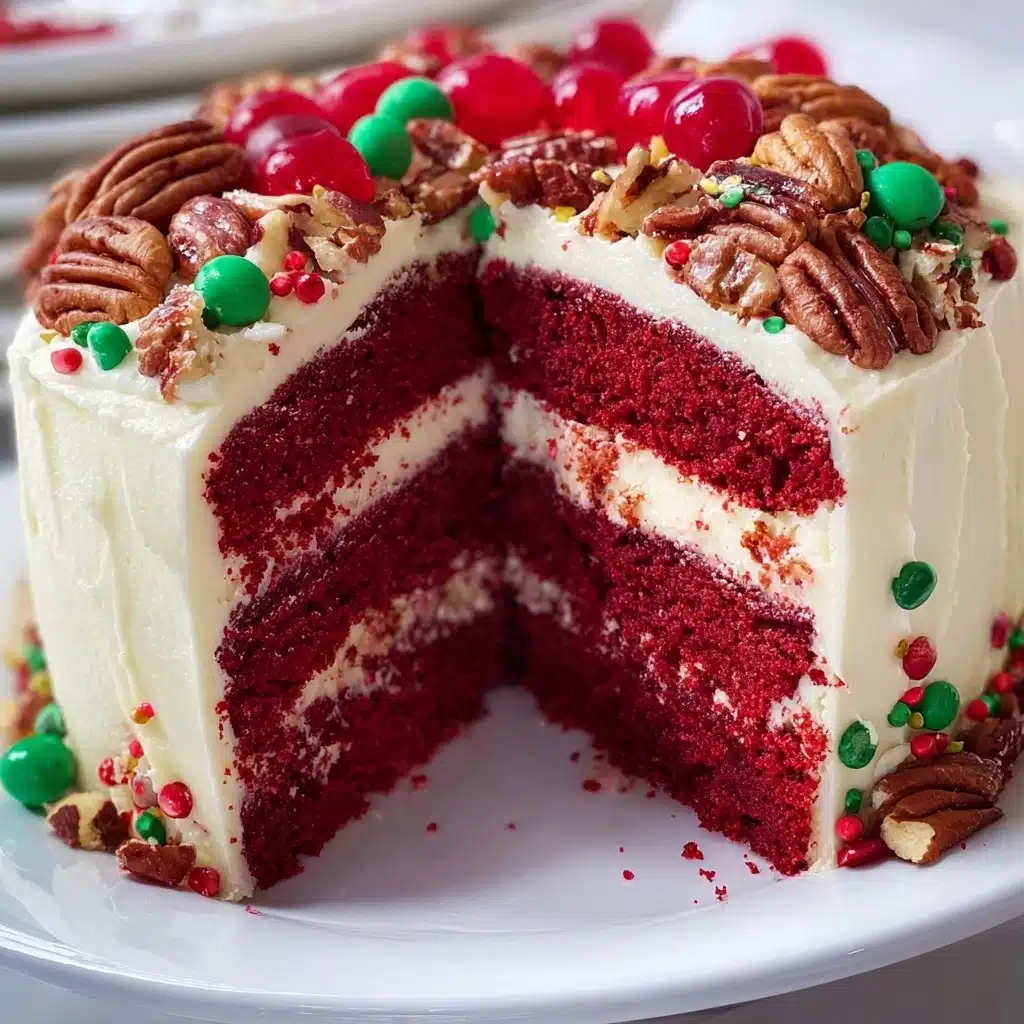
Red Velvet Cake with Cream Cheese Frosting is the cake that turns an ordinary gathering into something spectacular. This classic dessert is a showstopper—with its signature crimson crumb, tender layers, and the irresistible tang of lavish cream cheese frosting. Every bite is a soft, melt-in-the-mouth celebration, making it the perfect centerpiece for holidays, birthdays, or any day you want to create a little magic in the kitchen.
Ingredients You’ll Need
The best part about this recipe is how every ingredient plays a crucial role in building its dazzling color, velvety texture, and unforgettable flavor. The ingredients are simple, but each one brings something special to the table—so don’t skip a thing!
- All-purpose flour: Gives the cake its structure and keeps the crumb delicate and soft.
- Granulated sugar: Sweetens the batter and helps create that moist, tight crumb.
- Baking soda: Works with the vinegar for a tender, airy rise.
- Salt: Enhances all the cake’s flavors and balances the sweetness.
- Cocoa powder: Provides that signature subtle chocolate note and depth of flavor.
- Vegetable oil: Keeps the cake incredibly moist, giving it that luscious, velvety bite.
- Large eggs (room temperature): Bind everything together and add richness.
- Buttermilk (room temperature): Adds tang and tenderness that sets red velvet apart.
- Red food coloring (liquid or gel): Delivers that iconic, vibrant color—go bold!
- Vanilla extract: Rounds out the flavors with warmth and a whisper of sweetness.
- White vinegar: Reacts with the baking soda for a perfectly risen cake and signature tang.
- Cream cheese (softened): Forms the rich and creamy base of our dream frosting.
- Unsalted butter (softened): Adds body and finds perfect harmony with the cream cheese.
- Powdered sugar (sifted): Makes the frosting fluffy, light, and perfectly sweet.
- Vanilla extract (for frosting): Keeps the frosting aromatic and irresistible.
- Pinch of salt (for frosting): Balances the frosting’s sweetness and enhances flavor.
- Chopped pecans or walnuts: Adds crunch, flavor, and festive flair on top of your cake.
- Red and green edible decorative pearls (optional): Make the cake a true festive centerpiece.
- Glacé cherries or candied fruits (optional): Bring pops of color and playful sweetness to your finishing touch.
How to Make Red Velvet Cake with Cream Cheese Frosting
Step 1: Prepare the Cake Layers
Start by preheating your oven to 350°F (175°C). Grease and line two 8-inch round cake pans with parchment paper—this helps the layers pop out perfectly after baking. In one bowl, whisk together the flour, baking soda, salt, and cocoa powder for even distribution. In a separate large bowl, whisk your oil, sugar, and eggs until they’re blended and a bit glossy. Stir in the buttermilk, red food coloring, vanilla, and vinegar until the color is evenly vibrant. Gradually add the dry ingredients, mixing gently just until smooth. Divide the batter between the pans and bake for 25 to 30 minutes, or until a toothpick poked into the center comes out clean. Let the cakes cool in the pans for 10 minutes, then carefully transfer to a wire rack to cool completely. The hardest part is waiting!
Step 2: Make the Cream Cheese Frosting
In this step, you’re building the luscious pillow of cream that makes this cake iconic. With a hand mixer or stand mixer, beat the softened cream cheese and butter together until completely smooth and creamy (and try not to eat it all at this stage—it’s tempting!). Add a splash of vanilla and a pinch of salt for that classic flavor. Slowly add the powdered sugar, beating after each addition, until your frosting is dreamy, fluffy, and spreadable. Taste as you go, and adjust for sweetness as you like.
Step 3: Assemble the Cake
Once the cakes are absolutely cool (trust me, patience pays off), level them with a serrated knife if needed—flat cakes make for a showstopping stack. Set one layer on your serving plate and smother the top generously with cream cheese frosting. Gently place the second layer on top and blanket the whole cake in more frosting, smoothing it out for that signature pristine finish. Now, the fun part: sprinkle with chopped nuts, dot with candied cherries and edible pearls if you’re feeling extra festive. Your Red Velvet Cake with Cream Cheese Frosting is ready to steal the show!
How to Serve Red Velvet Cake with Cream Cheese Frosting

Garnishes
Adorning your cake is the grand finale! Chopped pecans or walnuts are traditional garnishes, adding a lovely crunch and toasty richness. Bright red and green pearls or jewel-toned candied cherries are whimsical touches that highlight the cake’s festive side. Have fun with toppings and let your creativity shine—the more vibrant, the better!
Side Dishes
To really let your Red Velvet Cake with Cream Cheese Frosting shine, keep the accompaniments simple. A scoop of vanilla ice cream, a handful of fresh berries, or a dollop of lightly whipped cream are all delicious choices. For a celebratory occasion, a glass of cold milk or a mug of coffee make this cake feel like the sweetest treat imaginable.
Creative Ways to Present
If you want to make things extra memorable, slice the cake into tall, even layers and serve on individual cake stands or stunning platters. Cupcake versions with piped swirls of cream cheese frosting are always a hit at parties. Or, make a layer trifle by cubing the cake and layering it with frosting and berries in parfait glasses—you’ll have a whole table talking!
Make Ahead and Storage
Storing Leftovers
Store any remaining Red Velvet Cake with Cream Cheese Frosting tightly covered in the refrigerator to keep it moist and the frosting fresh. It will stay delicious for up to five days (if it lasts that long!). Just remember to bring slices to room temperature before serving so every bite is soft and flavorful.
Freezing
You can freeze this cake, either whole or in slices, for longer storage. Wrap each piece tightly in plastic wrap, then foil, and store in an airtight container. It can rest happily in the freezer for up to two months. Thaw overnight in the fridge and bring to room temperature before enjoying.
Reheating
It’s not necessary to reheat Red Velvet Cake with Cream Cheese Frosting, but if you prefer a just-baked feel, let a slice sit at room temperature for about 30 minutes. Avoid microwaving, as it can make the frosting melt and alter the cake’s dreamy texture.
FAQs
Can I use natural food coloring instead of artificial red?
Absolutely! While traditional recipes use liquid or gel food coloring for that iconic hue, you can try beet powder or natural food-based dyes. Keep in mind, the color will be softer, but still beautiful.
Why is buttermilk important in red velvet cake?
Buttermilk provides that signature tang in Red Velvet Cake with Cream Cheese Frosting, and helps create a soft, tender crumb. Its acidity also reacts with baking soda for a perfectly fluffy texture.
How do I know when my cake layers are done baking?
Insert a toothpick in the center of the cake—if it comes out clean or with just a few crumbs, your cake is ready. The layers should also bounce back lightly when touched.
Can I make the cream cheese frosting ahead of time?
Yes! You can prepare the frosting up to three days ahead. Store it in an airtight container in the fridge, then let it soften at room temperature before spreading on your cake.
What’s the best way to get even cake layers?
Use a kitchen scale to divide your batter between pans, and level the cakes with a serrated knife after baking. This helps your Red Velvet Cake with Cream Cheese Frosting look bakery-perfect every time.
Final Thoughts
Give this Red Velvet Cake with Cream Cheese Frosting a try and watch it become the highlight of your dessert table. It’s a classic for a reason—decadent, eye-catching, and always crowd-pleasing. Gather your ingredients, invite some friends, and dive into the magic. Happy baking!


Your email address will not be published. Required fields are marked *