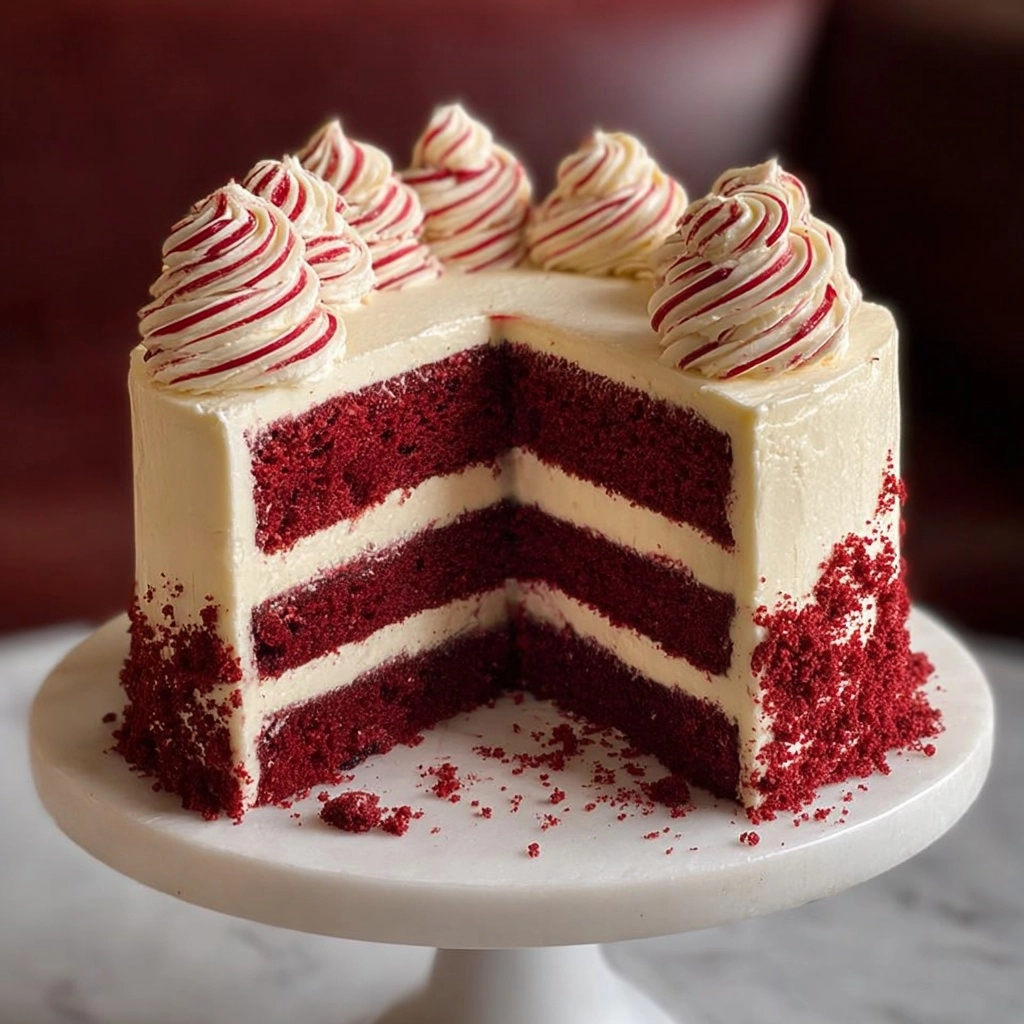
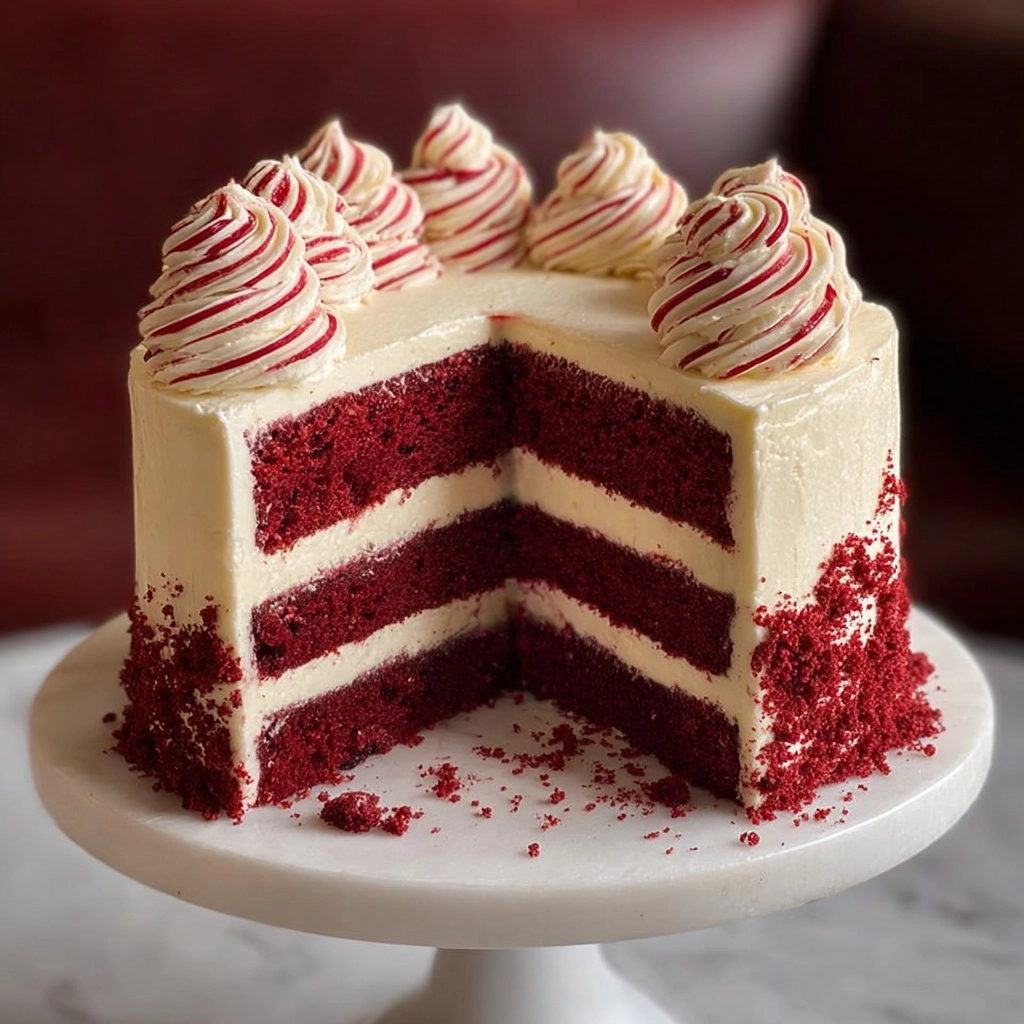
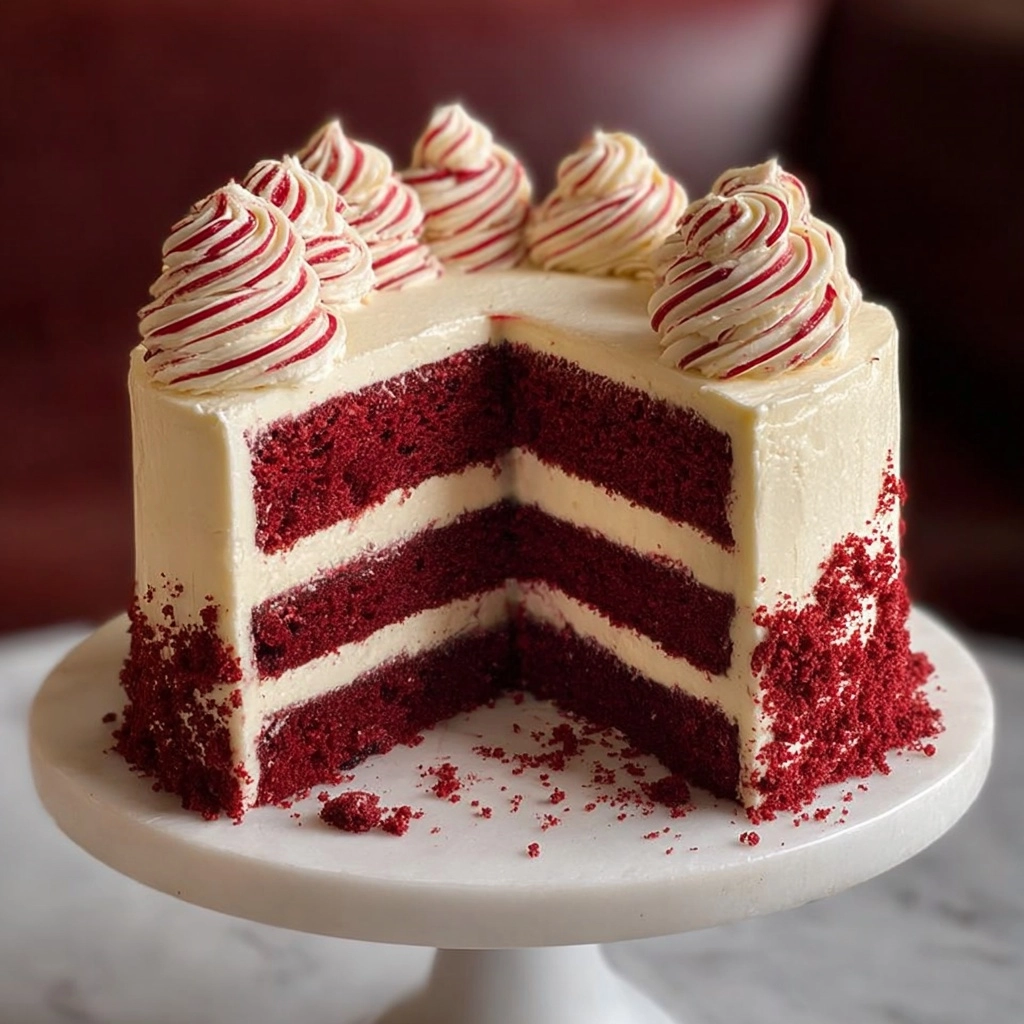
If you’ve ever wanted to delight your friends or family with a magnificent, classic treat, Red Velvet Cake is the show-stopping dessert that never disappoints. Its vibrant color, incredibly tender crumb, and luscious cream cheese frosting ensure each slice feels like something truly special. Whether you’re celebrating a birthday, holiday, or just embracing a sweet craving, this homemade Red Velvet Cake packs the perfect balance of cocoa flavor and luxurious tangy icing—making it irresistible at any time of year.
Ingredients You’ll Need
Gathering the right ingredients will set you up for Red Velvet Cake success! Each one plays a critical role in building flavor, creating that signature color, and achieving the ideal moist, tender texture.
- All-purpose flour: The foundation of the cake that gives it structure and softness.
- Unsweetened cocoa powder: Lends subtle chocolate undertones without overpowering the classic flavor.
- Baking soda: Works as a leavening agent to ensure the cake rises perfectly.
- Salt: Enhances and balances the sweetness, making the chocolate and vanilla sing.
- Granulated sugar: Provides sweetness and helps the cake stay moist.
- Vegetable oil: Keeps the crumb extra tender and light—no dry cake here!
- Eggs: Bind everything together and give the cake richness.
- Buttermilk (at room temperature): Brings signature tang and ensures a delicate, melt-in-your-mouth crumb.
- Red food coloring: The star ingredient for that bold, unmistakable hue—gel or liquid both work well.
- Pure vanilla extract: Adds depth and brings out the best in the chocolate flavors.
- White vinegar: Reacts with baking soda and buttermilk to intensify the cake’s beautiful texture.
- Cream cheese (for frosting, softened): Delivers the luscious, tangy base for the iconic frosting.
- Unsalted butter (for frosting, softened): Enriches the frosting and helps it whip up super creamy and smooth.
- Powdered sugar (for frosting): Adds sweetness and ensures the frosting is fluffy without any grittiness.
- Pure vanilla extract (for frosting): Finishes the frosting with lovely aromatic notes.
How to Make Red Velvet Cake
Step 1: Prepare Your Pans and Preheat
Preheat your oven to 350°F (175°C) and give your two 9-inch round cake pans the VIP treatment by greasing and dusting them with flour. This key step guarantees your finished Red Velvet Cake layers will slide out perfectly, keeping those vivid layers picture-perfect.
Step 2: Whisk Dry Ingredients Together
In a medium bowl, sift together the all-purpose flour, unsweetened cocoa powder, baking soda, and salt. Sifting ensures a light, even crumb and prevents sneaky lumps from going undetected in your batter.
Step 3: Combine Sugar and Oil
Using a large mixing bowl, beat the granulated sugar and vegetable oil until they’re fully combined. This pairing sets the stage for a moist, luscious cake that still feels light when you take a bite.
Step 4: Add Eggs
Add the eggs one at a time, beating well after each addition. These help bind everything and add a gorgeous richness to your Red Velvet Cake batter.
Step 5: Incorporate Buttermilk, Coloring, and Flavorings
It’s time for the magical part—stir in your room-temperature buttermilk, red food coloring, pure vanilla extract, and white vinegar. Mix until the color is even and your batter is perfectly smooth. This step is where the vibrant red hue and that signature velvet crumb start to take shape.
Step 6: Add Dry Ingredients
Gradually fold your dry mixture into the wet ingredients, mixing until just combined. Overmixing can turn your soft crumb dense, so stop as soon as you see no streaks of flour remaining.
Step 7: Bake
Divide the lovely red batter between your prepared pans, smoothing the tops if needed. Bake for 25–30 minutes, or until a toothpick inserted in the center comes out clean. The aroma wafting through your kitchen will be irresistible!
Step 8: Cool the Cakes
Once baked, let your cake layers stand in the pans for about 10 minutes before turning them out onto wire racks. This rest allows the cakes to firm up without overbaking and helps make frosting later a breeze.
Step 9: Make the Cream Cheese Frosting
For the crowning touch, beat your softened cream cheese and butter together until super creamy. Slowly add the powdered sugar, beating until the frosting is fluffy and holds its shape, and toss in the vanilla. You’ll end up with a cloud-like frosting perfect for slathering.
Step 10: Assemble and Frost
Place one cooled cake layer on your serving plate, spread a generous layer of frosting, then add the second cake on top. Finish by blanketing the entire Red Velvet Cake in the remaining frosting for a smooth, iconic finish.
How to Serve Red Velvet Cake

Garnishes
The classic look involves a light sprinkling of cake crumbs or a few fresh berries for a pop of color. If you’re feeling extra festive, a swirl of whipped cream or a handful of white chocolate curls can make your Red Velvet Cake irresistible and picture ready.
Side Dishes
Pair your Red Velvet Cake with a scoop of vanilla ice cream or a dollop of lightly sweetened whipped cream for a truly decadent dessert plate. Fresh strawberries or raspberries on the side also balance out the richness and bring a refreshing bite.
Creative Ways to Present
For a memorable twist, try baking the batter in cupcake tins for Red Velvet Cupcakes or use the cake to create elegant mini trifles layered with cream cheese frosting and chopped berries. A tall stack of petite cake squares arranged on a platter also makes a stunning centerpiece for parties!
Make Ahead and Storage
Storing Leftovers
To keep your Red Velvet Cake moist and luscious, store leftover slices in an airtight container in the refrigerator. The cream cheese frosting will stay fresh and the cake itself will remain tender for several days—if it even lasts that long!
Freezing
Cake layers (frosted or unfrosted) freeze beautifully. Wrap each layer tightly in plastic wrap, then foil, and store in the freezer for up to three months. Thaw overnight in the fridge for best results before serving or frosting.
Reheating
If you love your cake a little warmer, zap slices for 8-10 seconds in the microwave to gently take the chill off. The frosting will soften beautifully, and the cake will taste as if it were just baked.
FAQs
Can I use natural cocoa instead of Dutch-process cocoa?
Absolutely! Natural cocoa powder works great and gives a classic flavor, just make sure it’s unsweetened. Dutch-process cocoa will yield a darker color and slightly different flavor but either option tastes wonderful in Red Velvet Cake.
Is buttermilk essential for Red Velvet Cake?
Buttermilk is part of what makes Red Velvet Cake so tender and gives it its gentle tang. If you don’t have buttermilk, you can make a substitute by adding a tablespoon of white vinegar or lemon juice to a cup of milk and letting it sit for a few minutes.
What’s the best way to get a vibrant red color?
Liquid food coloring is traditional, but gel food colors are more concentrated and give a deeper, richer hue. Either way, make sure to mix the batter until the color is uniform for the most beautiful Red Velvet Cake.
Can I make this recipe as cupcakes?
Yes, you can convert this recipe into cupcakes! Just fill lined muffin tins two-thirds full and bake for about 18-20 minutes, or until a toothpick comes out clean. They’re perfect for sharing or portioning at parties.
Does Red Velvet Cake need to be refrigerated?
Because of the cream cheese frosting, it’s best to store the cake in the refrigerator. Just let slices come to room temperature before serving for the best flavor and texture.
Final Thoughts
If you’re in the mood for a dessert that dazzles in both looks and taste, there’s no better choice than Red Velvet Cake. Try baking it yourself and watch everyone’s eyes light up at the first slice—sharing this cake truly makes any occasion extraordinary!


Your email address will not be published. Required fields are marked *