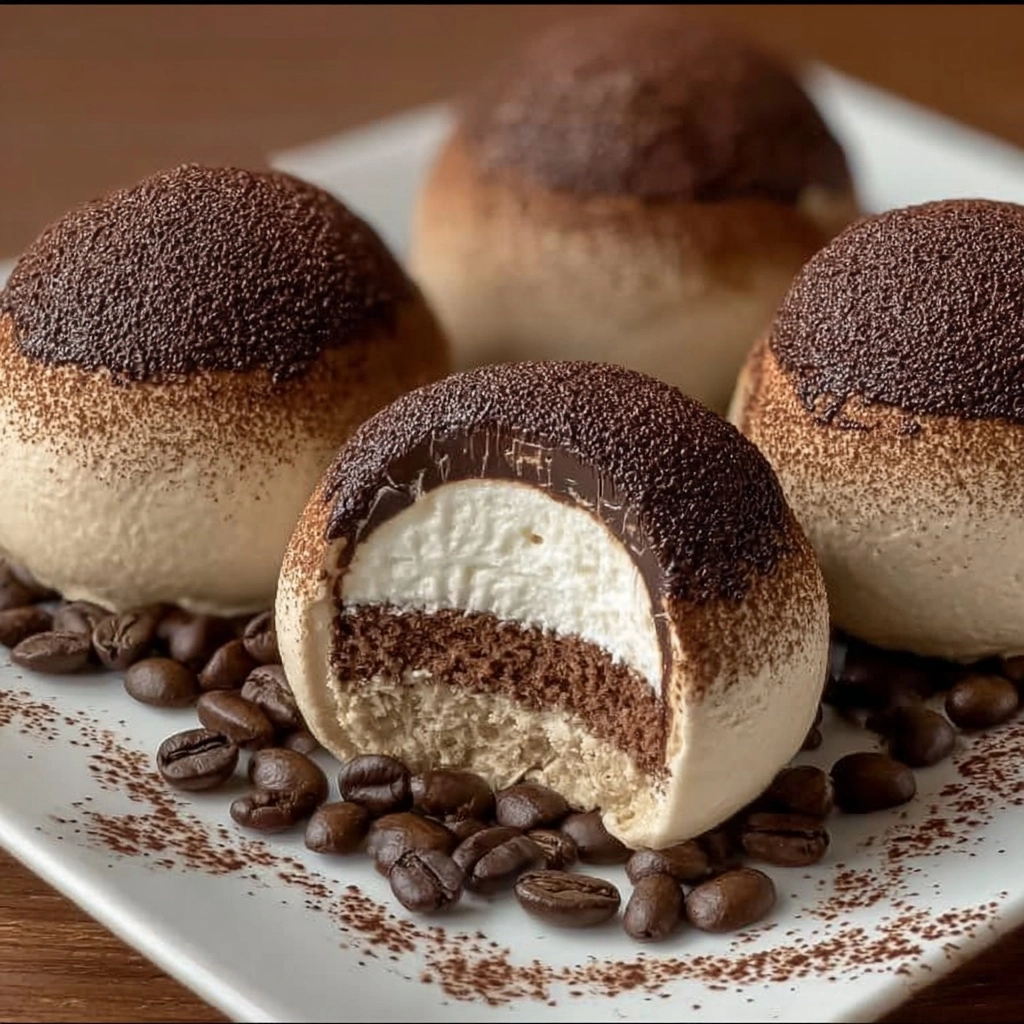
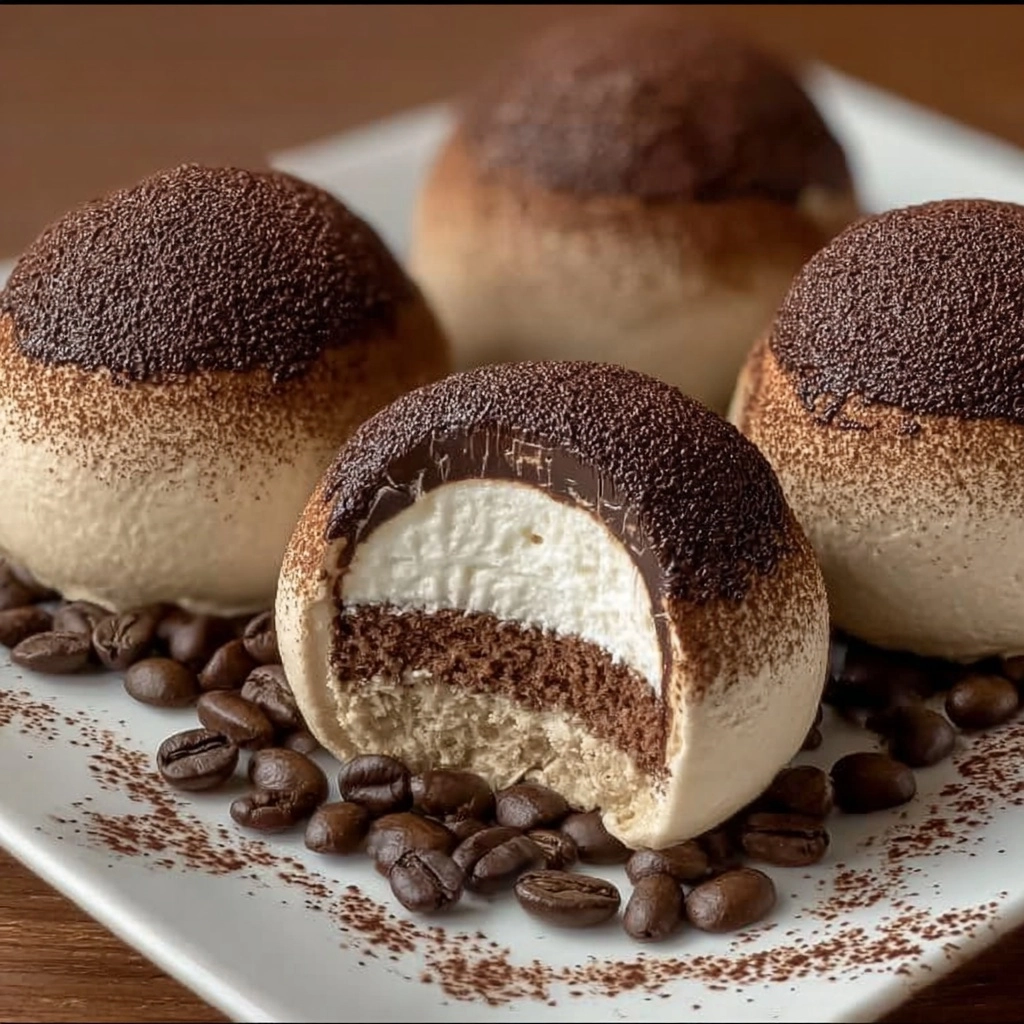
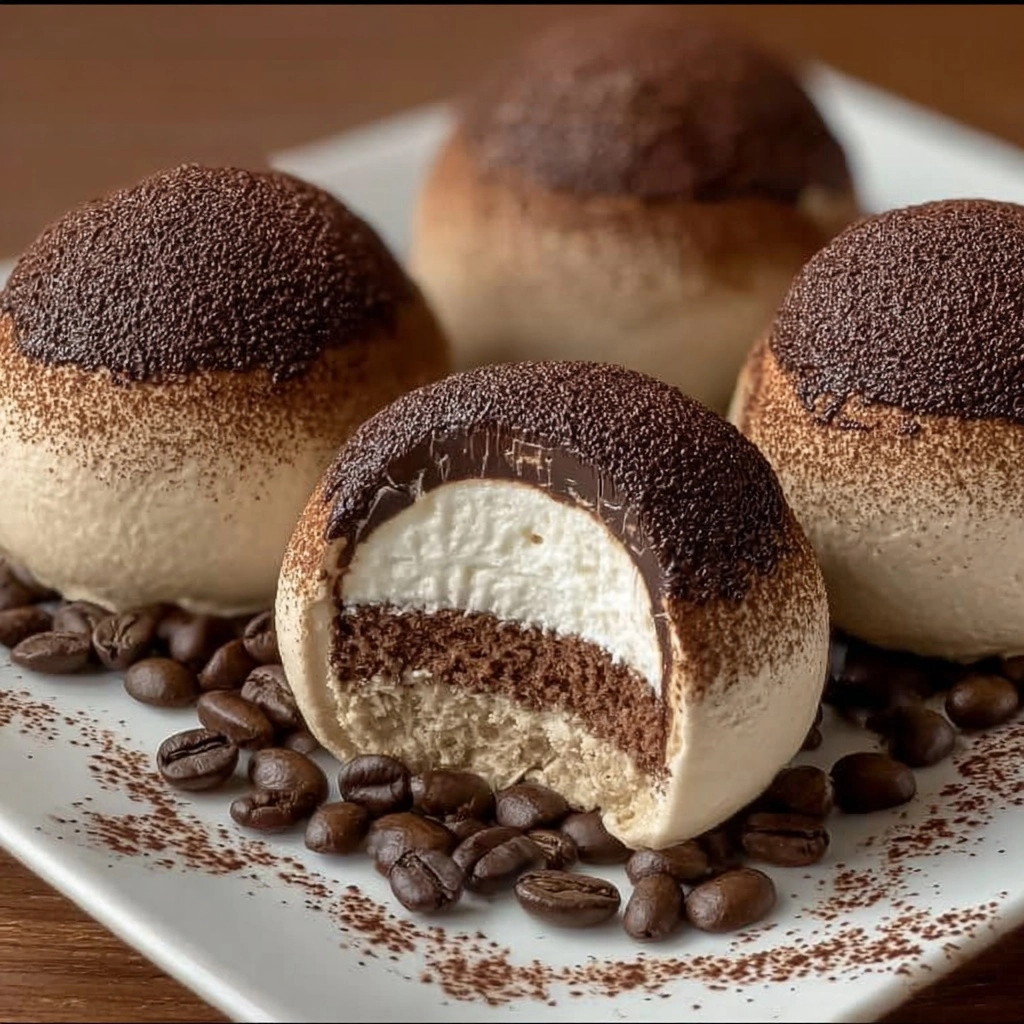
There’s something utterly magical about tiramisu, but this Tiramisu Domes Recipe takes the beloved Italian classic to a whole new level—each portion is a silky, cloud-like dome bursting with rich coffee, creamy mascarpone, and that hint of chocolatey bitterness we all adore. Whether you’re aiming to wow dinner party guests or simply craving a playful riff on a familiar favorite, these domes look like they were made by a pastry chef but are surprisingly easy to create at home. You won’t believe how stunning and impressive dessert can be with just a few simple steps and a little time in the fridge!
Ingredients You’ll Need
You’ll be amazed at how a handful of good-quality ingredients transforms into something this gorgeous and decadent. Each component in the Tiramisu Domes Recipe plays a crucial role: from the creamy richness of mascarpone to the deep intensity of espresso and the delicate crunch of ladyfingers. Here’s exactly what you’ll need, along with some tips to guarantee perfect results.
- Mascarpone Cheese: The star of the filling—make sure it’s fresh and at room temperature for the smoothest cream.
- Heavy Cream: Chilled cream whips up beautifully, giving the domes their signature light and airy texture.
- Sugar: Provides the essential sweetness, balancing out the coffee and cheese flavors.
- Egg Yolks: For a dreamy, custardy richness—if possible, use pasteurized yolks for extra safety.
- Vanilla Extract: Just a hint adds warmth and rounds out every bite.
- Strong Espresso or Coffee: Use your favorite brew—make it strong and let it cool fully to avoid soggy biscuits.
- Ladyfinger Biscuits (Savoiardi): Classic and essential, these become divinely soft after their quick coffee bath.
- Unsweetened Cocoa Powder: For the perfect finishing dusting; choose a high-quality variety for deep chocolate flavor.
- Coffee Beans or Chocolate Shavings (optional): For next-level garnish that adds beauty and a touch of crunch.
How to Make Tiramisu Domes Recipe
Step 1: Prepare the Cream Filling
Let’s start with the soul of every tiramisu—the luscious cream. Whisk your egg yolks together with the sugar until they become light and pale, almost fluffy in texture. This helps create that distinct custardy sweetness. Next, blend in the mascarpone and vanilla extract smoothly, ensuring there are no lumps hiding in the mixture. In a separate bowl, whip the chilled heavy cream until soft peaks form (think dreamy and cloud-like, not stiff). Gently fold the cream into the mascarpone mixture, working in batches so the filling turns out pillowy and light. This careful folding is what gives the Tiramisu Domes Recipe its ethereal, mousse-like bite.
Step 2: Coffee-Soaked Biscuits
This is where the magic of traditional tiramisu comes in! Dissolve a tablespoon of sugar into your strong, cooled espresso or coffee. Quickly dip each ladyfinger biscuit—no more than a second or two per side—to avoid them falling apart. Next, slice them into small, neat rounds that will nest perfectly inside your silicone dome molds. The biscuits should be moist but not soggy, capturing all the flavor without losing their gentle texture.
Step 3: Assemble the Domes
Time for some culinary architecture! Spoon a generous amount of the creamy filling into each half-sphere silicone mold, spreading it up the sides with the back of a spoon (this forms the smooth dome exterior). Gently press a coffee-soaked biscuit piece into the center of each mold, then add more filling to cover and seal it in completely. Smooth the surface with an offset spatula or the back of a spoon. Now, patience is your friend—refrigerate or freeze the domes for 4 to 5 hours, or overnight for best results. This allows the flavors to mingle and the domes to firm up enough for perfect unmolding.
Step 4: The Finishing Touch
When you’re ready to present your dessert, gently pop each dome out of its mold—don’t rush this step! Place the domes on your serving plates, then sift unsweetened cocoa powder liberally over the top for that signature tiramisu finish. If you’re feeling fancy, add a couple of coffee beans or a sprinkle of chocolate shavings on top. There you have it: an irresistible, show-stopping Tiramisu Domes Recipe ready to steal the spotlight!
How to Serve Tiramisu Domes Recipe

Garnishes
A flourish of cocoa powder is non-negotiable for the Tiramisu Domes Recipe—a generous dusting instantly transforms each dome into a patisserie-worthy centerpiece. For a little extra aplomb, scatter a few whole coffee beans or a modest drift of dark chocolate shavings on top. Not only do these add a touch of elegance, but they also hint at the flavors hidden inside each bite.
Side Dishes
While these domes are dazzling on their own, they pair beautifully with a shot of espresso or a càffè latte to echo those deep coffee notes. If you’d like to serve something alongside, fresh raspberries or a simple berry compote offer a vibrant, tangy balance to the creamy richness of the Tiramisu Domes Recipe. A crisp biscotti or almond cookie on the plate can add just the right touch of crunch and contrast.
Creative Ways to Present
There are so many fun ways to plate these domes for maximum impact! For a party, nestle each dome on a swirl of chocolate sauce and scatter a few edible flowers around the plate. Want a more rustic vibe? Place domes on little espresso saucers and tuck a tiny spoon of whipped cream beside them. Individual dessert glasses layered with the domes, more cream, and a sprinkle of cocoa make for a glassy, modern twist on the Tiramisu Domes Recipe.
Make Ahead and Storage
Storing Leftovers
If you find yourself with extra domes (lucky you!), store them in an airtight container in the fridge. They’ll keep beautifully for up to three days, and the flavors may even deepen, making the next-day experience uniquely delicious. Just make sure they’re well covered to prevent them from drying out or picking up fridge odors.
Freezing
The Tiramisu Domes Recipe is a great candidate for freezing, especially if you want to get ahead for a future celebration. Wrap each unmolded dome tightly with plastic wrap or parchment, then place them in a freezer-safe container. They’ll keep their quality and taste for up to a month. Just be sure to freeze before dusting with cocoa and adding any garnishes.
Reheating
There’s no need to reheat these—you actually want them chilled! If frozen, simply transfer the domes to the fridge and let them thaw gently for several hours or overnight. Dust with cocoa and finish garnishing right before serving for optimal freshness and the prettiest presentation.
FAQs
Can I make the Tiramisu Domes Recipe without eggs?
Absolutely! You can substitute the egg yolks with just a bit more whipped cream or even a tablespoon of sweetened condensed milk for added richness. The result will still be velvety and luxurious, though slightly less traditional.
Is it possible to make these domes without a silicone mold?
Yes, while the dome shape is charming, you can assemble the Tiramisu Domes Recipe in small bowls, ramekins, or even clear glasses. Just layer the cream and coffee-soaked biscuits as described, and you’ll end up with the same lovely contrast of flavors and textures.
Can I use instant coffee instead of espresso?
Definitely! Dissolve a tablespoon of high-quality instant coffee in 100 ml of hot water for a strong, aromatic base. Let it cool completely before dipping your ladyfingers to ensure they soak up the coffee perfectly without getting overly mushy.
Are these domes kid-friendly?
If you’re serving to little ones, use decaf coffee for the dipping liquid, and skip the coffee bean garnish. The Tiramisu Domes Recipe is otherwise gentle and sweet, making it a fun and impressive dessert for all ages.
How far in advance can I prepare the Tiramisu Domes Recipe?
These domes are ideal for advance prep! Assemble them up to two days ahead and keep refrigerated until you’re ready to serve. That way, you have more time to enjoy your company and a stress-free dessert moment.
Final Thoughts
If you’re looking to bring a bit of café elegance to your own kitchen, give this Tiramisu Domes Recipe a try. It’s playful, beautiful, and incredibly rewarding to make—and even more delightful to eat. Whip up a batch, share with friends, or savor one all by yourself (no judgment here!). Happy dessert making!


Your email address will not be published. Required fields are marked *