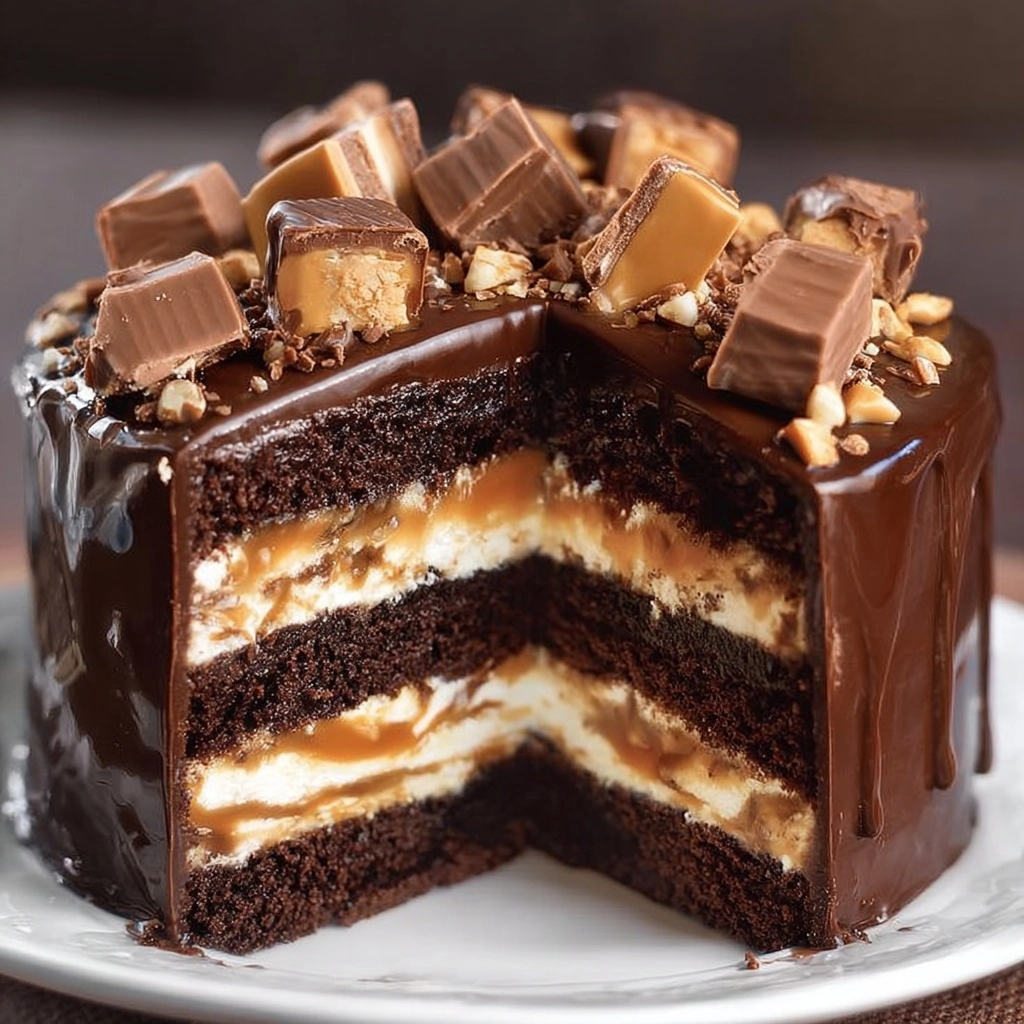
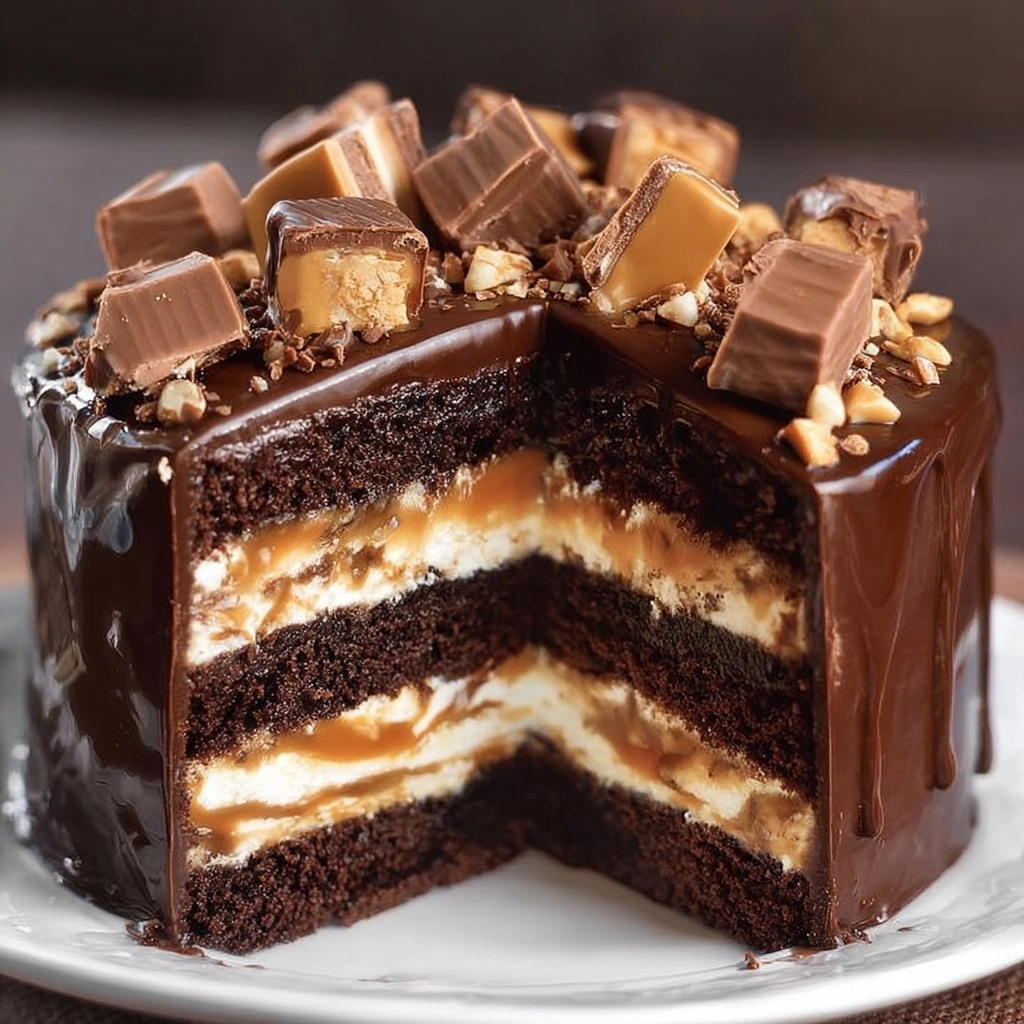
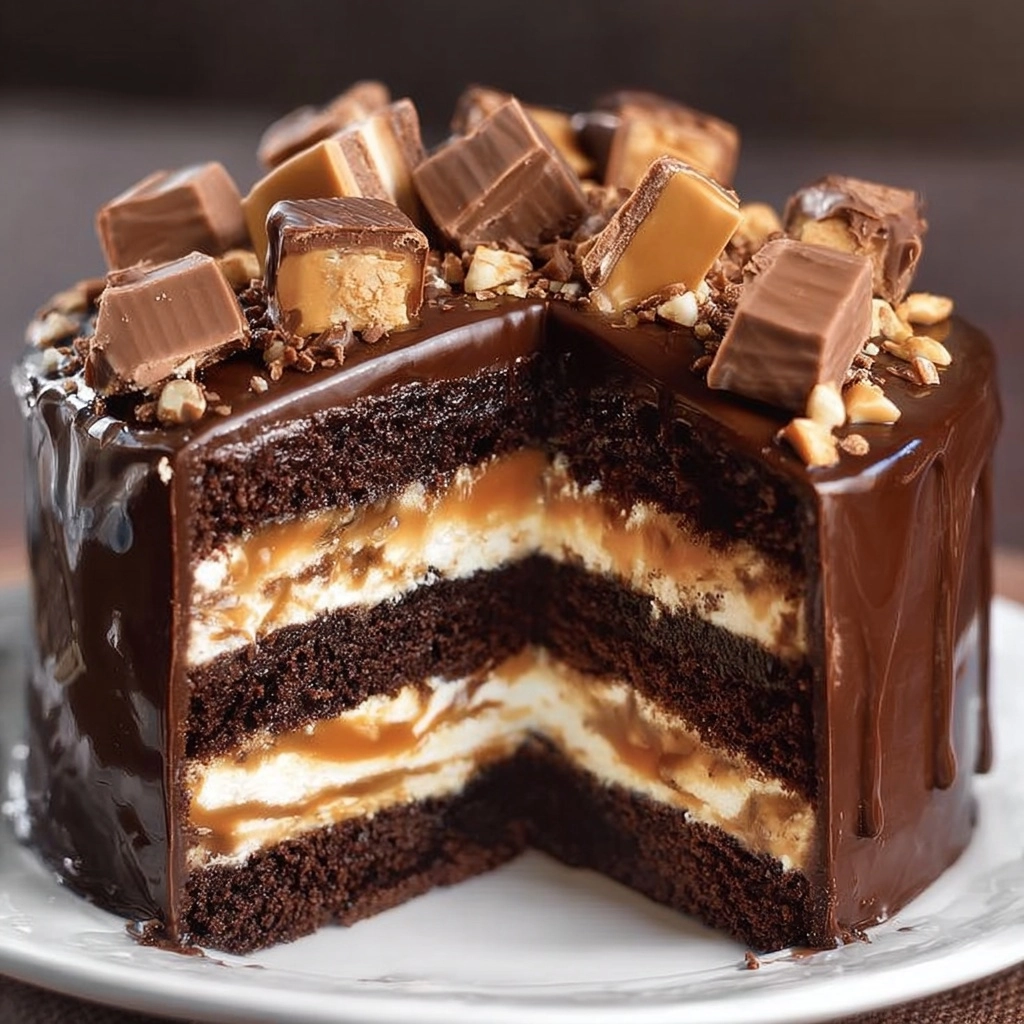
If you’re searching for a real show-stopper, something utterly decadent and guaranteed to impress, then this Chocolate Snickers Cake** deserves a permanent spot in your baking repertoire. Imagine rich, ultra-moist chocolate cake layered with a luscious peanut caramel filling and finished with a smooth, glossy ganache drip—all topped with a tumble of chopped Snickers bars and peanuts. This cake is pure candy bar bliss in dessert form, perfect for birthdays, celebrations, or simply indulging your inner chocoholic.
Ingredients You’ll Need
The beauty of this recipe is how a few classic ingredients—when combined just right—transform into a cake with bold chocolate notes, salty-sweet caramel layers, and unmistakable peanutty crunch. Picking quality ingredients and following a few key tips makes all the difference!
- All-purpose flour: This is the base of your cake, giving it structure and holding all that rich goodness together.
- Granulated sugar: Sweetens both the cake and the filling, balancing the intensity of the cocoa and the nutty flavors.
- Unsweetened cocoa powder: Go for a good quality cocoa—this is where your cake gets its deep, chocolatey soul.
- Baking soda & baking powder: These provide the lift, ensuring your cake layers are tender and fluffy.
- Salt: Just a hint wakes up all the other flavors and keeps the sweetness in check.
- Buttermilk (room temperature): Adds richness and a bit of tang, shifting the cake’s texture into the “melt-in-your-mouth” zone.
- Hot brewed coffee: Intensifies the chocolate flavor—don’t worry, the cake won’t taste like coffee, just more like chocolate!
- Vegetable oil: Keeps everything ultra-moist, even after a day or two.
- Large eggs (room temperature): Bind the ingredients and provide structure for those lofty cake layers.
- Vanilla extract: Brings a cozy warmth that ties all the flavors together.
- Creamy peanut butter: The heart of that irresistible peanut caramel filling—choose a high-quality, creamy variety.
- Light corn syrup: Gives your caramel its glossy stickiness and keeps things smooth.
- Heavy cream: Used in both the filling and the ganache for lush, velvety texture.
- Unsalted butter: Ensures your peanut caramel is beautifully rich without excess saltiness.
- Powdered sugar: Sweetens and thickens the filling to perfection.
- Chopped roasted peanuts: These add that unmistakable Snickers-style crunch (don’t skip them!).
- Semi-sweet chocolate (chopped): Melts into a glossy ganache, balancing sweetness with a touch of intensity.
- Chopped Snickers bars or similar candies: The ultimate finishing touch for anyone who loves the classic candy bar vibe.
How to Make Chocolate Snickers Cake**
Step 1: Bake the Chocolate Cake Layers
Preheat your oven to 350°F (175°C), and be sure to grease and flour two 9-inch round cake pans—this makes releasing the cake a total breeze. In one bowl, whisk those dry ingredients until evenly combined. In another bowl, whip up the wet ingredients with the hot coffee (it amplifies the chocolate magic). Blend everything together until you have a smooth, pourable batter. Divide it between your pans and bake for 30-35 minutes, until a toothpick poked in the center comes out clean. Let your cakes cool completely—this is crucial for perfect layering later!
Step 2: Prepare the Peanut Caramel Filling
Grab a saucepan and combine granulated sugar, corn syrup, and heavy cream, then bring it to a gentle boil. Let this luscious mixture bubble for about 5 minutes, stirring occasionally. Take off the heat and let it cool. Meanwhile, cream together softened butter and creamy peanut butter until ultra-smooth, then slowly add the powdered sugar. Fold in your cooled caramel, then stir in the chopped peanuts. The result is an addictive filling you’ll want to eat straight from the bowl!
Step 3: Make the Chocolate Ganache
Place your chopped semi-sweet chocolate in a heatproof bowl. Warm the heavy cream until it just barely simmers, then pour it over the chocolate. Let it sit for 5 minutes (resist the urge to stir right away—it ensures maximum glossiness). Then whisk until shiny and smooth. This glorious ganache will crown your Chocolate Snickers Cake** with the kind of finish that rivals any patisserie.
Step 4: Slice and Layer the Cake
Once your cakes are fully cool, carefully slice each in half horizontally so you end up with four even layers. Place your first layer on a serving platter, spread on a generous amount of peanut caramel filling, and continue stacking until you’ve used all the layers and filling. This sky-high cake is a true centerpiece, thanks to its decadent tiers.
Step 5: Ganache Drip and Decoration
Spoon (or gently pour) the ganache over the top of your assembled cake, encouraging it to drip dramatically down the sides. While the ganache is still slightly soft, scatter chopped Snickers bars and perhaps some extra roasted peanuts right on top. The finishing touch signals to everyone that this isn’t just any cake—it’s the ultimate Chocolate Snickers Cake** experience.
How to Serve Chocolate Snickers Cake**

Garnishes
For that extra flourish, a generous scattering of chopped Snickers bars on top is non-negotiable! You can also add a sprinkle of flaky sea salt or a handful of roasted peanuts. If you’re feeling fancy, piping a few dollops of whipped cream around the edge looks beautiful and adds a lovely light touch to each slice.
Side Dishes
Because Chocolate Snickers Cake** is bold and rich, serve it with something refreshing on the side—think vanilla bean ice cream or a scoop of tangy Greek yogurt. Even just fresh strawberries or raspberries make a sweet-tart counterpart that balances out all that chocolatey, peanutty richness.
Creative Ways to Present
For parties, try slicing the cake into smaller squares rather than wedges for a finger-food approach. Want to really wow guests? Serve each slice atop a smear of caramel sauce on the plate or offer extra ganache on the side for drizzling. Cupcake-size versions (mini layer cakes) are also show-stopping for individual treats!
Make Ahead and Storage
Storing Leftovers
This cake keeps like a dream! Simply cover leftover slices tightly in plastic wrap or place them in an airtight container. Store in the refrigerator for up to 5 days—the rich flavors only deepen with time, making the last bites as satisfying as the first.
Freezing
If you want to savor Chocolate Snickers Cake** over a longer period, freeze individual slices (well-wrapped to prevent freezer burn). When ready to enjoy, let them thaw in the fridge overnight. This works well for unexpected cravings or prepping in advance for special occasions!
Reheating
You won’t need to actually reheat this cake, but if you want a slightly softer ganache and gooier filling, just let your slice sit at room temperature for 20-30 minutes before serving. If you must, a very quick 8-10 second spin in the microwave will take the chill off.
FAQs
Can I make this cake in advance?
Absolutely! You can bake the cake layers and make the peanut caramel filling up to two days in advance. Assemble and ganache the day of serving for the freshest taste and showiest presentation.
Can I use store-bought caramel instead of making my own?
Yes, in a pinch, a good-quality store-bought caramel sauce will work for the peanut filling. Just beat it into the peanut butter and butter mixture for a similar effect—though homemade caramel is definitely a flavor upgrade!
What’s the best way to cut such a tall cake?
Use a long, sharp serrated knife, and wipe it clean between slices. For extra neat pieces, chill the cake for 20-30 minutes before slicing, which firms up the filling and ganache.
Can I use milk chocolate for the ganache?
Definitely, if you prefer a sweeter, creamier finish for your Chocolate Snickers Cake**. Semi-sweet or dark chocolate keeps things balanced, but milk chocolate will give a classic, childhood candy bar vibe!
Can this recipe be made gluten-free?
Yes, swap the all-purpose flour for your favorite gluten-free baking blend (just make sure it’s a 1-to-1 substitute). The rest of the ingredients are naturally gluten-free—so everyone can enjoy!
Final Thoughts
This Chocolate Snickers Cake** isn’t just a dessert—it’s an invitation to celebrate and revel in every chocolatey, nutty, caramel-drizzled bite. I hope you’ll give it a try, share it with your favorite people, and watch it disappear slice by slice. If you bake it, let yourself enjoy every layer—you absolutely deserve it!


Your email address will not be published. Required fields are marked *