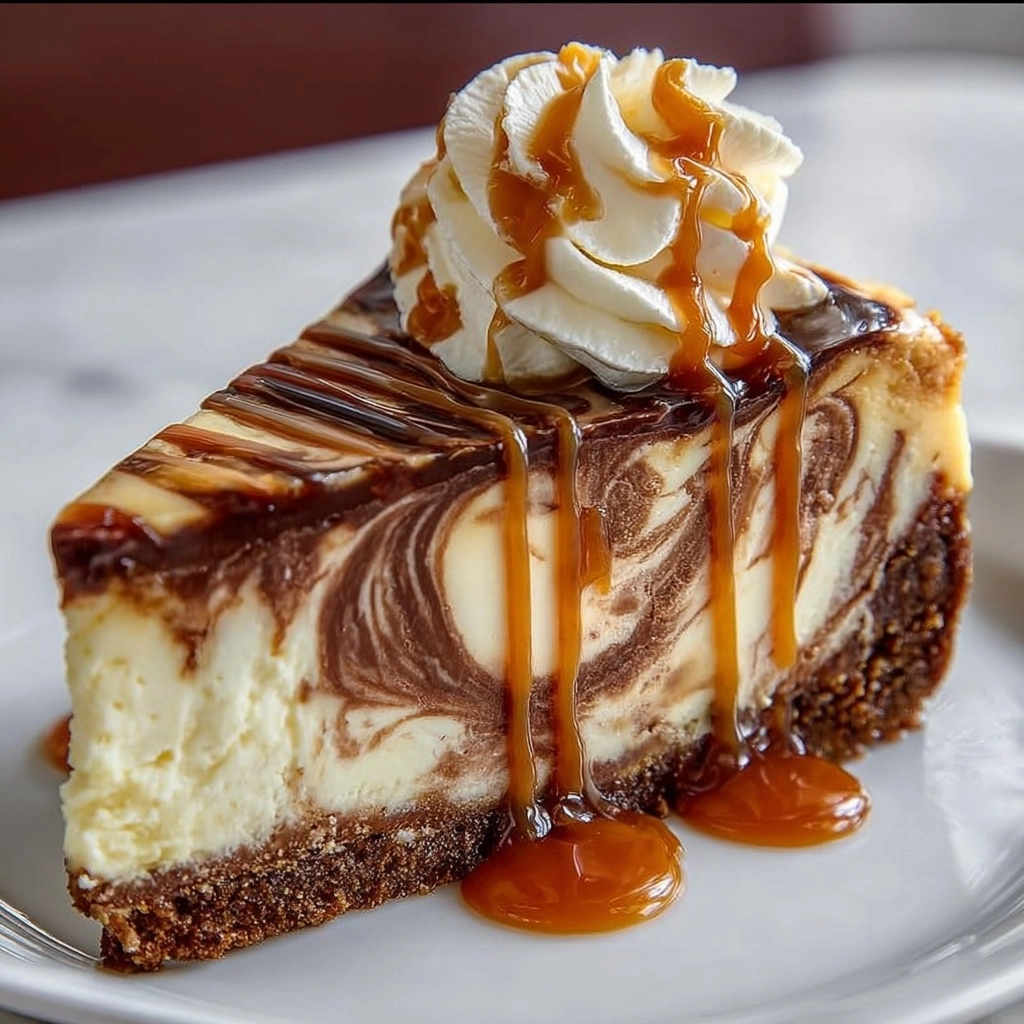
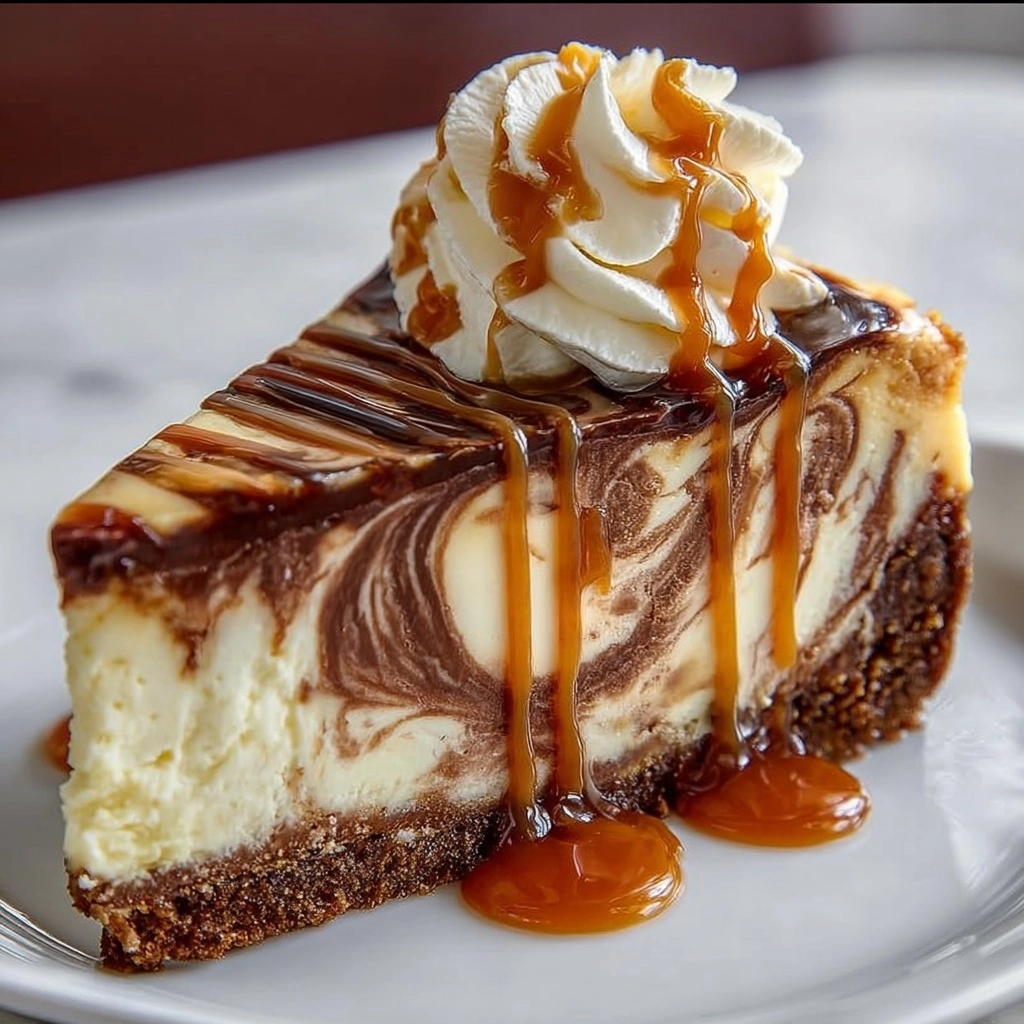
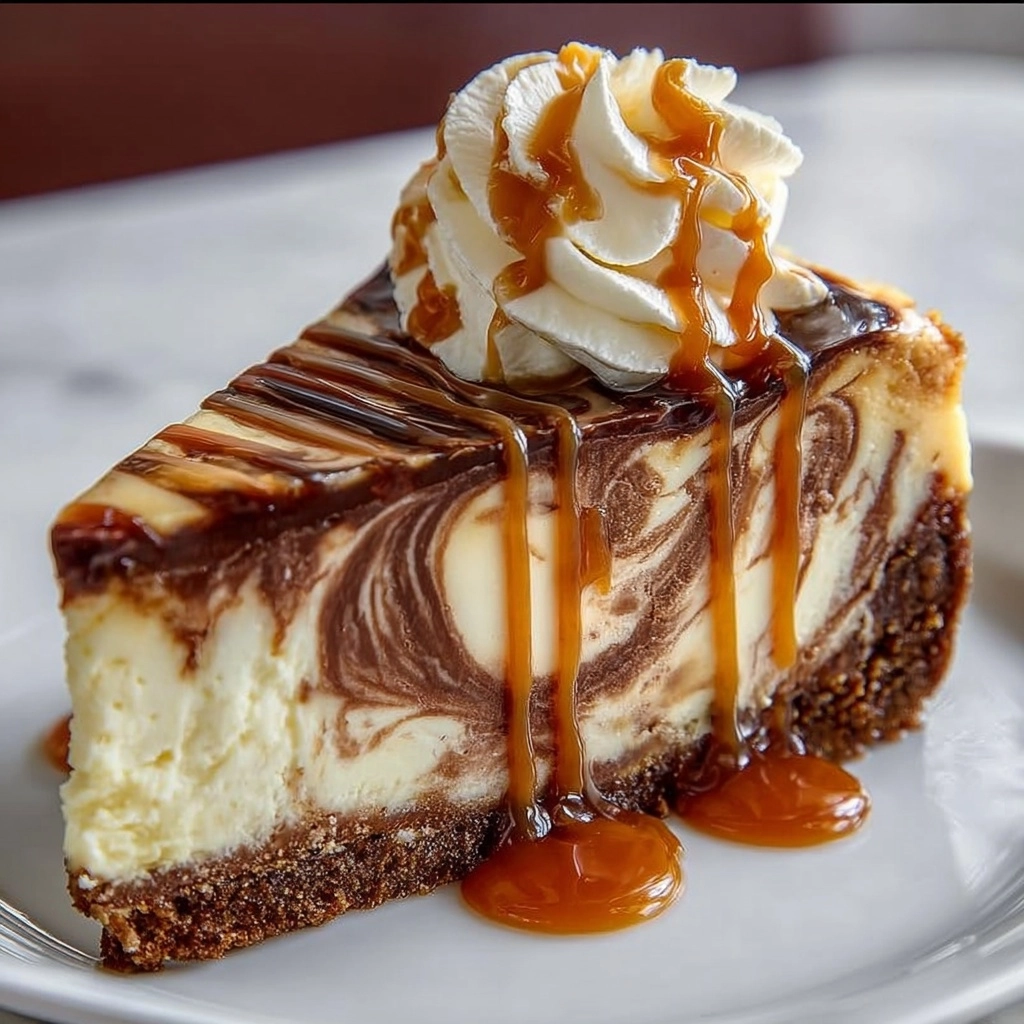
If you’re a fan of dreamy desserts that satisfy both your sweet tooth and your coffee cravings, this Creamy Coffee Cheesecake is guaranteed to become your new obsession. The classic allure of cheesecake gets an irresistibly modern twist with layers of rich espresso, velvety chocolate ganache, and a salted caramel drizzle — all resting on a crunchy Oreo crust! Whether you’re serving it at a special gathering or just celebrating a cozy night in, this crowd-pleaser blends café sophistication with pure, indulgent comfort.
Ingredients You’ll Need
The ingredient list for Creamy Coffee Cheesecake is refreshingly uncomplicated, yet every element plays a crucial role in building its luscious texture and complex flavors. Here’s a breakdown of what you’ll need, along with why each item is truly essential for that wow factor.
- Oreo cookie crumbs: Offer a deep chocolatey base that contrasts beautifully with the creamy filling.
- Unsalted butter (for crust): Binds the crumbs and adds a rich, toasty flavor to the crust layer.
- Cream cheese: The backbone of every cheesecake, lending a smooth and luxurious tang.
- Granulated sugar (for filling & caramel): Sweetens both the cheesecake and the homemade caramel for perfect balance.
- Sour cream: Adds lightness and gives the cheesecake its unforgettable creamy texture.
- Instant espresso powder or coffee granules: Invites a bold yet subtle coffee note, elevating the flavor profile.
- Vanilla extract: Rounds out the flavor and brings gentle warmth to each bite.
- Large eggs: Bind everything together and give structure to the filling.
- Heavy cream (for ganache, caramel, and whipping): Brings silky richness to every topping and makes for cloud-like whipped cream.
- Semi-sweet chocolate (for ganache): Melts into a luscious topping, offering a bittersweet balance to the creamy filling.
- Unsalted butter (for caramel): Provides a luscious, buttery finish to your salted caramel drizzle.
- Salt: Enhances the caramel, creating that addictive sweet-salty magic.
- Whipped cream: Fluffy, light, and perfect for piping, it adds a captivating final touch.
- Chocolate shavings: For a show-stopping garnish that ensures every slice looks as good as it tastes.
How to Make Creamy Coffee Cheesecake
Step 1: Prepare the Oreo Crust
Start by preheating your oven to 325°F (160°C). In a medium bowl, mix together your Oreo cookie crumbs and melted butter until they resemble wet sand. Firmly press the mixture into the bottom and slightly up the sides of a 9-inch springform pan to create a uniform crust. Bake for 10 minutes, then set aside to cool. This base is your ticket to a perfect creamy-to-crunchy ratio in every forkful!
Step 2: Whip Up the Coffee Cheesecake Filling
In a large bowl, use a stand or hand mixer to whip the softened cream cheese until smooth and fluffy. Next, blend in the granulated sugar, sour cream, espresso powder, and vanilla extract until everything looks silky. Gently mix in the eggs one at a time, keeping your mixer on low speed to avoid overbeating. This careful attention yields that signature Creamy Coffee Cheesecake texture — light, smooth, and never dense.
Step 3: Swirl and Fill
Pour that luscious filling into your cooled Oreo crust. For a gorgeous marble effect, take a small amount of the prepared chocolate ganache and drizzle it over the batter. Use a knife or skewer to swirl the ganache through the batter for beautiful chocolate ribbons. It doesn’t just look stunning; every bite gets an extra chocolatey surprise!
Step 4: Bake Your Masterpiece
Slide the pan into the oven and bake for 55–65 minutes. The edges should look set and lightly golden while the center should still have a slight jiggle. When ready, turn off the oven, crack the door open, and let the cake cool slowly for an hour. This slow cooling minimizes cracks and keeps your Creamy Coffee Cheesecake perfectly smooth. Allow it to finish cooling on the counter before chilling in the fridge for at least 4 hours (overnight is best for flavor and texture).
Step 5: Prepare the Chocolate Ganache
Chop the chocolate and place it in a heatproof bowl. Heat the heavy cream until it just starts to simmer and pour it over the chocolate. Let it sit for 5 minutes, then whisk until you have a shiny, velvety ganache. This simple step transforms your cheesecake into a true showstopper with decadent, glossy chocolate topping.
Step 6: Make the Salted Caramel Sauce
In a small saucepan, mix granulated sugar and water and cook over medium-high heat without stirring. Watch as the mixture melts and develops a deep amber shade (this takes a few minutes, be patient!). Once perfect, pull it off the heat and cautiously whisk in heavy cream and butter — it will bubble, so don’t be alarmed. Stir in the salt for that signature sweet-salty punch. Once cooled slightly, the sauce will be pourable and ready to dazzle your Creamy Coffee Cheesecake.
Step 7: Decorate Like a Pro
Once the cheesecake is completely chilled, get creative! Pipe billowy whipped cream rosettes, drizzle generous ribbons of chocolate ganache and salted caramel, then scatter chocolate shavings across the top. This final flourish makes your dessert party-ready and utterly irresistible.
How to Serve Creamy Coffee Cheesecake

Garnishes
When it comes to garnishing Creamy Coffee Cheesecake, a little bit of flair goes a long way. Freshly piped whipped cream swirls around the edges, glossy chocolate ganache, caramel drizzles, and a generous shower of chocolate shavings make each slice a feast for the eyes. Even a pinch of flaky sea salt on top can boost the caramel notes and make your cake extra memorable.
Side Dishes
This dessert stands tall on its own, but a cup of strong espresso, iced coffee, or even a splash of Irish cream on the side turns each bite into a true treat. For something lighter, serve with a bowl of juicy mixed berries or citrus segments — their tartness balances the rich, sweet flavors beautifully.
Creative Ways to Present
If you want to dazzle a crowd, consider slicing your Creamy Coffee Cheesecake into mini wedges and arranging them on a chic platter. Alternatively, use a ring mold for individual cheesecake rounds, or scatter edible gold leaf for a luxe effect. Little jars or glasses layered with all the components also make darling single-serve versions, perfect for parties or gifting.
Make Ahead and Storage
Storing Leftovers
Leftover Creamy Coffee Cheesecake keeps like a dream! Simply cover the pan tightly with plastic wrap or transfer slices to an airtight container and refrigerate. The flavors actually deepen overnight, so a day-old slice is just as glorious (if not more so) than the first taste.
Freezing
This cheesecake freezes surprisingly well. Wrap uncut cheesecake (or individual slices) tightly in plastic wrap and then a layer of foil for best results. It can stay frozen for up to 2 months. To serve, thaw overnight in the refrigerator and finish with fresh whipped cream and garnishes just before enjoying.
Reheating
While this cheesecake is meant to be served chilled, if you fancy a slightly softer texture, let your slice sit at room temperature for 15–20 minutes before serving. Avoid microwaving, as this risks melting the toppings and altering that signature creamy texture.
FAQs
Can I use real brewed coffee instead of instant espresso powder?
For the most intense and undiluted coffee flavor, instant espresso or coffee granules are best — brewed coffee will introduce too much liquid and can change the consistency of your Creamy Coffee Cheesecake. Stick with instant for the boldest, richest taste!
Can I make Creamy Coffee Cheesecake gluten free?
Absolutely! Simply use gluten-free chocolate sandwich cookies instead of classic Oreos for the crust. Check your instant coffee and other ingredients for gluten if you’re sensitive, but otherwise, you’ll get the same dreamy cheesecake experience.
How do I prevent cracks in my cheesecake?
The trick is to avoid overbeating the batter, bake at a gentle temperature, and let your Creamy Coffee Cheesecake cool slowly (first in the oven and then at room temp). The slow cooling, in particular, helps those pesky cracks stay away!
Can I make this recipe without a springform pan?
While a springform pan makes for the cleanest presentation and simplest serving, you can use a regular 9-inch cake pan lined with parchment paper for easier removal — just handle carefully when unmolding.
What’s the best way to drizzle caramel and ganache on top?
For those beautiful ribbons, use a spoon or a squeeze bottle and move in a zig-zag or spiral pattern over the chilled cheesecake. If you want to create dramatic swirls, use a toothpick or thin knife to gently swirl the two toppings together across the surface.
Final Thoughts
Give yourself the joy of creating (and tasting) this Creamy Coffee Cheesecake — it’s the kind of dessert that feels both elegant and comforting, perfect for celebrations or just celebrating yourself. I can’t wait for you to wow your friends and family with every decadent, coffee-kissed bite!


Your email address will not be published. Required fields are marked *