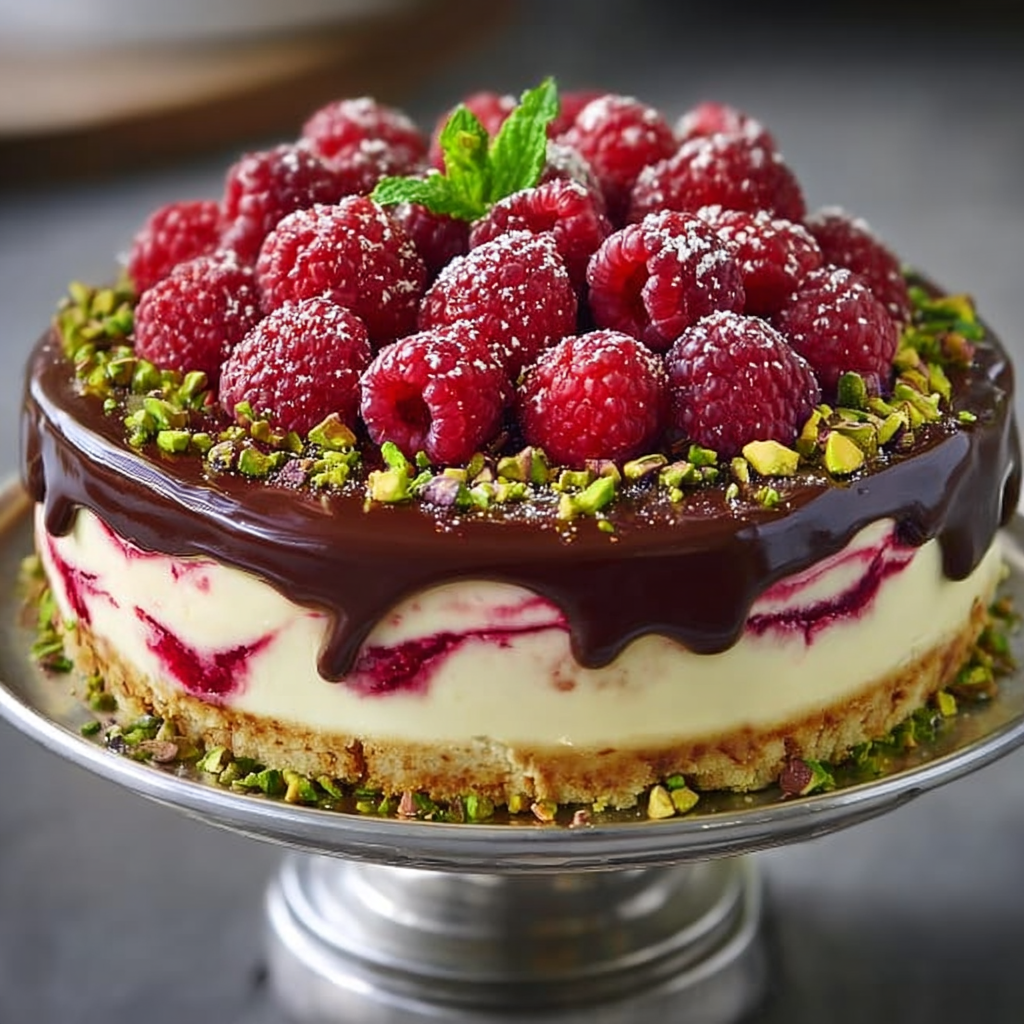
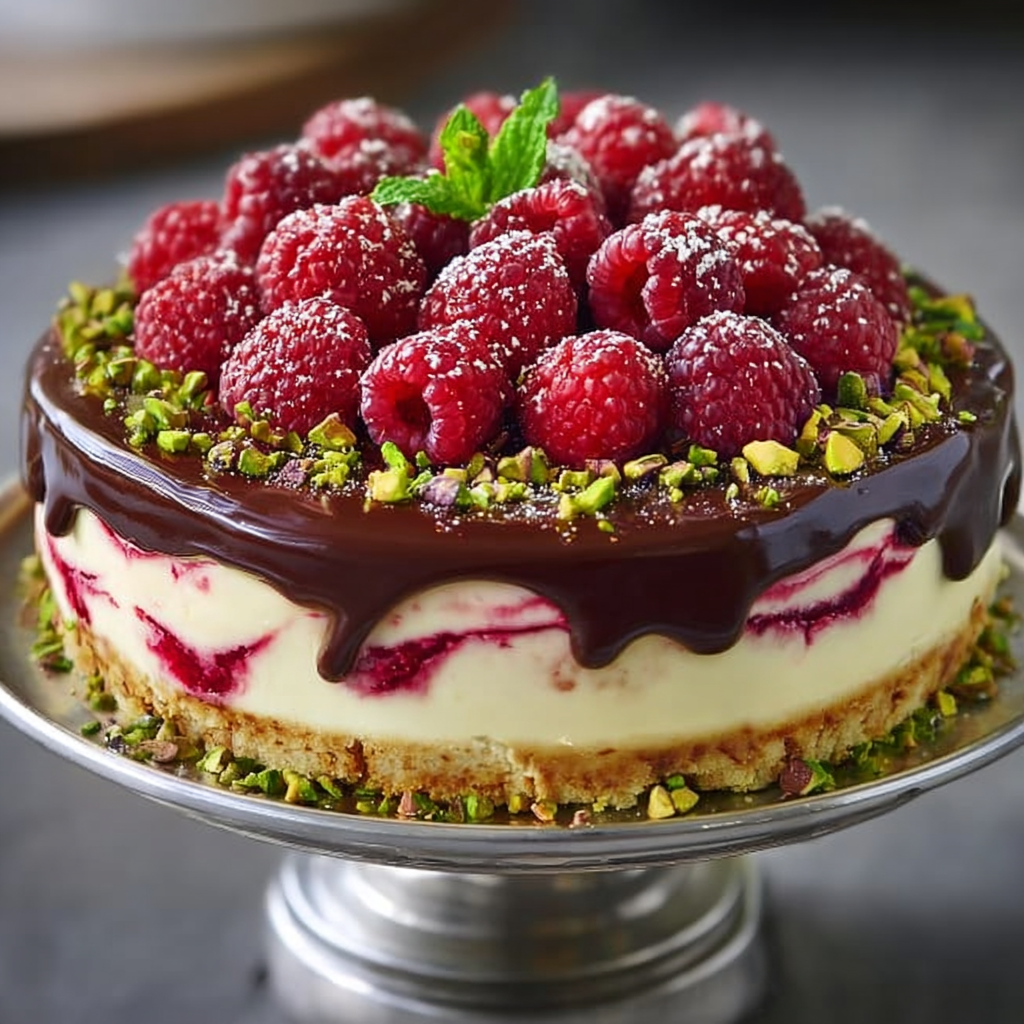
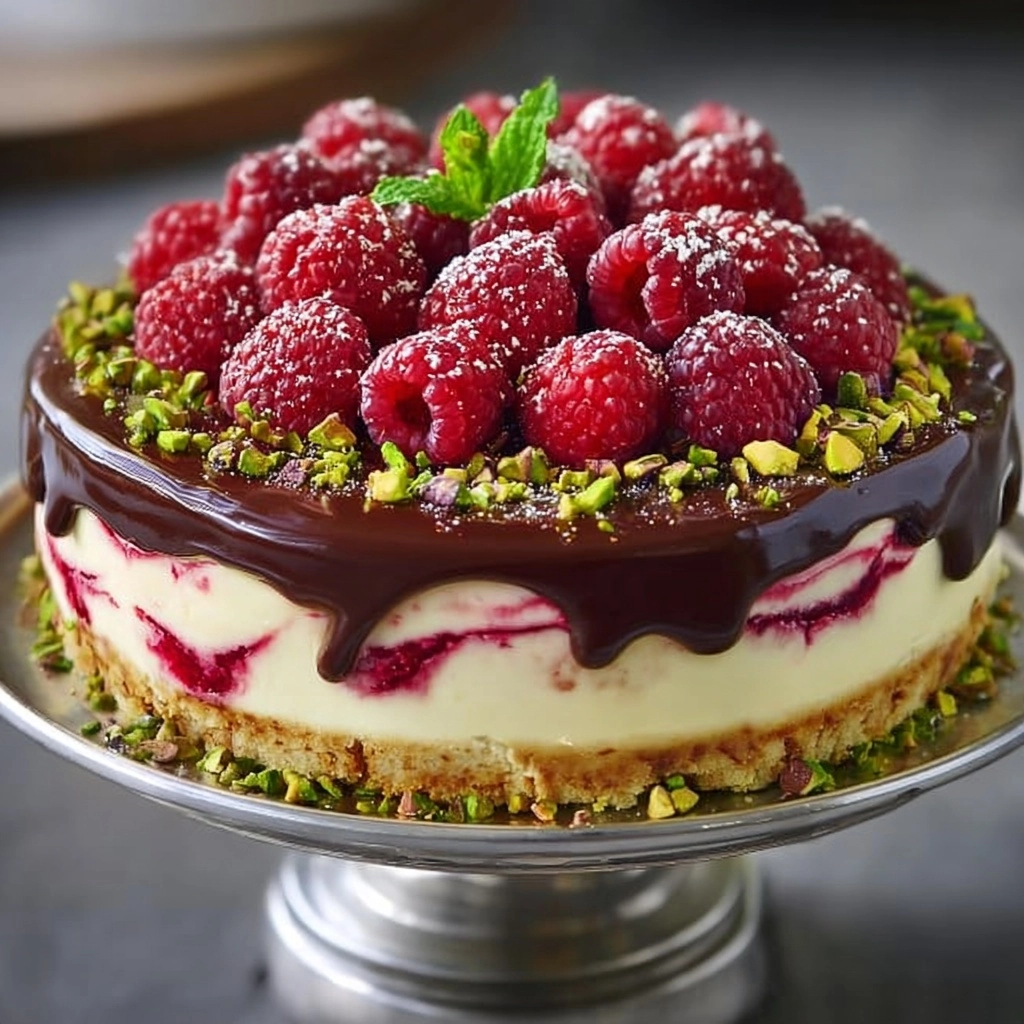
If you’re searching for a show-stopping dessert that blends rich, creamy decadence with vibrant pops of fruit and nutty intrigue, let me introduce you to the Elegant Pistachio Raspberry Crunch Cheesecake. This swoon-worthy treat layers a pistachio-packed crust with tangy raspberry swirls and a creamy pistachio filling, then crowns it all with a buttery, crisp pistachio-oat topping. Each slice looks incredibly elegant, but more importantly, every bite delivers a symphony of flavors and textures that’ll make this the star of any gathering. Trust me, your dessert table has never looked — or tasted — quite this good.
Ingredients You’ll Need
Don’t be intimidated by the impressive look of this cheesecake! The ingredients are wonderfully straightforward, each one pulling its weight to build flavor, color, and a fabulous mouthfeel. You’ll love how the bright raspberries balance the richness of the pistachios for a dessert that’s indulgent yet lively.
- Pistachios: The heart of the recipe, adding distinctive color, nutty depth, and that irresistible green hue in both the crust and crunchy topping.
- Graham cracker crumbs: Classic crunch meets pistachio flavor for a sturdy, tasty crust base beneath the creamy filling.
- Sugar (white and brown): Regular sugar sweetens the creamy layers and fruit, while brown sugar in the topping gives caramel hints and extra crunch.
- Unsalted butter: Binds the crust, infuses richness, and lends moisture to the nutty, crispy topping.
- Salt: Just a touch, but it makes every flavor pop, enhancing sweetness and balancing the nuts and berries.
- Fresh raspberries: Offer brightness, lively tang, and an eye-catching magenta swirl through the creamy filling—fresh or puréed both work beautifully.
- Lemon juice: Lifts the raspberry layer with fresh acidity, emphasizing the fruit’s natural flavor.
- Cornstarch and water: Thickens the raspberry sauce to help it beautifully swirl into the cheesecake (optional, but handy for vivid streaks).
- Cream cheese: The star of the filling, providing luscious richness and the unmistakable “cheesecake” sensation.
- Vanilla extract: Infuses subtle warmth and lovely aroma throughout the silky filling.
- All-purpose flour: Helps set the filling, keeping the texture creamy but sliceable.
- Eggs: Bind the cheesecake and create that velvety, smooth structure.
- Heavy cream: Luxurious and creamy, it softens the cheesecake and gives a dreamy, tender finish.
- Pistachio paste (or extras): For a smooth, deeply nutty backbone—either paste or freshly ground nuts work deliciously.
- Oats: Optional, but add a hearty crunch to the topping that’s especially satisfying alongside creamy cheesecake.
How to Make Elegant Pistachio Raspberry Crunch Cheesecake
Step 1: Make the Pistachio Crust
Start by preheating your oven to 325°F (163°C). In a food processor, pulse the pistachios until they’re finely ground but not a paste, then toss them with graham cracker crumbs, sugar, melted butter, and salt. You’ll know it’s ready when it looks like sandy, slightly clumpy wet sand. Firmly press this mixture into the base of a 9-inch springform pan. Pop it in the oven for 10 minutes until lightly golden—this sets the stage with a fragrant, nutty foundation while holding everything together once you add the filling. Make sure it cools completely before moving on.
Step 2: Prepare the Raspberry Layer
While the crust cools, simmer your raspberries, sugar, and lemon juice in a saucepan for 5 to 7 minutes, stirring just until they turn syrupy and break down. If you want a truly smooth and vibrant swirl, combine cornstarch with a little water and stir it into the fruit, cooking for another 2 minutes until thickened. Strain the sauce for ultimate silkiness, or leave the seeds in for extra texture. Let this layer cool all the way down before its grand entrance into your cheesecake.
Step 3: Make the Pistachio Cheesecake Filling
This creamy, dreamy filling is where the Elegant Pistachio Raspberry Crunch Cheesecake gets its signature richness. Beat the cream cheese, sugar, and vanilla until irresistibly smooth—no lumps allowed! Add the flour, then work in the eggs one at a time, followed by the heavy cream. Gently fold in the pistachio paste or finely ground nuts. To assemble, pour half of the filling over that ready-and-waiting crust. Dollop and swirl in the raspberry sauce, layering in pops of color and flavor, then carefully spoon the remaining filling on top and smooth it out with a spatula.
Step 4: Bake the Cheesecake
Transfer your pan to the oven and bake for 55 to 65 minutes. The cheesecake should look set around the edges but retain a dreamy little wobble in the center, promising creamy perfection. Once done, seriously resist the urge to immediately dive in—a slow, gentle cool is key! Turn off the oven, crack the door open, and let the cheesecake cool inside for an hour. Afterward, let it come to room temperature, then chill in the fridge for at least 4 hours or overnight for the most luxurious texture.
Step 5: Make the Crunchy Topping
Mix the chopped pistachios, brown sugar, melted butter, and oats (if using) until they clump together in irresistible nuggets. This sweet, salty crunch is the magic that transforms your cheesecake from good to outstanding. Once your cheesecake is nice and cold, scatter the topping evenly across the surface and pop it back in the refrigerator for another 30 minutes so everything sets up nicely.
Step 6: Garnish & Serve
For an ultra-elegant finish, sprinkle extra chopped pistachios along the rim and dot with a few fresh raspberries or an extra drizzle of that gorgeous raspberry sauce. Each slice should slice cleanly, with visible layers of golden crust, luscious cheesecake, and ruby raspberry ribbons—a dessert lover’s dream come true.
How to Serve Elegant Pistachio Raspberry Crunch Cheesecake

Garnishes
Take your Elegant Pistachio Raspberry Crunch Cheesecake to restaurant-worthy levels with a scattering of chopped pistachios around the edge and a handful of glistening fresh raspberries on top. For even more flair, you can pipe little rosettes of whipped cream and nestle berries or nuts within them, or drizzle a bit of extra raspberry sauce for a glossy, artistic finish. The goal here is to accentuate those beautiful colors and offer bursts of fresh flavor in every bite.
Side Dishes
While this cheesecake easily shines on its own, it pairs wonderfully with lightly sweet accompaniments. Try serving it alongside a simple citrus salad to balance the richness, or offer elegant cups of espresso or strong tea. If you’re feeling festive, a little limoncello or Moscato makes a dreamy match, helping each creamy, crunchy mouthful sing.
Creative Ways to Present
To really wow your guests, you can make individual mini Elegant Pistachio Raspberry Crunch Cheesecakes in muffin tins or mini springform pans. Arrange them on a tiered cake stand for a stunning party centerpiece, or go rustic by serving the cheesecake in casual wedges on wooden serving boards. For a playful twist, use the cheesecake as a filling for parfaits or jars layered with extra raspberries and pistachio crumble—conversation starter guaranteed!
Make Ahead and Storage
Storing Leftovers
One of the wonderful perks of this cheesecake is how beautifully it keeps! Simply cover any leftovers tightly with plastic wrap or store individual slices in airtight containers. In the fridge, the Elegant Pistachio Raspberry Crunch Cheesecake will stay fresh, creamy, and delicious for up to 5 days—if it lasts that long.
Freezing
For longer storage, you can definitely freeze your cheesecake. Wrap individual slices or the whole cake (without the crunchy topping, which is best added fresh) snugly in plastic wrap, then foil. Tuck into a freezer-safe container or bag and freeze for up to 2 months. Thaw overnight in the refrigerator before serving, and add the topping right before enjoying.
Reheating
Unlike some desserts, cheesecake doesn’t benefit from reheating—its best flavor and texture come when served chilled. If serving from frozen, simply let your Elegant Pistachio Raspberry Crunch Cheesecake thaw overnight in the fridge. Let slices sit at room temperature for about 10 minutes before serving to take off the chill and boost creaminess.
FAQs
Can I use frozen raspberries instead of fresh?
Absolutely! Frozen raspberries work just as well in the sauce, though you may need to simmer them a little longer to thicken the mixture. Don’t forget to taste for sweetness, as berries can vary, and strain for a silky finish if desired.
How can I prevent my cheesecake from cracking?
The key is to avoid over-mixing the batter, bake at a gentle temperature, and most importantly, let the cheesecake cool gradually. Cooling in the oven with the door ajar reduces temperature shocks that cause cracks. Even if a small crack appears, don’t worry—the crunchy topping and garnishes will cover it beautifully!
Can I make this cheesecake gluten-free?
You sure can! Swap the graham cracker crumbs for gluten-free cookies or almond flour, and ensure your oats (if you use them) are certified gluten-free. The rest of the Elegant Pistachio Raspberry Crunch Cheesecake is naturally gluten-free, so no compromises needed.
What if I don’t have pistachio paste?
No problem at all. Just finely grind extra pistachios until they’re almost a paste, or swap with another nut butter like almond for a subtle variation. The cheesecake will still boast that irresistible nutty flavor and tint.
Can I make the cheesecake ahead of time?
Definitely, and it actually tastes even better when chilled overnight! Make every layer (except the crunchy topping), refrigerate, and add the topping the next day for optimal crunch. This makes Elegant Pistachio Raspberry Crunch Cheesecake a stress-free dessert for entertaining.
Final Thoughts
If you’re ready to delight friends, family, or even just yourself, Elegant Pistachio Raspberry Crunch Cheesecake is truly a dessert worth making. It brings together everything we love—creamy, tangy, nutty, and sweet—into one picture-perfect slice. Don’t wait for a special occasion; give this recipe a try and watch it become a new favorite at your table!


Your email address will not be published. Required fields are marked *