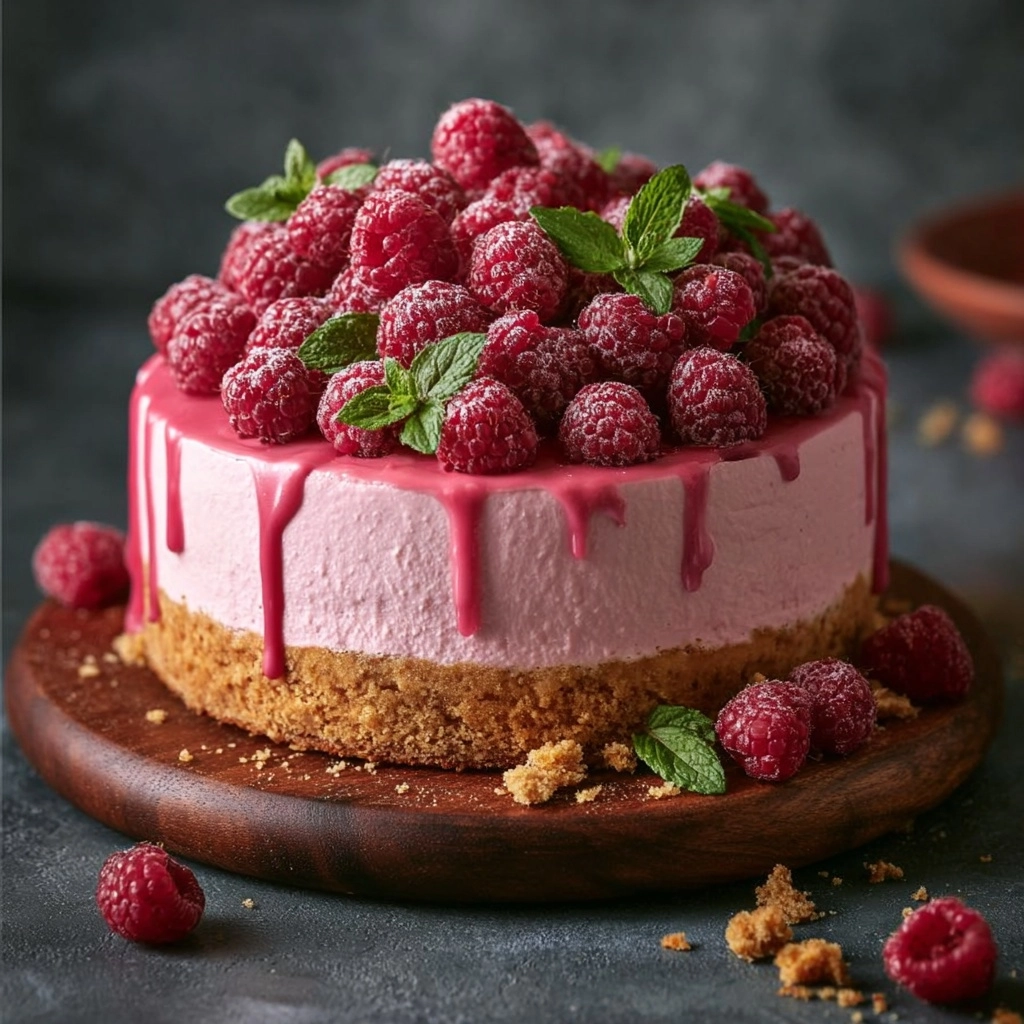
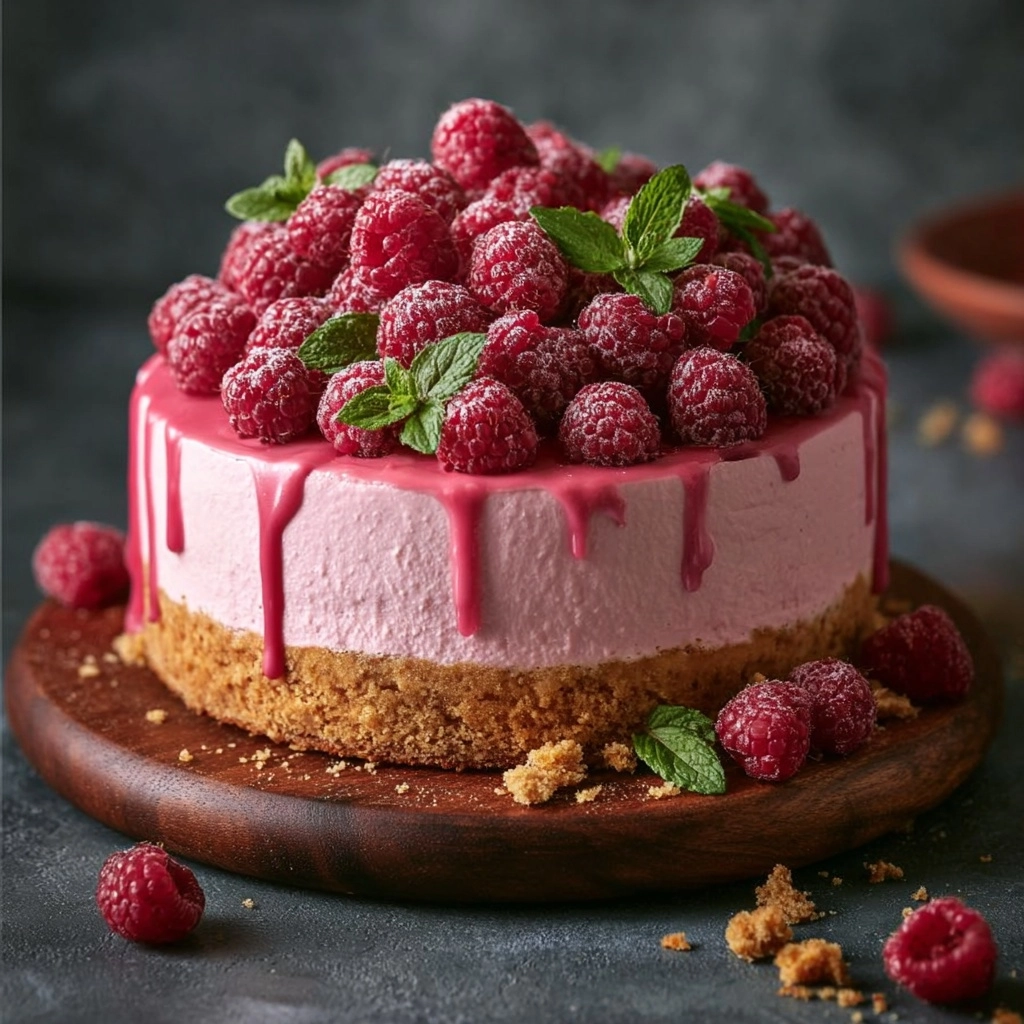
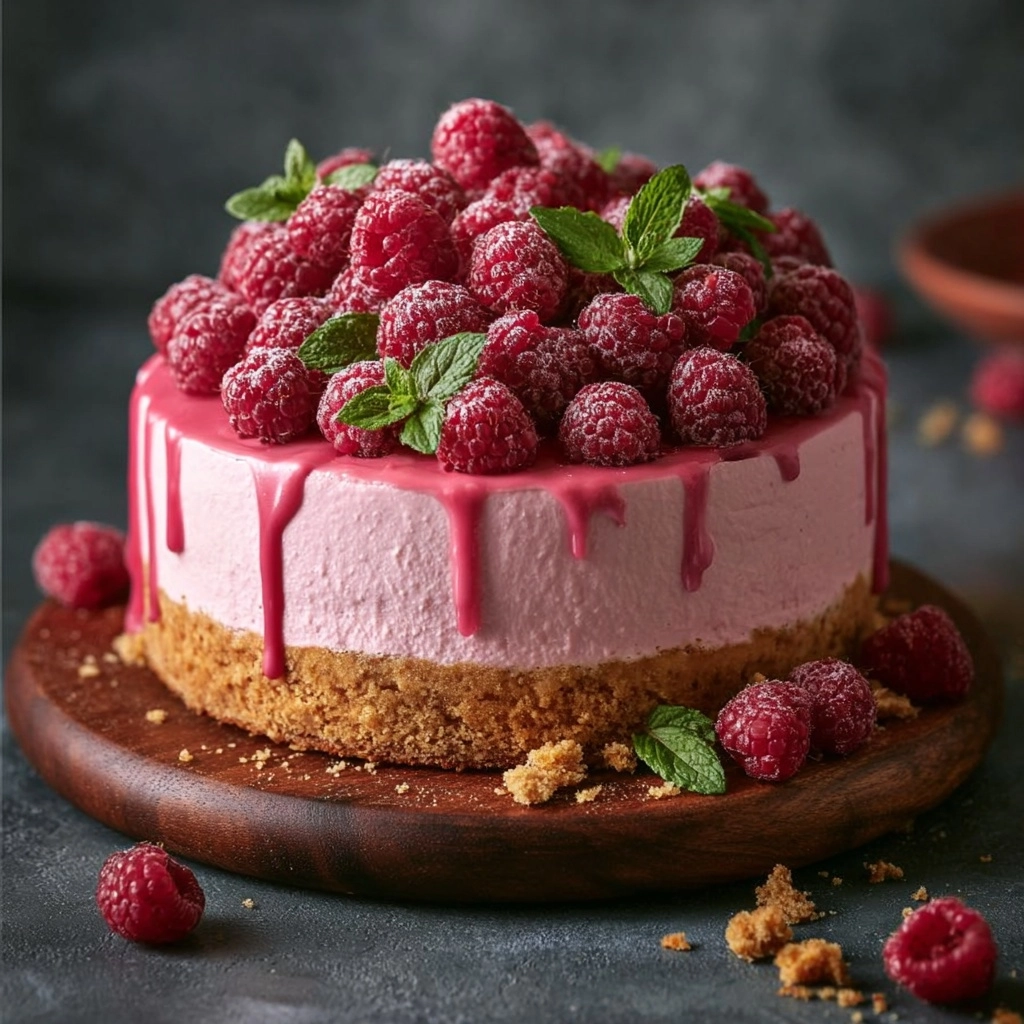
Behold, the Pink Velvet Raspberry Cheesecake – the very definition of Fruity & Gorgeous! ✅ This luscious dessert is not just a feast for the eyes, but for your taste buds, too. With a delicate pink hue, a creamy, tangy raspberry swirl, and a buttery graham cracker crust, it’s the showstopper that invites “wow” at every gathering. If you love a dessert that’s bright, fresh, and bursting with berry bliss, this recipe will win your heart (and probably every conversation at the table). Ready to create something Fruity & Gorgeous! ✅ together?
Ingredients You’ll Need
Sometimes, the most magical desserts come from simple building blocks. Every ingredient in this Fruity & Gorgeous! ✅ cheesecake brings a unique touch – the crust’s buttery crunch, the filling’s dreamy softness, and that tart, glossy glaze on top. Here’s everything you’ll need (with quick tips for each):
- Graham cracker crumbs: Go for classic honey grahams for the signature sweet, toasty flavor in your crust.
- Sugar: Adds just the right touch of sweetness to balance the tangy raspberries and creamy cheese.
- Unsalted butter, melted: Holds the crust together and gives it that irresistible rich bite.
- Cream cheese, softened: Essential for that ultra-smooth, velvety cheesecake texture – bring to room temperature first!
- Eggs: They set the filling and give the cheesecake its structure without any heaviness.
- Sour cream: Adds tang and keeps the filling delicately soft.
- Raspberry purée: The key to our Fruity & Gorgeous! ✅ raspberry flavor and beautiful pastel color.
- Vanilla extract: Deepens the flavors with warm, subtle notes.
- Cornstarch: Ensures a sliceable, creamy consistency every single time.
- Pink food coloring (optional): A drop or two brings out that “wow” shade – go bold or keep it subtle!
- Raspberry jam: For the glossy, tangy glaze that seals in berry flavor.
- Water: Just a splash to thin the jam and make spreading easy.
- Cornstarch (for glaze, optional): If you prefer a thicker, bolder glaze layer.
- Fresh raspberries: Jewel-like bursts of tartness for your finished cake.
- White chocolate shavings: A gorgeous, creamy contrast to the tangy berries.
- Mint leaves: The finishing touch for that ultra-Fruity & Gorgeous! ✅ flourish.
How to Make Fruity & Gorgeous!
✅
Step 1: Make the Crust
Let’s start with that all-important base. Combine your graham cracker crumbs, sugar, and melted butter in a bowl and mix until evenly coated – it should feel like damp sand. Press this mixture firmly into the bottom of a springform pan, forming a solid, even crust. Bake at 325°F (163°C) for about 10 minutes, just until golden and set. Let it cool completely before you move on. This stage sets the foundation for your Fruity & Gorgeous! ✅ masterpiece!
Step 2: Make the Filling
Now for the showstopper filling! Use an electric mixer to beat the softened cream cheese and sugar until super smooth (no lumps allowed). Add the eggs, one at a time, beating gently after each addition. Stir in the vanilla, sour cream, raspberry purée, cornstarch, and those optional drops of pink food coloring for that signature Fruity & Gorgeous! ✅ shade. The batter should be creamy, thick, and pale pink.
Step 3: Bake the Cheesecake
Pour the pretty pink filling over your cooled crust, using a spatula to smooth out the top. Bake at 325°F (163°C) for 50 to 60 minutes. You’re aiming for a center that’s just set but still slightly wobbly – it will finish setting as it cools. Once baked, turn the oven off, crack the door, and let the cheesecake cool inside for an hour. This gentle finish keeps your Fruity & Gorgeous! ✅ cheesecake free from cracks and extra smooth.
Step 4: Make the Glaze
While your cheesecake is chilling, whip up the glaze by gently heating raspberry jam and water in a small saucepan over low heat. Stir constantly until the mixture is smooth and glossy. If you like a thicker glaze, dissolve a teaspoon of cornstarch in a splash of water and whisk it in. Let it cool until just warm – it should flow, but not be runny.
Step 5: Assemble and Chill
Once the cheesecake has cooled, pour the raspberry glaze evenly over the top. Gently nudge it out to the edges with an offset spatula or spoon. Refrigerate the whole cake for at least 4 hours, or ideally overnight, to let the flavors meld and the texture become sliceable. This waiting (I know, it’s hard!) is absolutely worth it for that Fruity & Gorgeous! ✅ finish.
Step 6: Garnish and Serve
Time to transform your cheesecake into a feast for the eyes! Just before serving, tumble fresh raspberries over the top, then scatter with a snowfall of white chocolate shavings and bright mint leaves. Each slice is now the very definition of Fruity & Gorgeous! ✅ – an edible celebration that’ll have everyone reaching for seconds.
How to Serve Fruity & Gorgeous!
✅
Garnishes
Garnishes are where this Pink Velvet Raspberry Cheesecake truly turns Fruity & Gorgeous! ✅. Top with juicy raspberries, a sprinkle of decadent white chocolate shavings, and a few fresh mint leaves for color and freshness. These not only make your cheesecake Instagram-worthy, but each bite brings its own surprise – sweet, tart, creamy, and fragrant!
Side Dishes
Pair your cheesecake with light, contrasting sides. Serve thin slices with a crisp glass of sparkling rosé, or offer alongside lemon sorbet for a tangy palate cleanser. For coffee lovers, try with a frothy cappuccino or cold brew. The goal is to let the Fruity & Gorgeous! ✅ flavors shine, so keep sides simple and lively.
Creative Ways to Present
Why not miniaturize the experience? Try making this cheesecake in individual mini jars or cupcake tins for parties. Slice in advance and serve on a platter scattered with extra berries and mint for that “centrepiece” look. If you’re feeling truly Fruity & Gorgeous! ✅, decorate with edible rose petals or a drizzle of white chocolate sauce – it’s all about those “oohs” and “aahs”!
How to Serve

Serve this delicious recipe with your favorite sides.
Make Ahead and Storage
Storing Leftovers
To keep your Fruity & Gorgeous! ✅ cheesecake at its best, cover leftovers tightly with plastic wrap or store in an airtight container. Refrigerate for up to five days. The flavors actually deepen and mellow, making each slice even more irresistible as the days pass.
Freezing
Yes, you can freeze this cheesecake! For best results, wrap the whole cake (without fresh garnishes) or individual slices snugly in plastic wrap, then foil. Store in the freezer for up to two months. Thaw overnight in the fridge before serving to preserve the Fruity & Gorgeous! ✅ texture.
Reheating
Cheesecake is meant to be served chilled, but you can bring your slices to room temperature (about 30 minutes on the counter) before serving for extra creaminess. Steer clear of the microwave to avoid melting the luscious Fruity & Gorgeous! ✅ glaze and decorations.
FAQs
Can I use frozen raspberries instead of fresh for the purée?
Absolutely! Simply thaw the berries completely, then purée and strain out the seeds for the smoothest texture. Frozen raspberries give you the same fantastic Fruity & Gorgeous! ✅ color and zing.
How do I prevent cracks in my cheesecake?
Letting your cheesecake cool slowly in the oven with the door slightly open is the best trick. Also, avoid over-beating the batter and don’t overbake. Both help create the flawless Fruity & Gorgeous! ✅ finish.
Can I skip the food coloring?
Of course. The raspberry purée naturally gives a soft blush to the cake, so that Fruity & Gorgeous! ✅ look is still guaranteed, just a bit more au naturel.
What’s the best way to cut clean slices?
Dip a sharp knife in hot water, wipe it clean between slices, and you’ll get neat wedges that show off those vibrant layers – it’s a Fruity & Gorgeous! ✅ secret weapon for presentation!
Can this cheesecake be made gluten free?
Yes! Swap standard graham crackers for gluten free ones, and you’ll still get a perfect, crumbly base. Everything else in this Fruity & Gorgeous! ✅ recipe is naturally gluten free.
Final Thoughts
If you’re ready to dazzle at your next special occasion, there’s nothing more memorable than this Fruity & Gorgeous! ✅ Pink Velvet Raspberry Cheesecake. It’s a gift to the senses that’s as joyful to look at as it is to eat. Make it, share it, savor every dreamy, berry-kissed bite!


Your email address will not be published. Required fields are marked *